I’ve mentioned my love for dip nails more than a couple times (read my step-by-step guide to doing your own dip nails at home). They last weeks, and you can save SO much versus going to a salon as the color grows out. As your nails grow, you’ll need to remove the existing dip or gel polish before you can add a new color. Rule 1: Don’t scrape or peel at your nails! This will damage the nail bed.
There is a MUCH easier way to remove dip nails or gel polish – without doing any damage to your nails. It only takes about 5 minutes of active time, and 15 minutes of waiting. So queue up a good show on Netflix and you’re set!
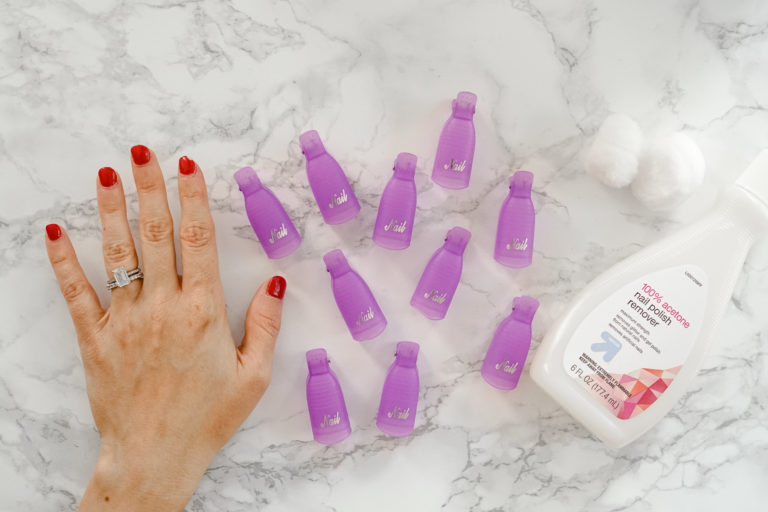
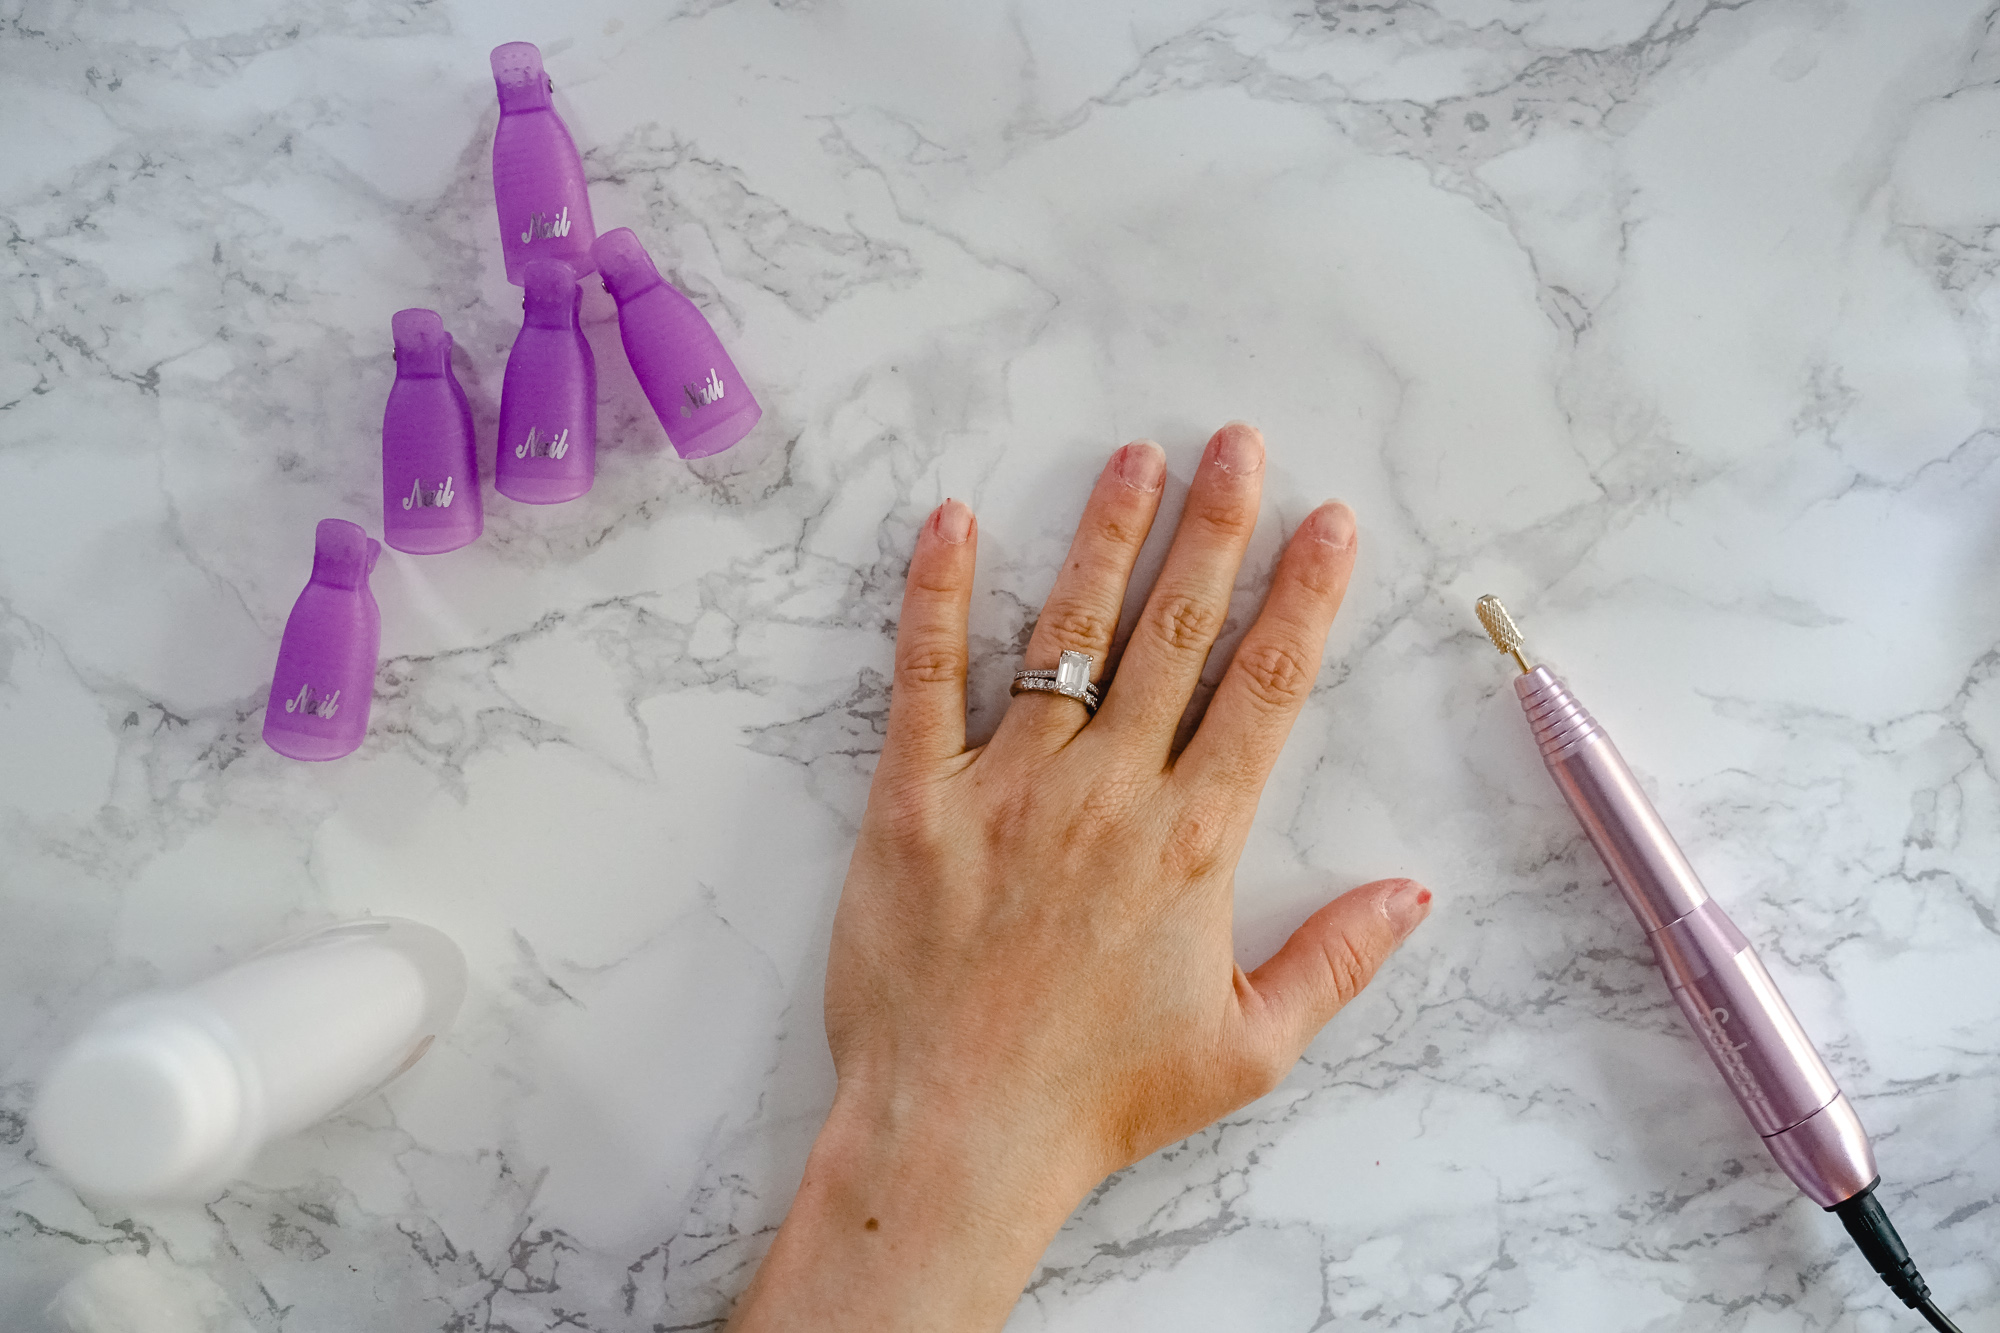
THE MATERIALS //
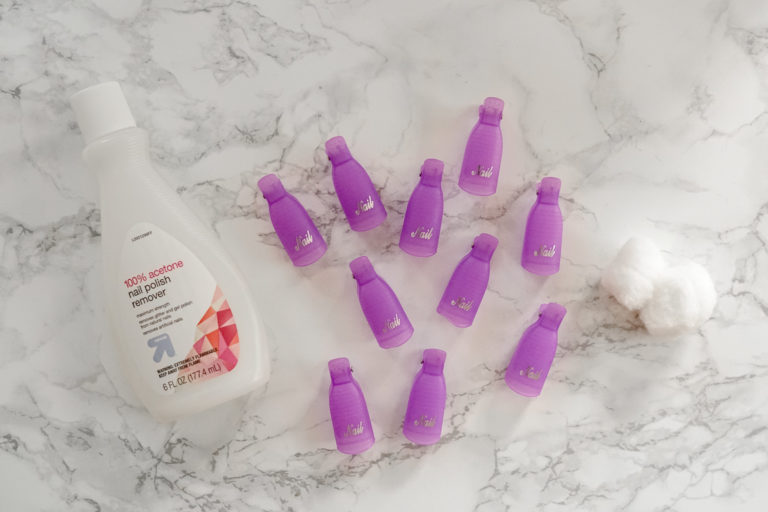
You don’t need much for this little DIY, and most of what you do need can be purchased at any drugstore.
- A good bottle of pure acetone. Check the labels – a non-acetone nail polish remover will take longer. Stick with pure acetone, which you can find at Target or your local drugstore.
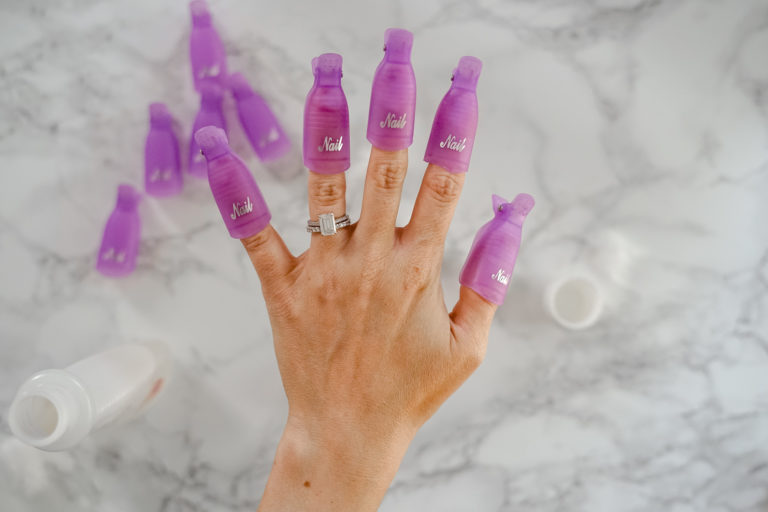
- Nail polish remover clips. Aluminum foil works in a pinch, but it’s a lot messier. These clips are one of my favorite Amazon purchases!
- Cotton balls, which you can pull apart into small pieces. One cotton ball is sufficient for both hands.

STEP 1 // PREP THE MATERIALS
This is the part I hate most. I don’t know what it is about pulling apart (or using) cotton balls, but I. Just. Can’t. But, it’s a necessary part of this DIY. So pull that cotton ball into 10 small pieces (or have your husband do it, which is what I usually opt for).
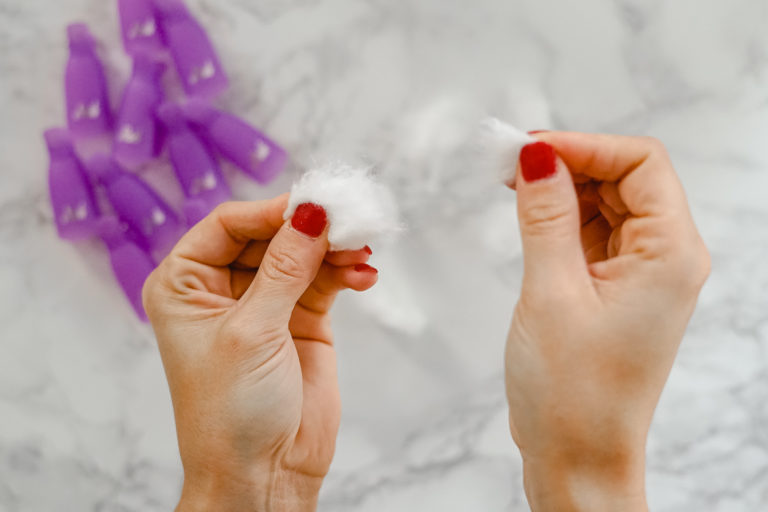

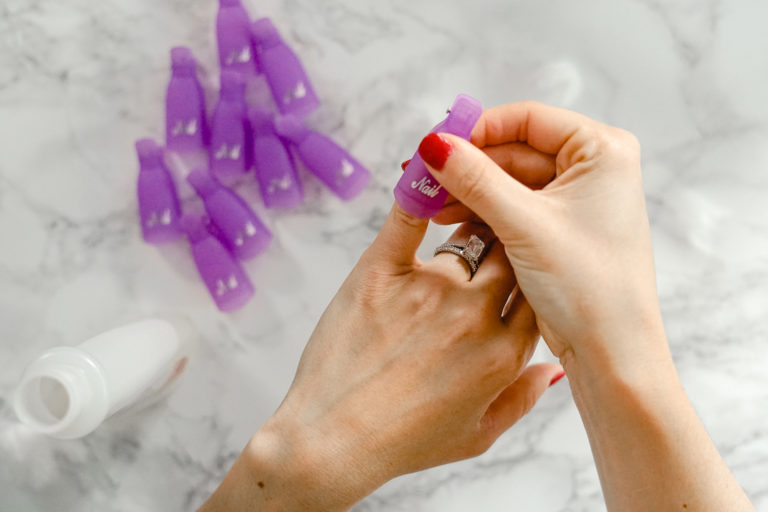
Pour a little acetone into the cap of the acetone bottle. You’ll use this for dunking the cotton balls in the next step.
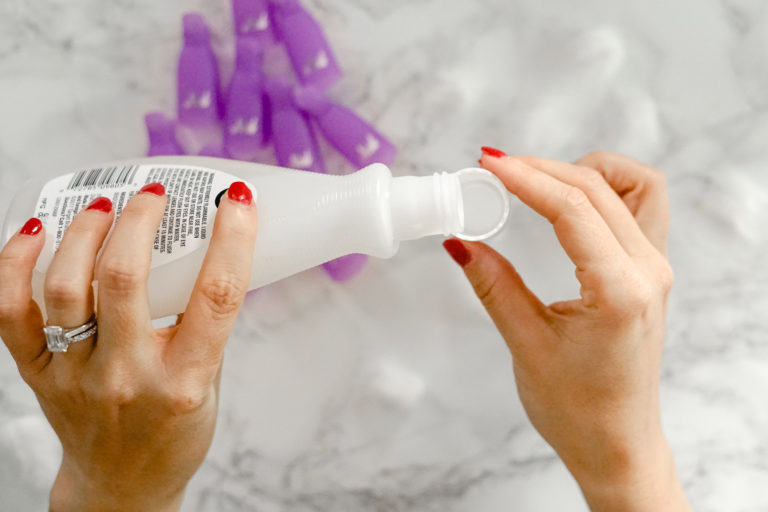
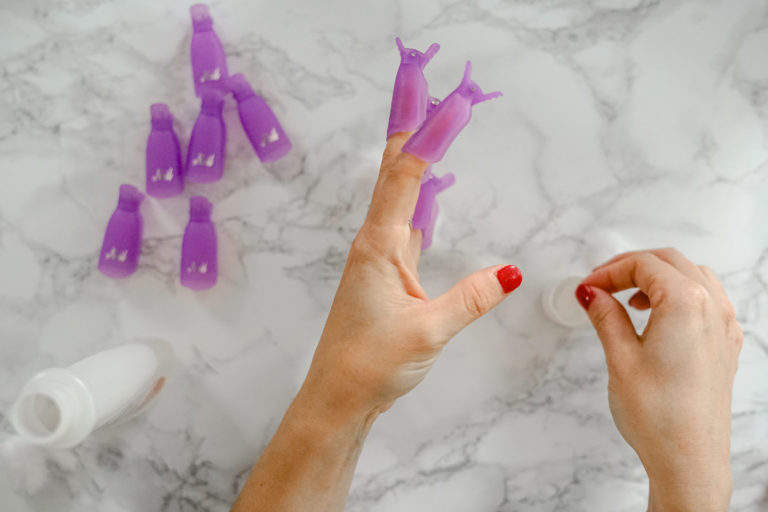
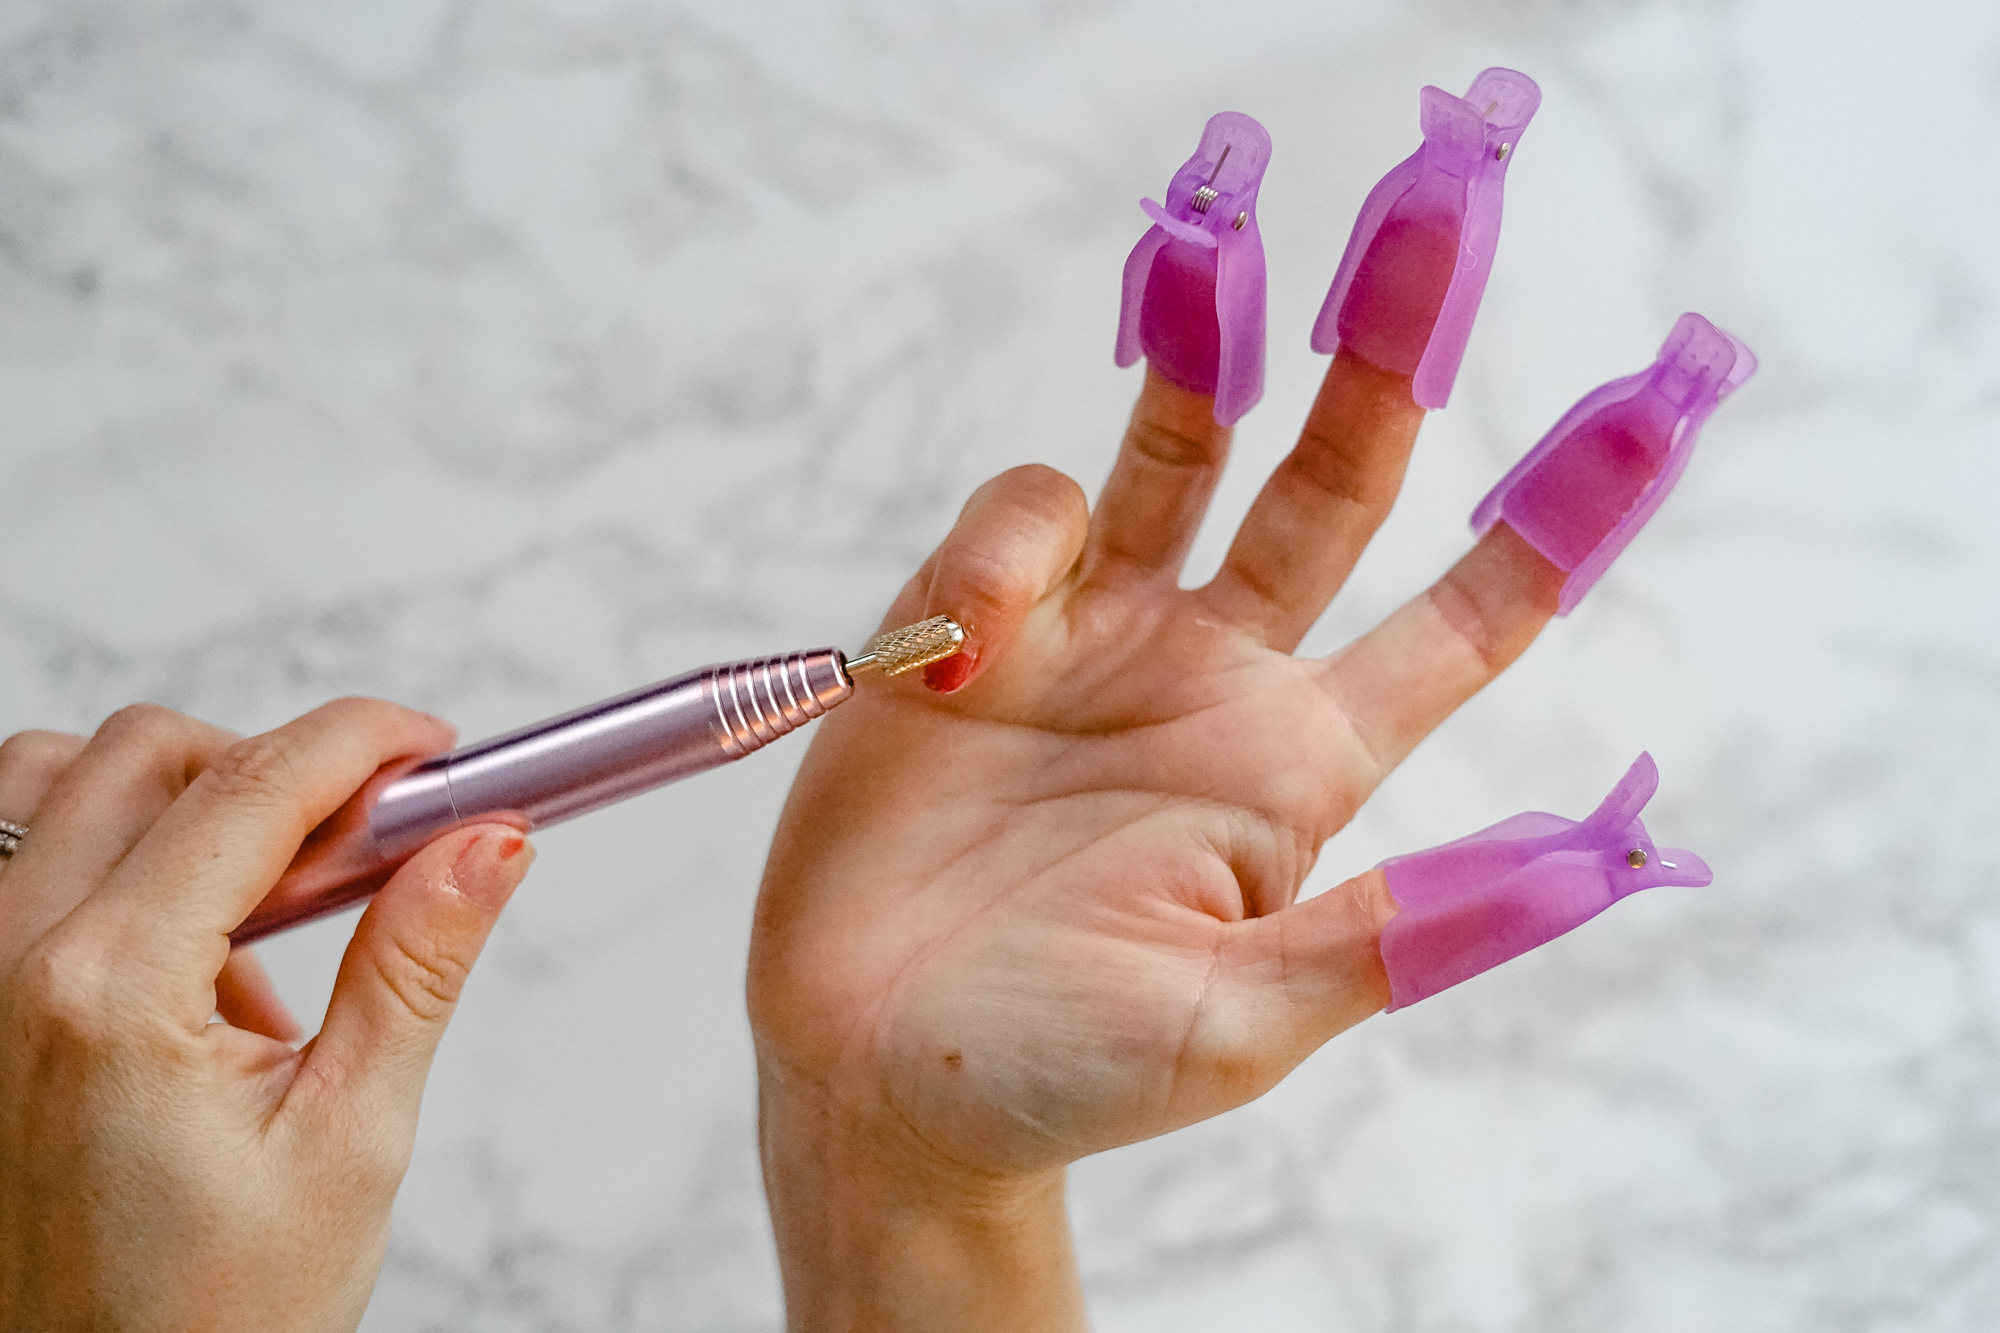
STEP 2 // COVER EACH NAIL
Dunk a piece of cotton ball in the acetone, then wring it out a little so it’s not dripping. Put the cotton ball piece over the nail, then cap with a nail cap. If you’re using aluminum foil, you would instead wrap the nail in aluminum foil at this point.
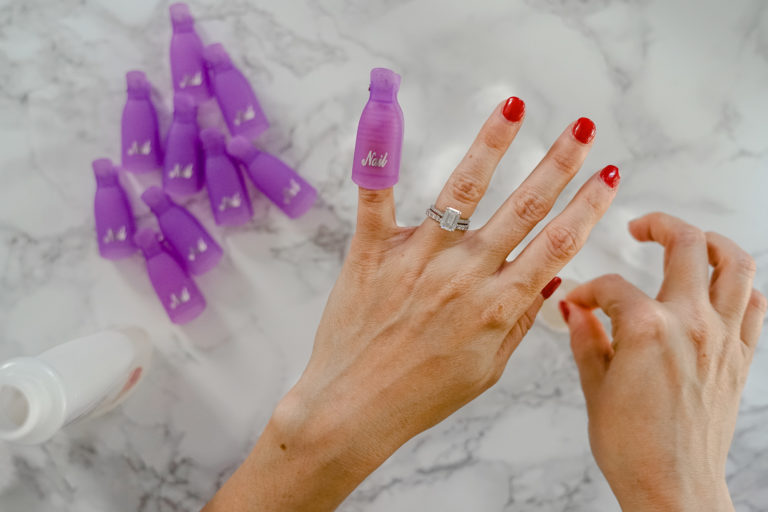
If you have time, I would suggest doing one hand at a time. Each hand requires 10-15 minutes of wait time once you’ve put the caps on.
If you’re short on time and want to do all 10 fingers at once, then you’ll need to be a little dexterous. Cap all of your fingers except your thumbs and pointers of both hands. Prep the caps for those four fingers (soak the cotton ball, place where you nail will be inside the cap), then clip the caps to those four fingers as your last step. The caps should be fairly easy to clip, even when your other fingers are already in their caps. (I hope that makes sense!)
STEP 3 // WAIT
Wait 10-15 minutes. A general rule of thumb is, the darker the color, the longer you’ll need to wait. Wait about 10 minutes for a light pink, versus 15 for a bold red or deep plum.
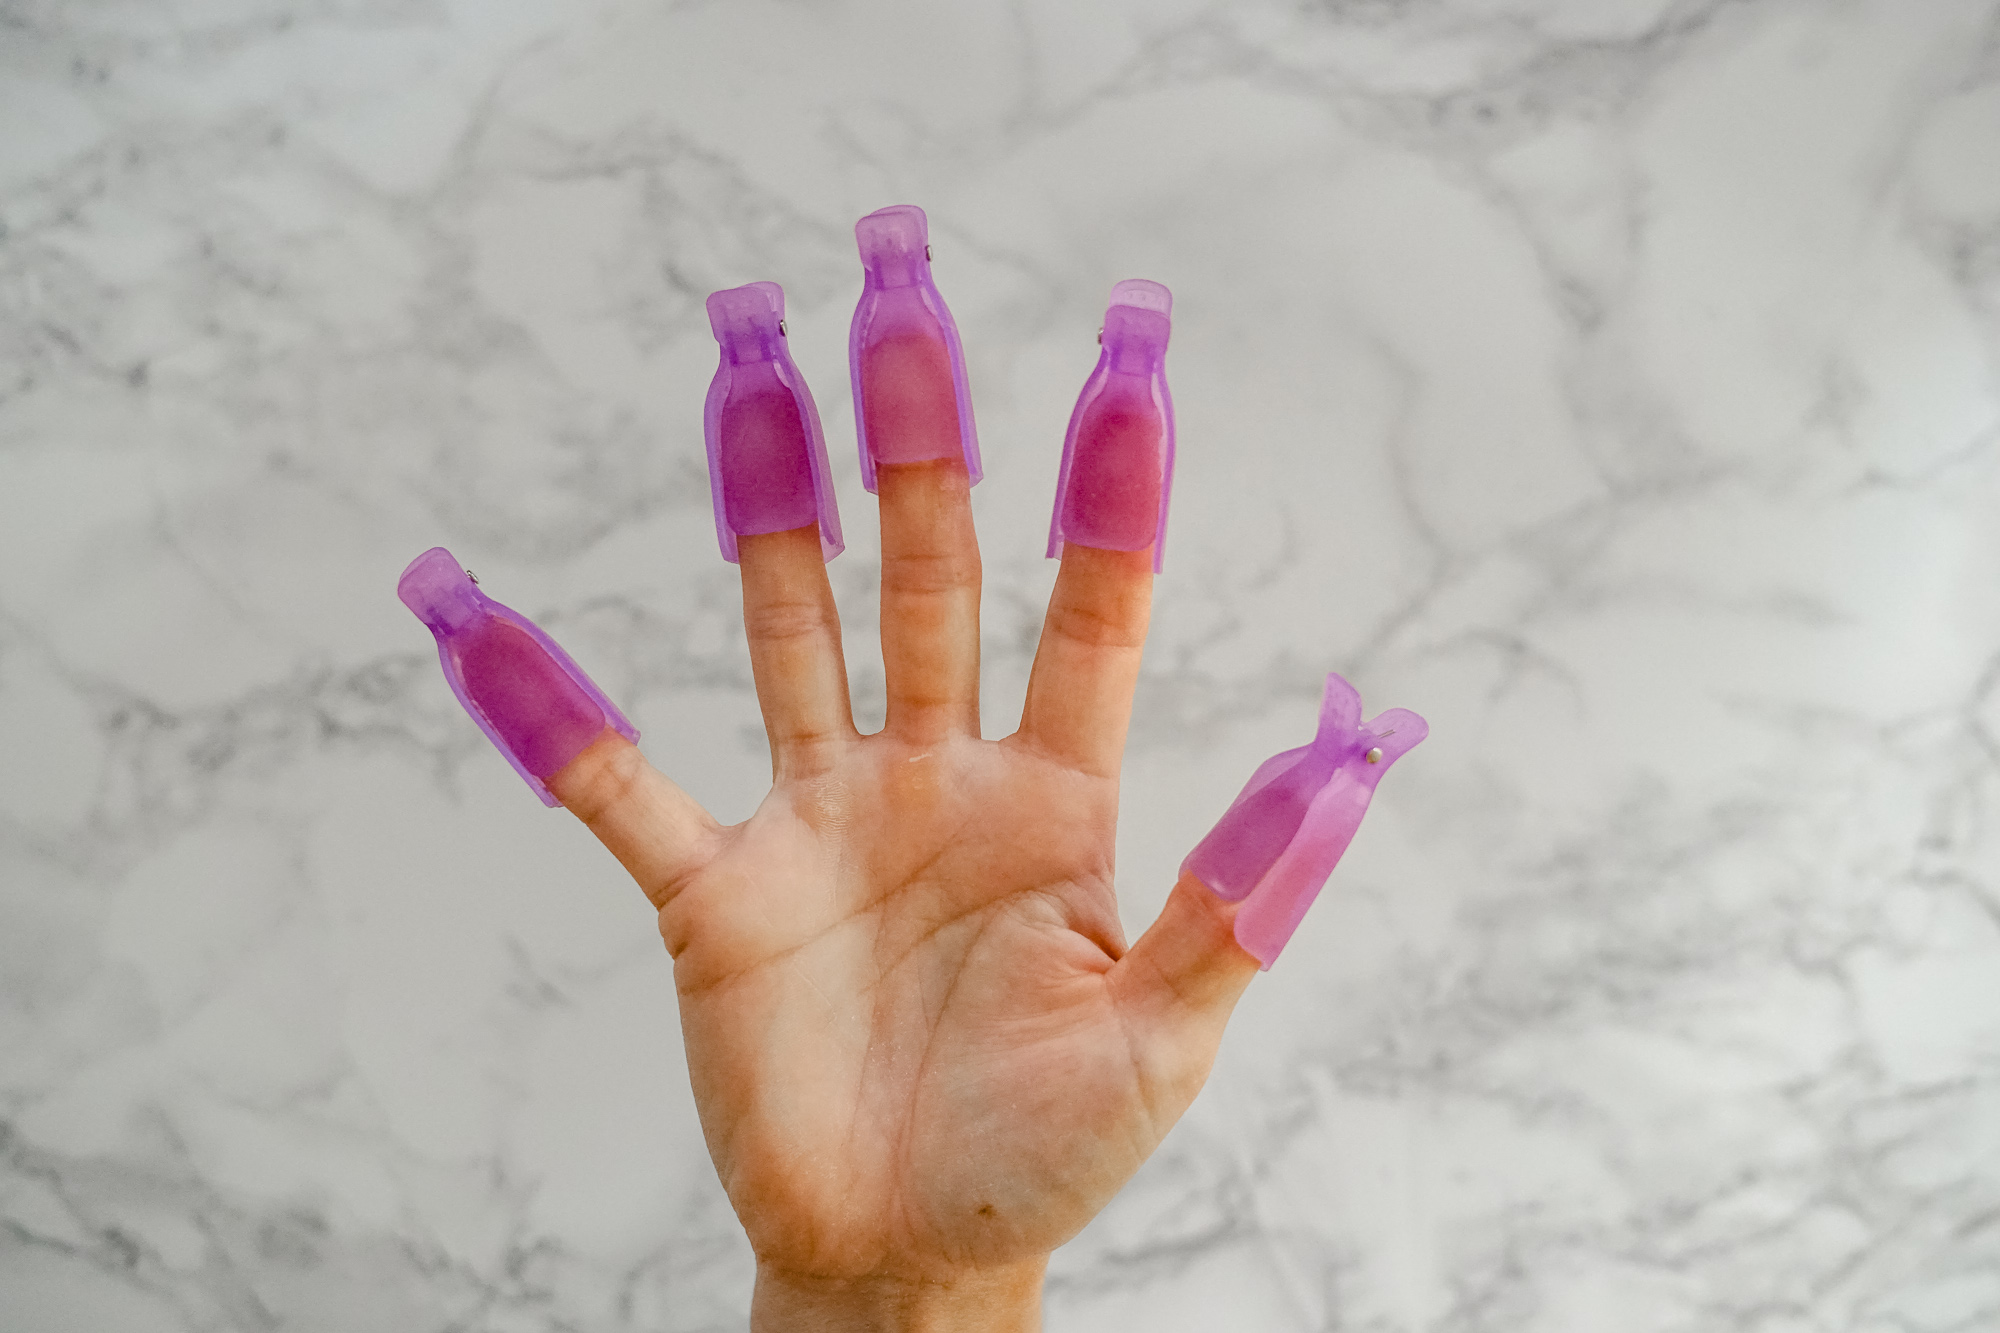
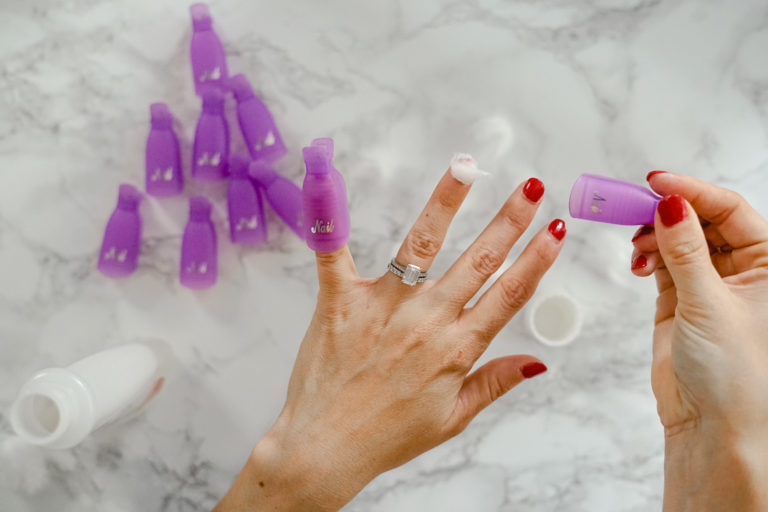
STEP 4 // REMOVE THE CAP + POLISH
Slide off the cap and pull back the cotton ball. A majority of the dip or polish should come off with the cotton ball. Do not scrape the polish! This will cause damage to your nail.
If the polish doesn’t pull right up, reapply the cotton ball and clip and wait a little longer.
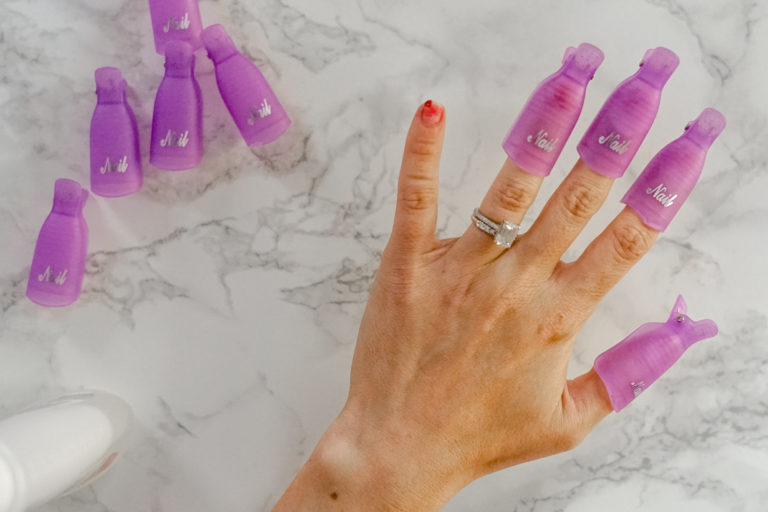
Note: Some spots may not remove – we’ll take care of those in the next step. The goal is to soak off a majority, though.
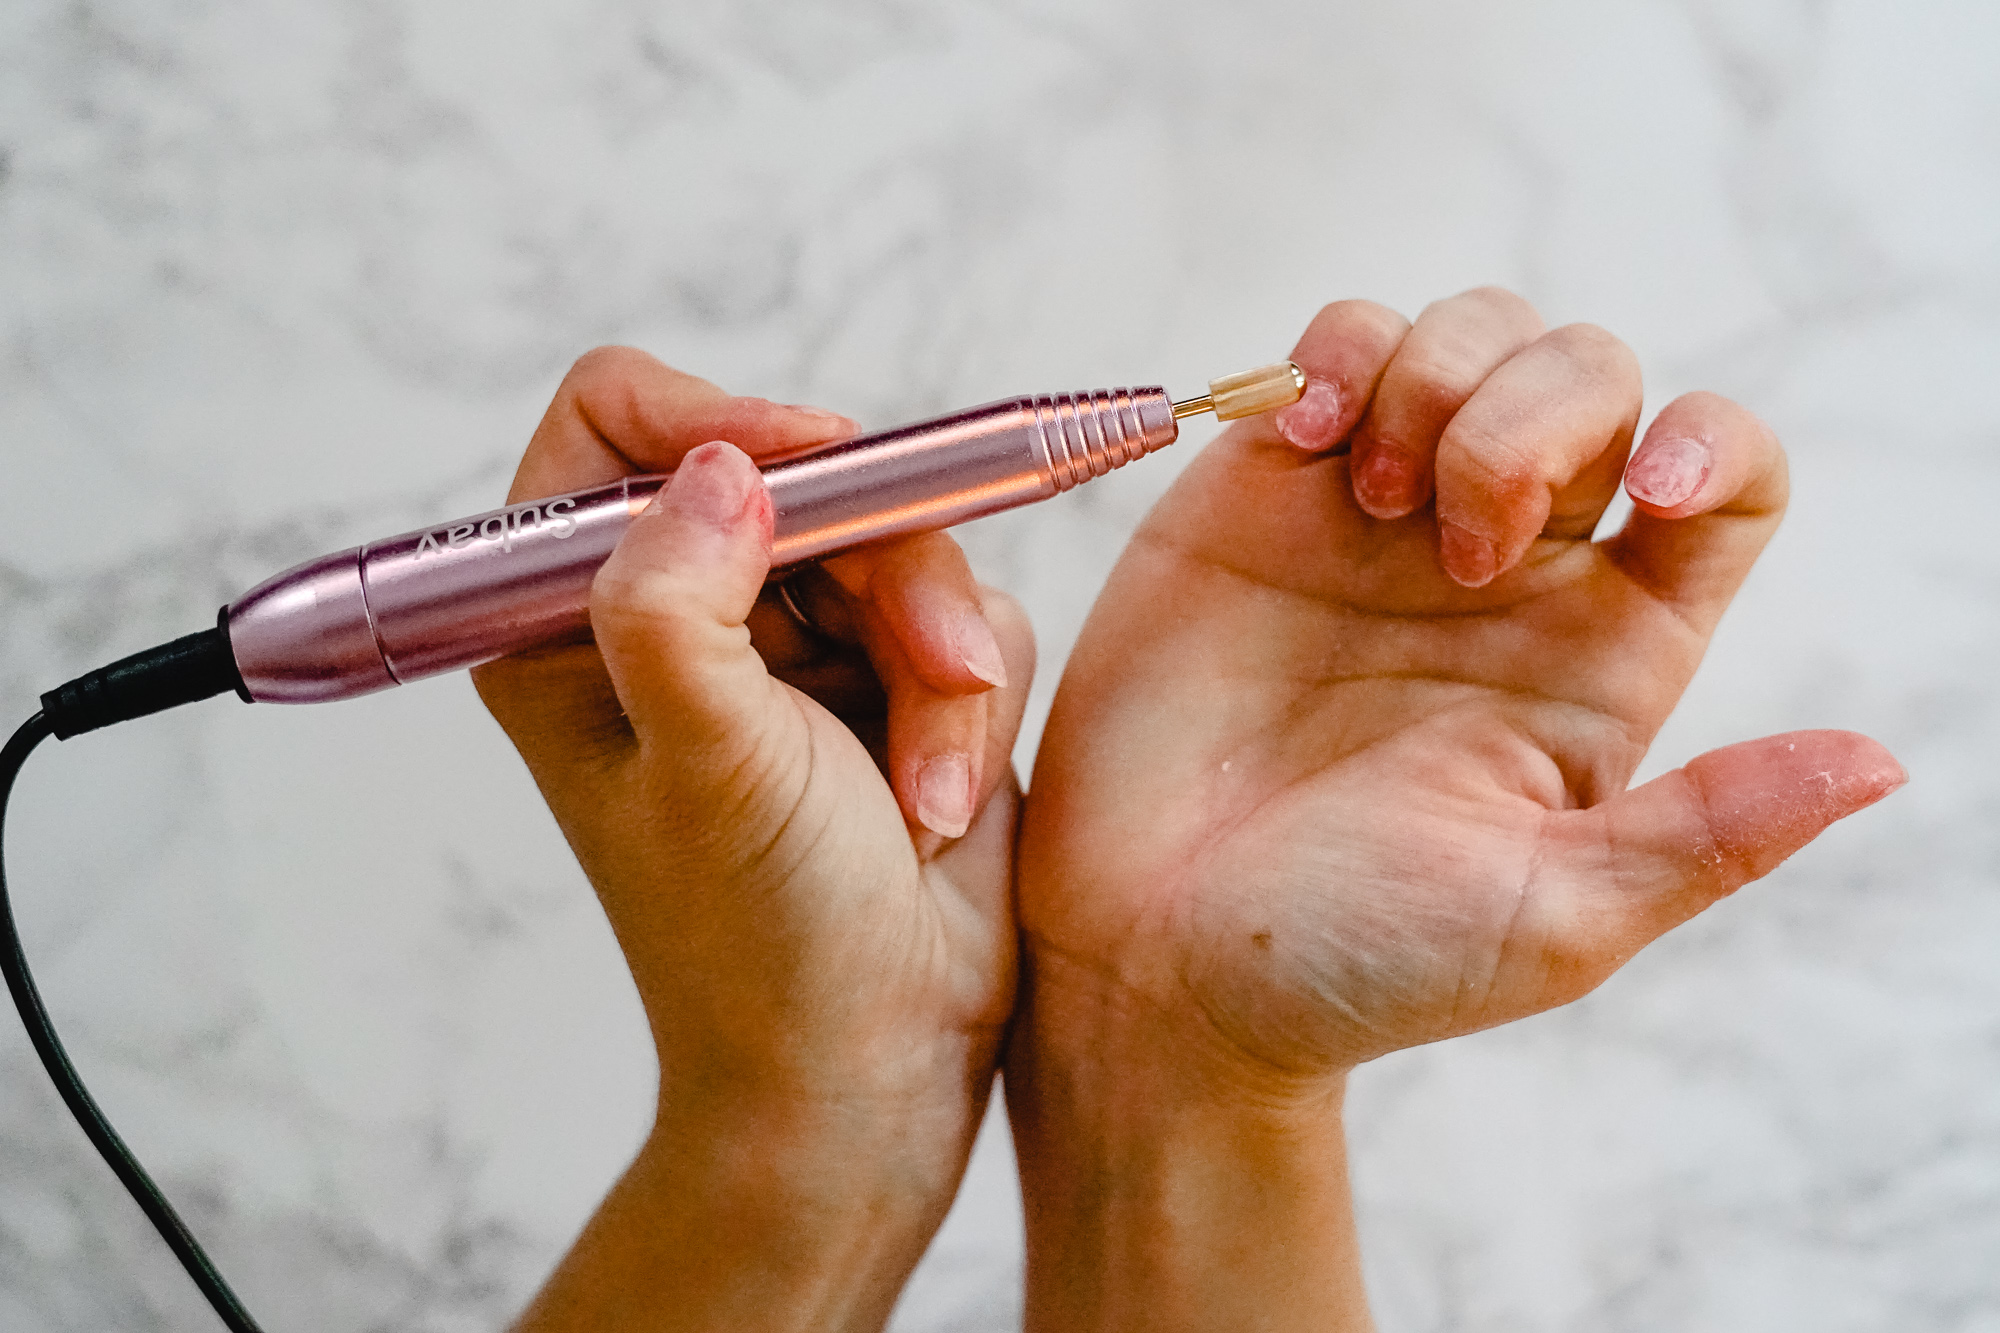
STEP 5 (Optional) // SMOOTH THE SURFACE OF THE NAIL
If you have a little bit of polish or dip powder left, a nail drill will easily remove it and prep the surface of your nails for a new polish or dip color.
Using a nail drill may seem scary but it is oh-so-easy. Pop a medium grit carbide drill bit into your nail drill and turn it on medium-low speed (if you’re unfamiliar using a drill, start slow.).
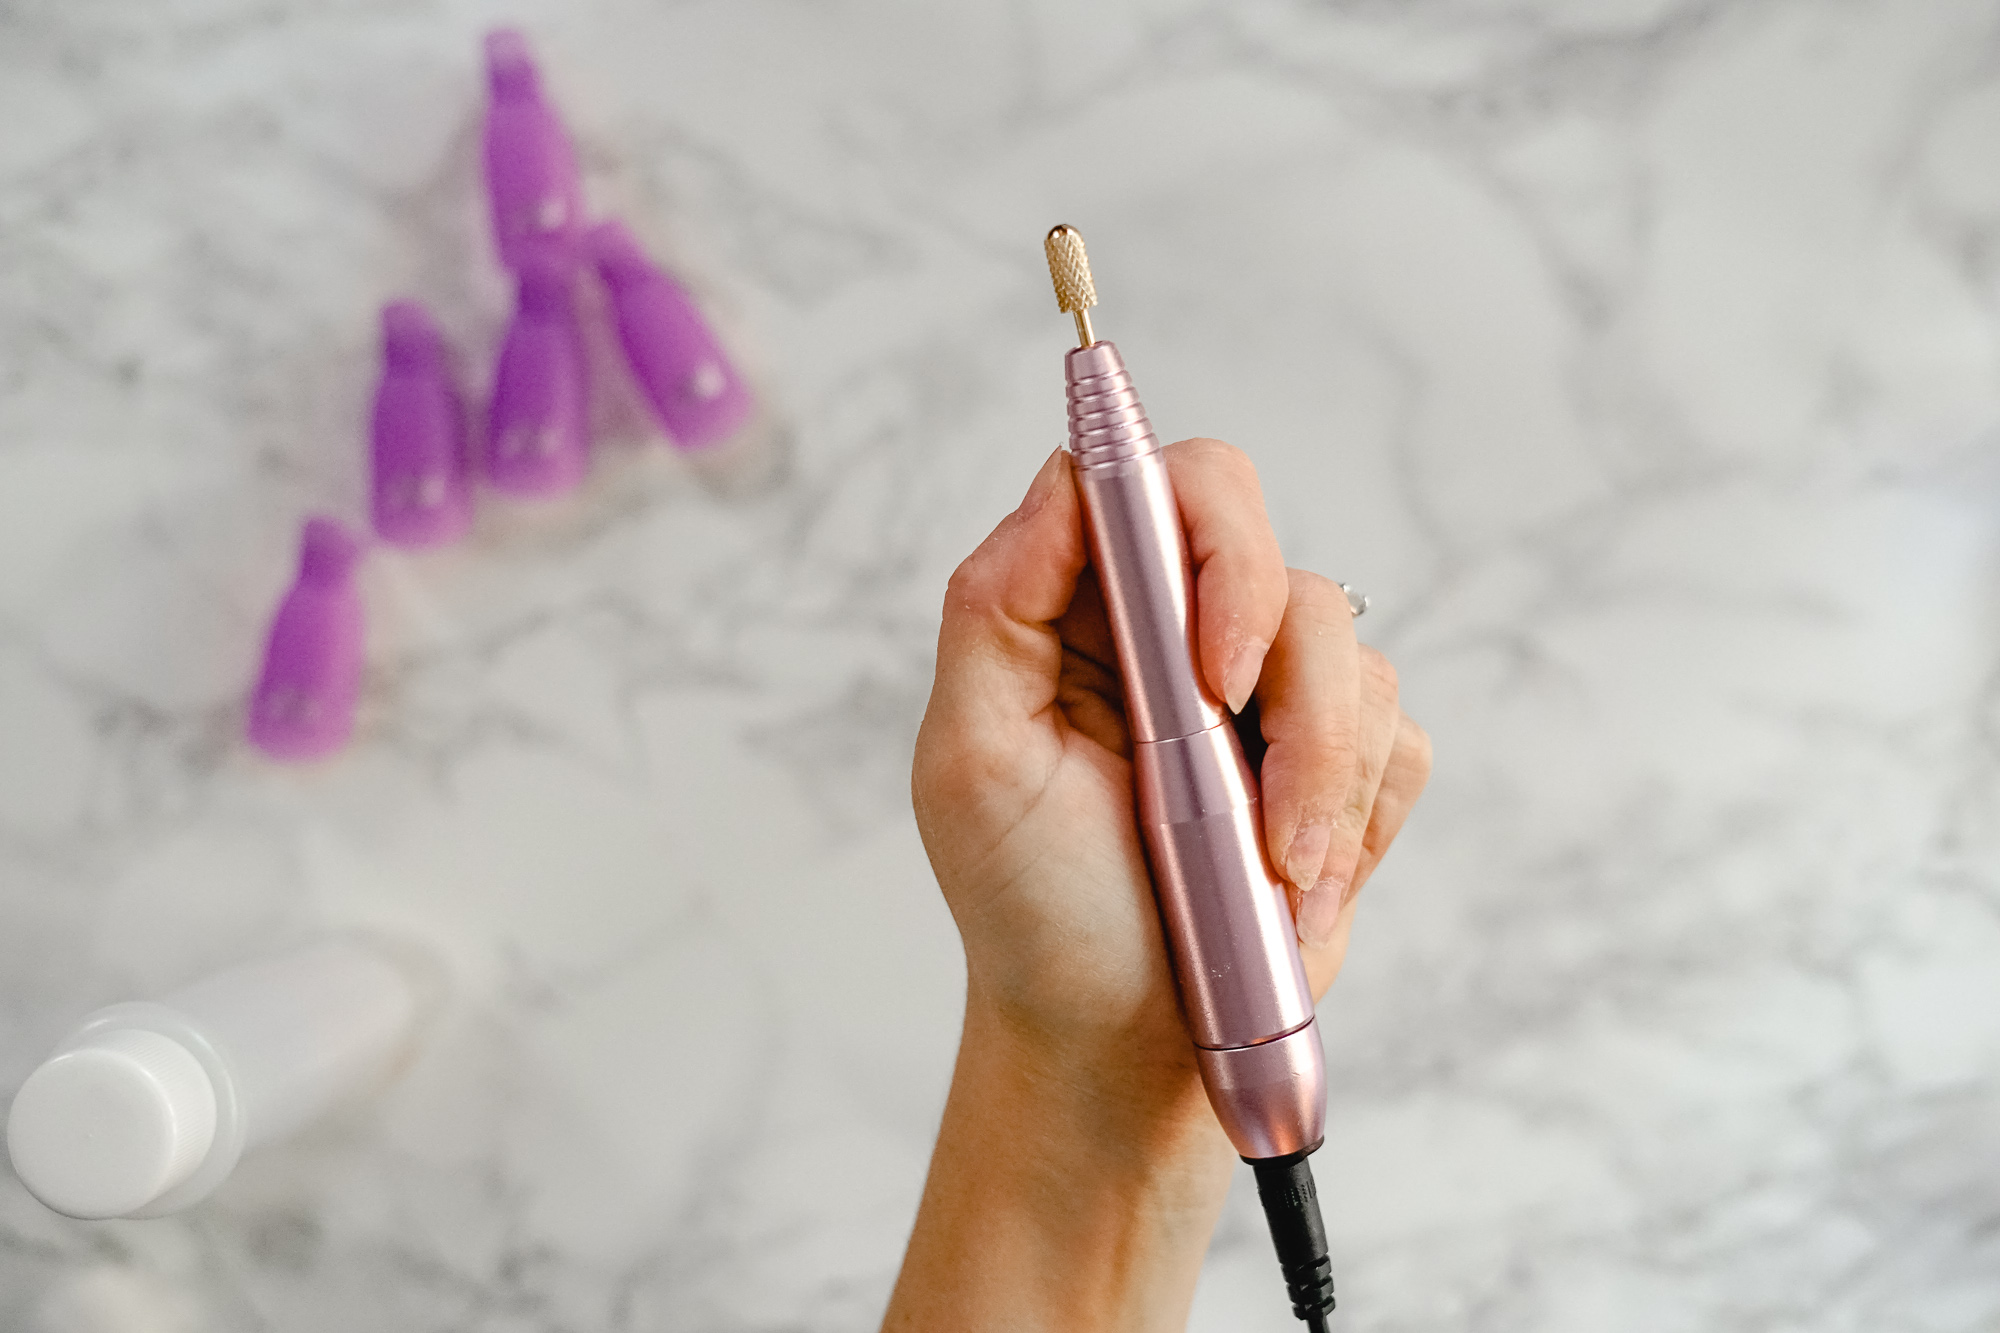
Slowly move the drill over the surface of the nail, removing any last flecks of polish or powder, and smoothing out the surface of the nail.
When you’re done, you’re ready for your next DIY manicure (read how to do your own dip nails HERE). So easy, right?
BUY THE EQUIPMENT
