I was first introduced to dip powder nails before our honeymoon when I needed something that would last for three weeks of trekking through jungles, on safari, and diving with sharks (because that’s when you really need nail polish, right?). I absolutely fell in love. Beyond the expected nail growth creating a gap between the translucent pink powder I chose and my cuticle, the manicure held up beautifully. And, it was significantly less damaging to my nails because there was very little drilling or weakening of the nail itself.
I started going back every 2 weeks for a powder change. That is, until I found out I could do it by myself, at home, for way less than I thought.
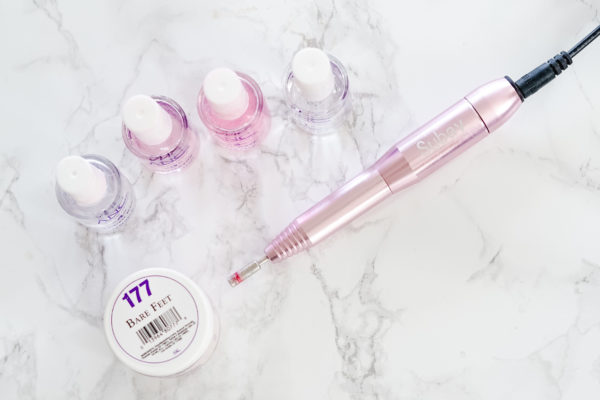
THE MATERIALS //
As with most beauty products, the brand matters. You can buy a cheap gel kit off Amazon but from what I’ve heard, those colors don’t hold up quite as long nor do they apply smoothly. I use ANC products since that was what the salon I went to used and I’ve always been happy with them – plus they offer nearly 200 colors!
- Prep coat (#1)
- Gel base coat (#2)
- Activator (#3)
- Finishing gel coat (#4)
- Dip powder in your choice of color(s) (slightly less expensive on eBay)
- Medium grit emery board
- Electric nail drill (it’s so easy to learn to use – I promise!)
- Carbide nail drill bits (optional). The drill comes with a few, but these are much nicer if you plan on doing your nails multiple times.
- Manicure block (if no nail drill)
- Inexpensive brush set
UPDATE (April 2020): We’ve heard from a lot of ladies that many of these items are sold out on Amazon (the original links above) so we’ve created a new post with where to purchase dip nail supplies – including tons of gorgeous powders – with fast shipping.
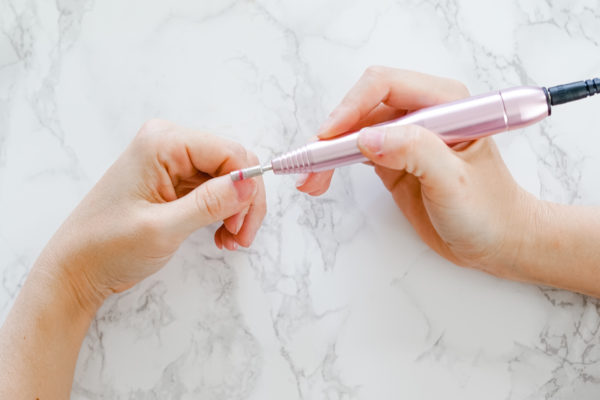
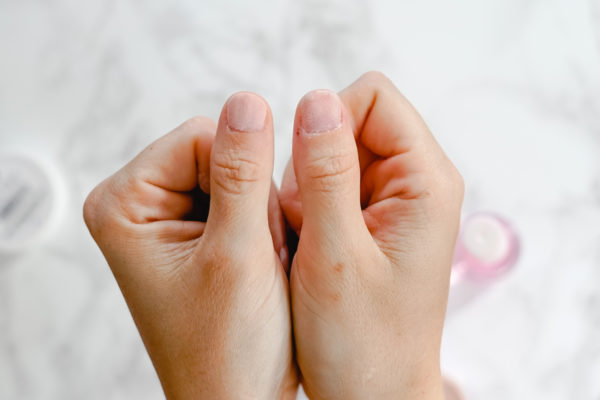
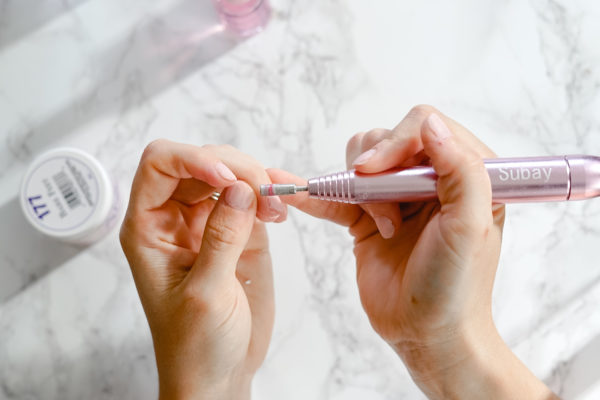
STEP 1 // CREATE A SMOOTH SURFACE
Use a nail drill or nail manicure block to create a smooth, even surface for the powder to be applied to. I use the finest grit metal tip for my drill on medium-low speed, or you could use a medium grit manicure block.
Push back and trim your cuticles but don’t apply any oils – these will prevent the powder from adhering correctly. You can also use the nail drill to file away at your cuticles, which is the process I prefer.
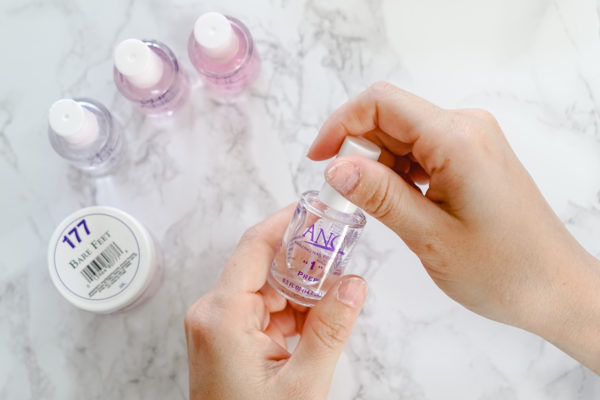
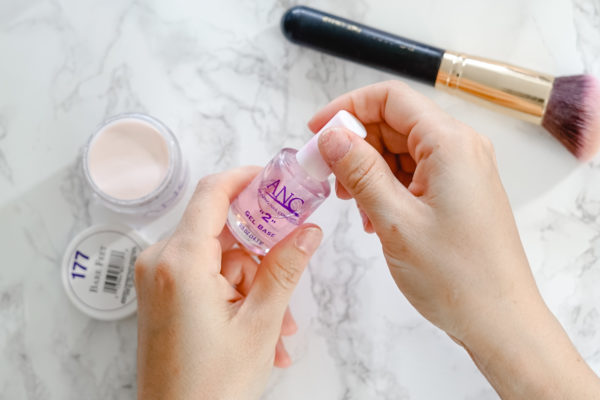
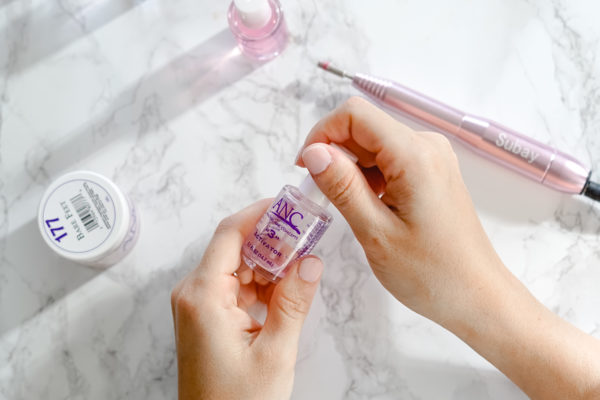
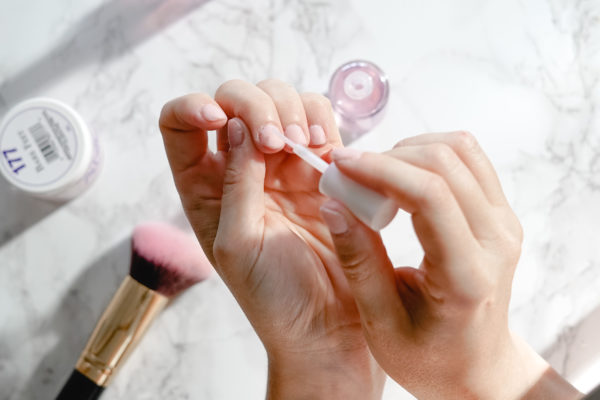
STEP 2 // APPLY THE PREP COAT
Apply one thin coat of Base #1 to all of your nails.
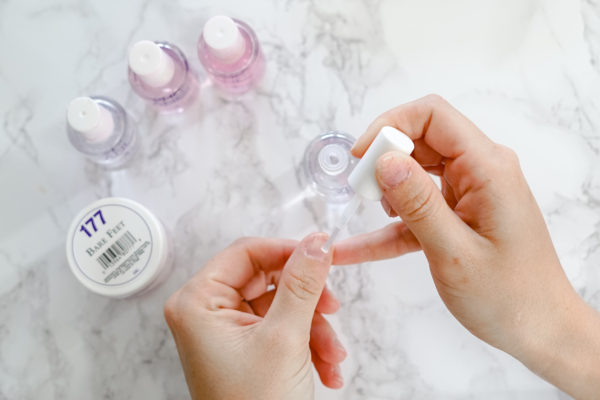
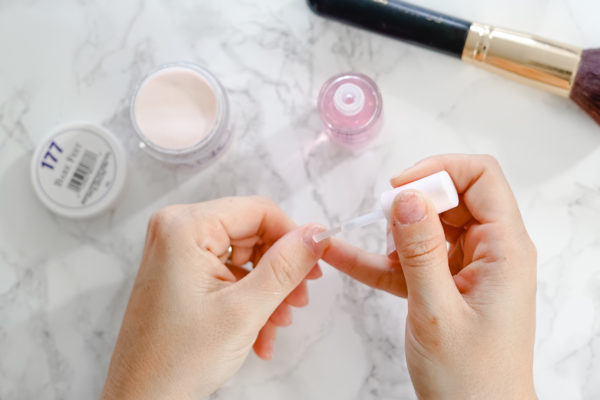
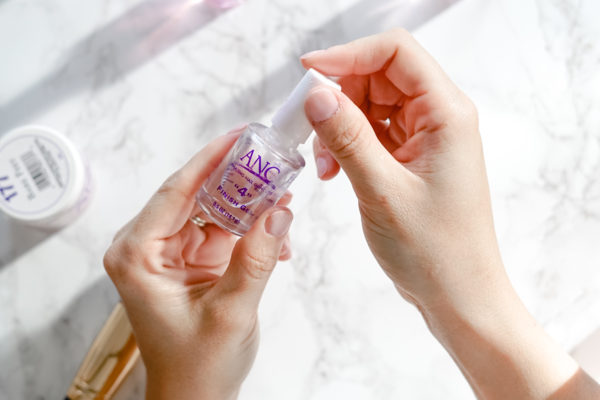
STEP 3 // APPLY YOUR FIRST COAT
Apply one thin, even coat of Gel Base #2 to one nail, stopping just short of the cuticle. Your base will be clear – mine is a little red from repeat use with red powder.
A few quick tips, since this is the trickiest step:
- The gel base is what the powder will adhere to, so make sure you get full coverage on the nail or you’ll have blank spots (although you can fix this in the second coat).
- Avoid getting excess base coat on the skin around your nails or your cuticles. Doing so may lead the gel to break off those areas early in the life of your manicure.
- Keep the coats as thin as possible. Too thick of a coat will lead to uneven or lumpy powder application.
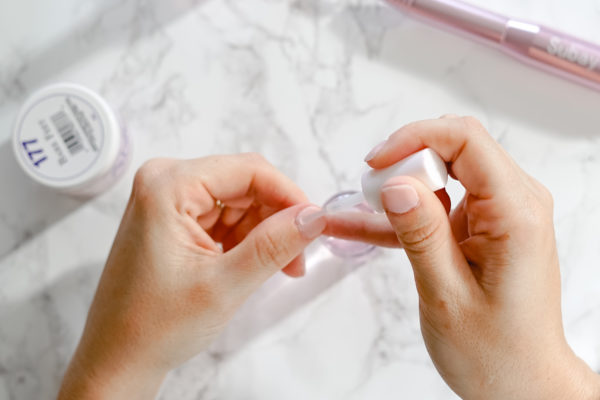
STEP 4 // COVER IN DIPPING POWDER
Dip your nail at an angle, nail up, into the powder. Remove from powder and tap the side of your finger to remove excess powder.
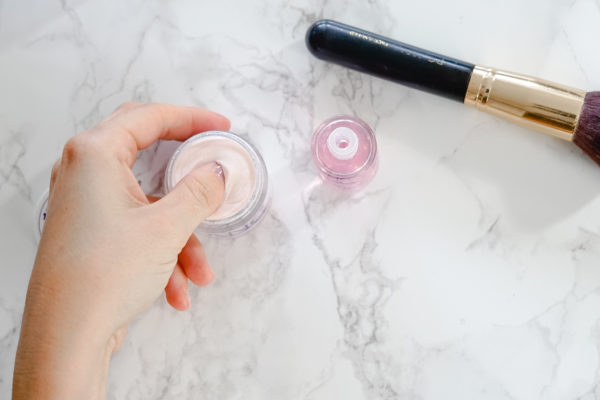

Continue across both hands, one nail at a time. Use a loose brush to wipe away excess powder from your nails and hands.
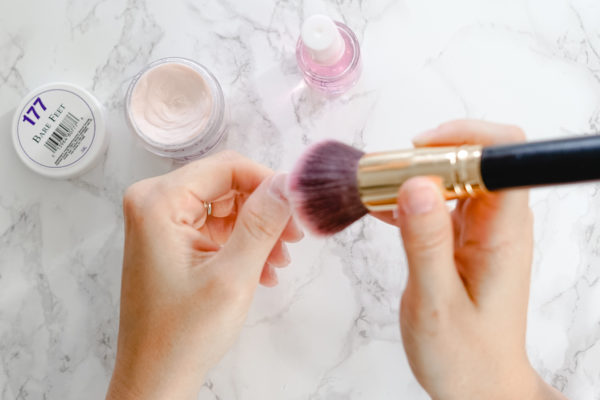
You may still have some color from the powder on your skin. Don’t worry about this – it will wash off at the end.
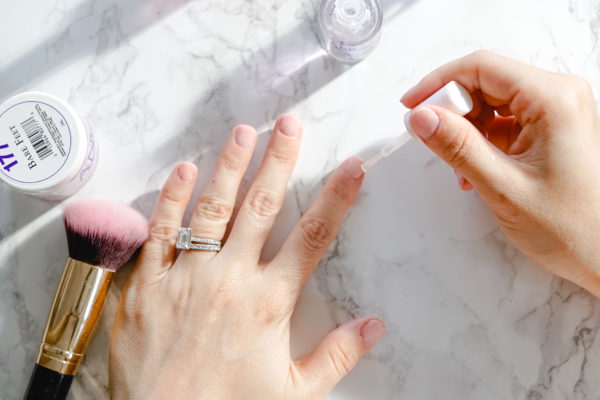
STEP 5 // REPEAT TWO MORE TIMES
Apply a second thin, even coat of Base Gel #2 to one nail. The nail will have a wet look wherever the Gel Base is applied. Repeat the process of dipping in the powder and tap off the extra powder. Continue across all nails, then brush off the excess.
Repeat one more time, for three thin, even powder coats. You should notice the color has become more even and opaque.
STEP 6 // ACTIVATE THE POWDER
Paint a single coat of Activator #3 on each nail. You should see the color darken and become more opaque. The dipping powder will also start to harden when this coat is applied, allowing you to shape and file the nail without the powder crumbling. One coat is fine here – we’re going to do another coat in a minute!
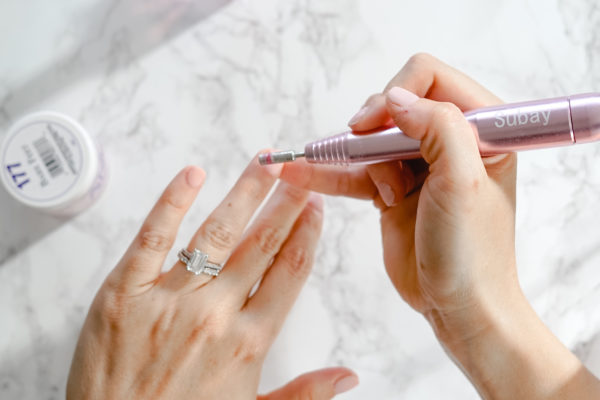
STEP 7 // FILE AND SMOOTH THE NAIL
Using your nail file, shape your nails however you like. I prefer a square edge with rounded corners; some prefer a more rounded look.
Then, file down a bit of the powder to get a clean, smooth surface. I also like to angle my tool near my cuticles and the sides of my nails to blend in the color powder with the recessed nail surface. It provides a more even appearance as your nail grows, versus a sharp drop-off where the powder ends and the new nail starts. (This is why I love the nail drill – you can’t get that precision with a filing block!).
Dust off any excess powder using your loose brush.

STEP 8 // REACTIVATE AND FINISH IT OFF
Apply one more coat of Activator #3 to each nail and let dry. You may have drilled off some of the activator and reached a lower level of the dip powder in the last step, so we want to resolve it here. This step is critical to getting a glossy, durable finish!
Top each nail with two coats of Finish Gel #4. Allow to dry fully between coats, and before washing your hands. If desired, apply cuticle oil once Finish Gel is completely dry (about 5 minutes). All done!
REMOVING THE POWDER //
Whether you’re ready for a new color or don’t want anything for a bit, getting the powder off seems like a monumental task. Don’t attempt to chip it off! This is super damaging to your nails! Instead, grab a bottle of acetone, some tin foil, and a cotton ball – or check out our new HOW TO REMOVE DIP NAILS post for some fun Amazon buys that make this even easier!
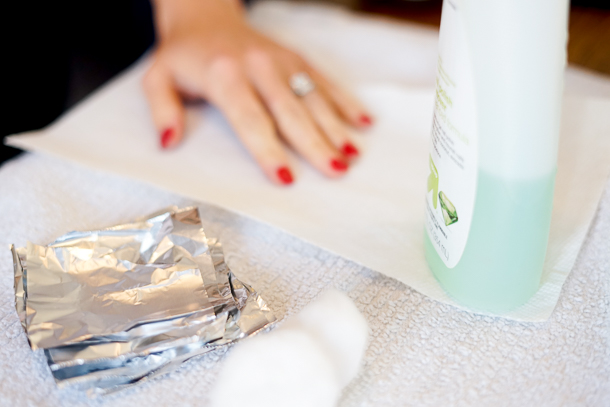
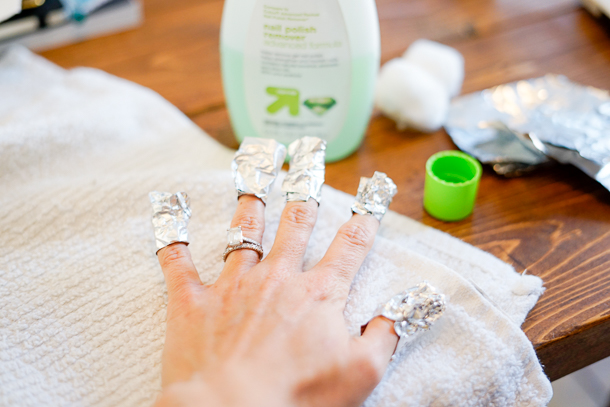
Pull off a tiny bit of cotton ball (Does this drive anyone else crazy just thinking about it? Nails on a chalkboard for me!). Dip in acetone and place over the nail color. Wrap your nail in foil to keep the soaked cotton ball secure. Make sure you’re doing this over a towel or durable surface like a bathroom counter as some acetone will likely run down your hands.
Turn on a Netflix show and wait 10-20 minutes. The longer you wait, the easier removal will be. Slowly pull off the tin foil and the dip nail color should come off in one piece too. I usually do just one nail to see if I’ve waited long enough. If it doesn’t all come off (and you’re impatient like me), you can use your nail drill to remove the layers that are loose and gummy now, then rewrap, wait another 5 minutes, and repeat. The powder goes on in layers and may come off in layers too.
So easy! Some of my favorite colors are:
- ANC 109 Make Me Blush, a barely-there opaque pink similar to Essie’s Ballet Slippers, shown in Step 5
- ANC 90 Red Rose, a true scarlet red, shown in the removal photos
- ANC 29 Maya, a super dark burgundy
- ANC 48 Dark Brown Tan, which (to me) looks more like a medium grey
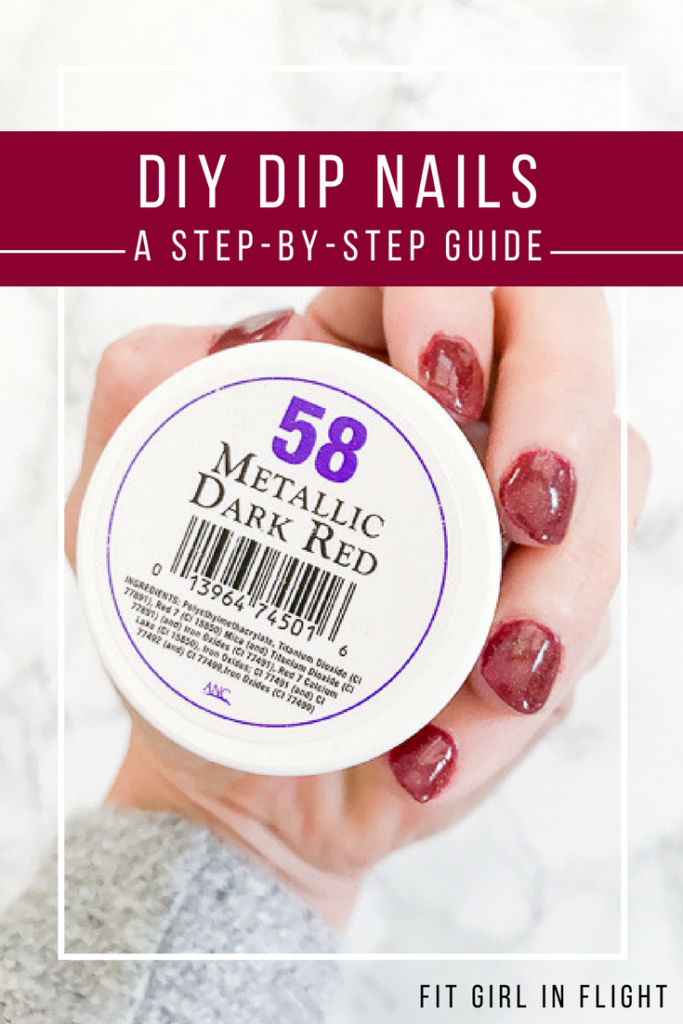
- ANC 58 Metallic Dark Red, a deep burgundy with brown undertones and gold shimmer, shown at the bottom of this post
I do miss my old nail salon and getting some “me time” while they do my nails – but the amount I save and the ease of being able to do my nails whenever I want is so worth it!
Have you tried the DIY route? Share your experiences below!
UPDATE: You can now shop everything recommend in this post on Amazon HERE.
What if you just want to keep the same color and just fill in the gap between the nail and cuticle??
I just did this last week! You’ll want to drill down the top just a little – both to have space for the two to blend together and to rough up the surface. I usually only do 1, maybe 2, coats after that. It’s much easier to “fill” with light colors.