At the request of our amazing group of sewers, we’re adding a new homemade mask how-to, simplified to remove the need for binding and using two different fabrics to make it easier to identify the front and back (ideal for workers quickly swapping on the masks or elderly who may have issues quickly locating the filter pocket, which identifies the back in our original design.
The original mask design, which is a bit more complicated but produces a more “finished” look, can be found here: Homemade Fabric Mask with Filter Pocket (original).
MATERIALS
- One 8.5” x 15” fabric (main), with the pattern running vertically
- 1 pipe cleaner, cut in half (half used per mask)
- Two 6.5” strips of elastic (7” for men’s mask).
- Sewing machine
- Filter piece (you’d want to do research on what’s best / what you can access)
Looking for fabric or elastic? We’ve rounded up our favorites here!
INSTRUCTIONS
These instructions are also outlined for sewers producing batch quantities, increasing the efficiency if you’re producing multiple masks. Only making one? No worries – these instructions work that way too!
UPDATED: Video tutorial added at the bottom of the post!
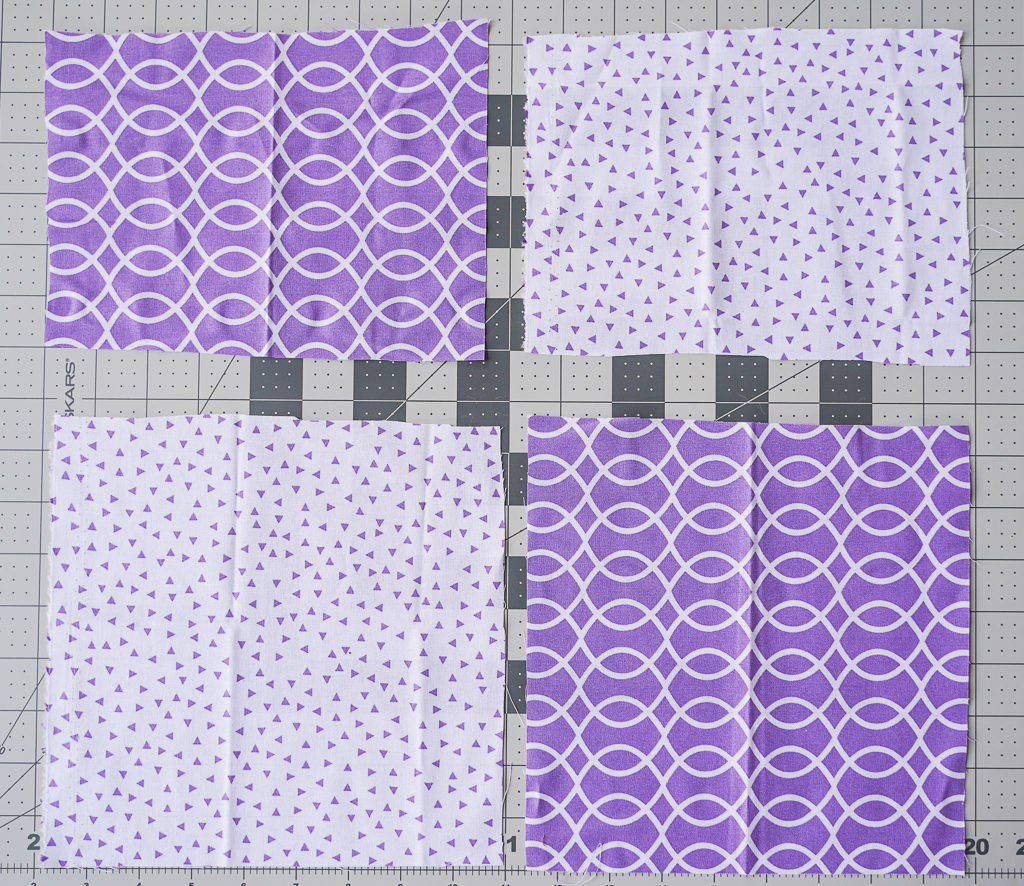
- Cut two pieces of fabric – one 8.5″ x 8.5″ square, a second 6.5″x8.5″. If you’re working from 15″x8.5″ from our original instructions, keep those pieces and cut the long end at 8.5″ which will result in the two sizes above.
- Flip your fabric right side down and iron down 1/2″ on each piece (along the 8.5″ length).
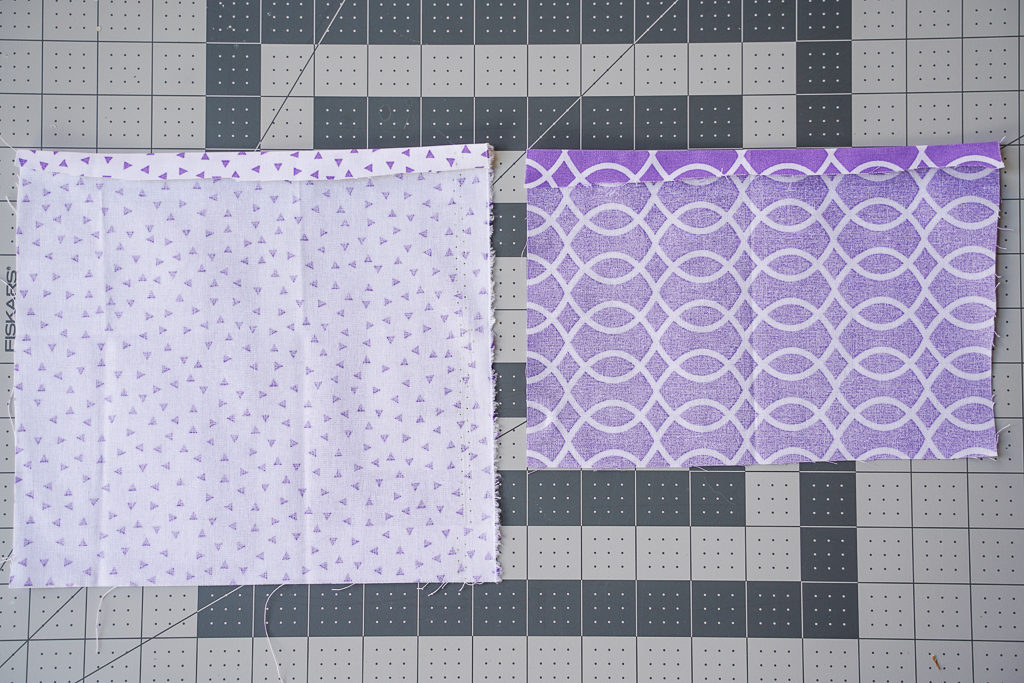
- Sew along the 1/2″ fold. This will be the finished edge of your filter pocket.

- Lay fabric right sides together and align the raw edges (the side opposite the line you just sewed). Sew the two pieces together along the bottom raw edge.
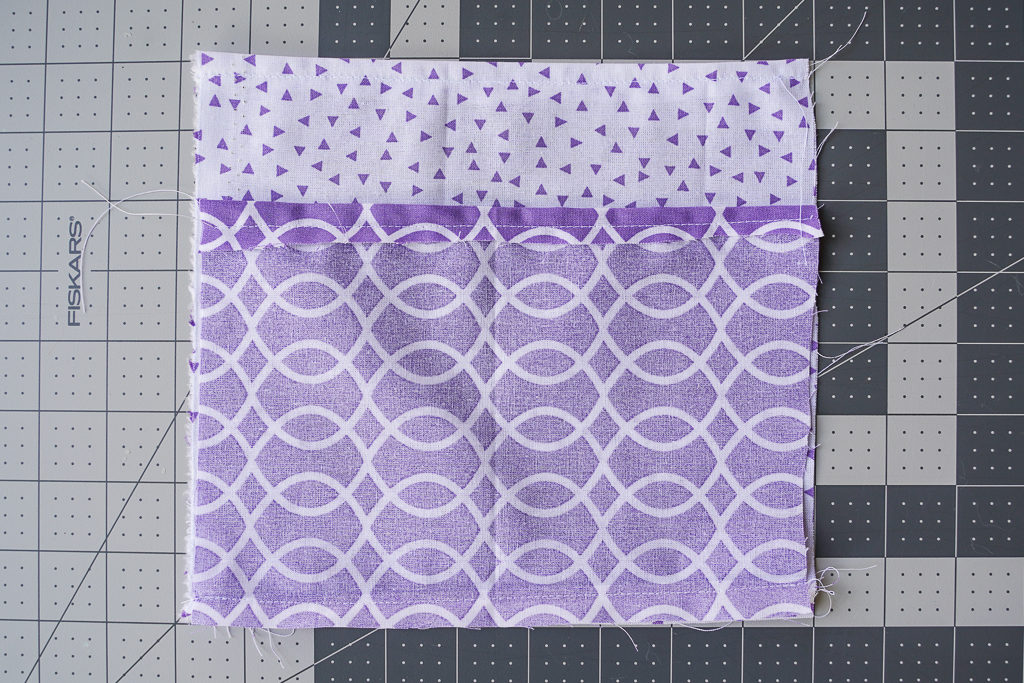
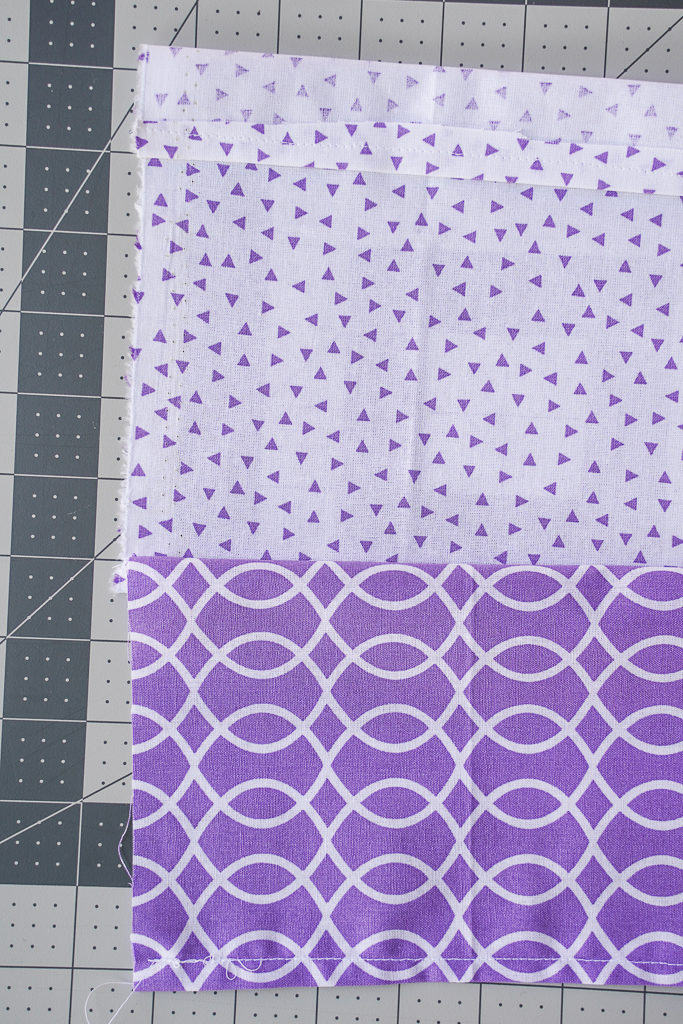
- Fold the larger piece down 1″ from the top. When you fold the small side up, there should be an overlap of at least 1/2″ between the two pieces.
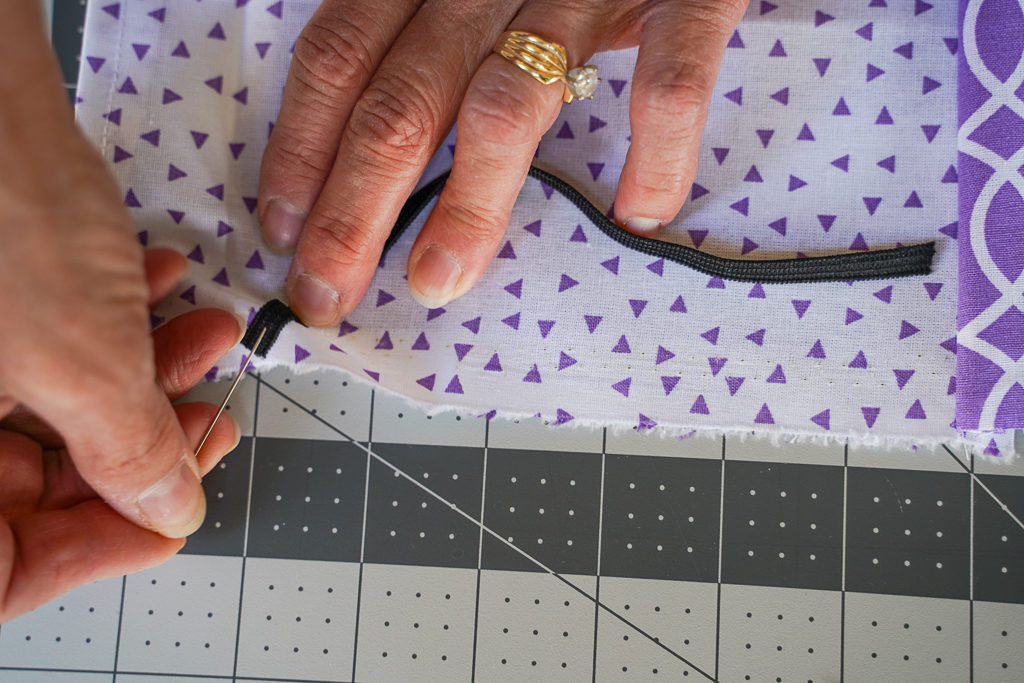
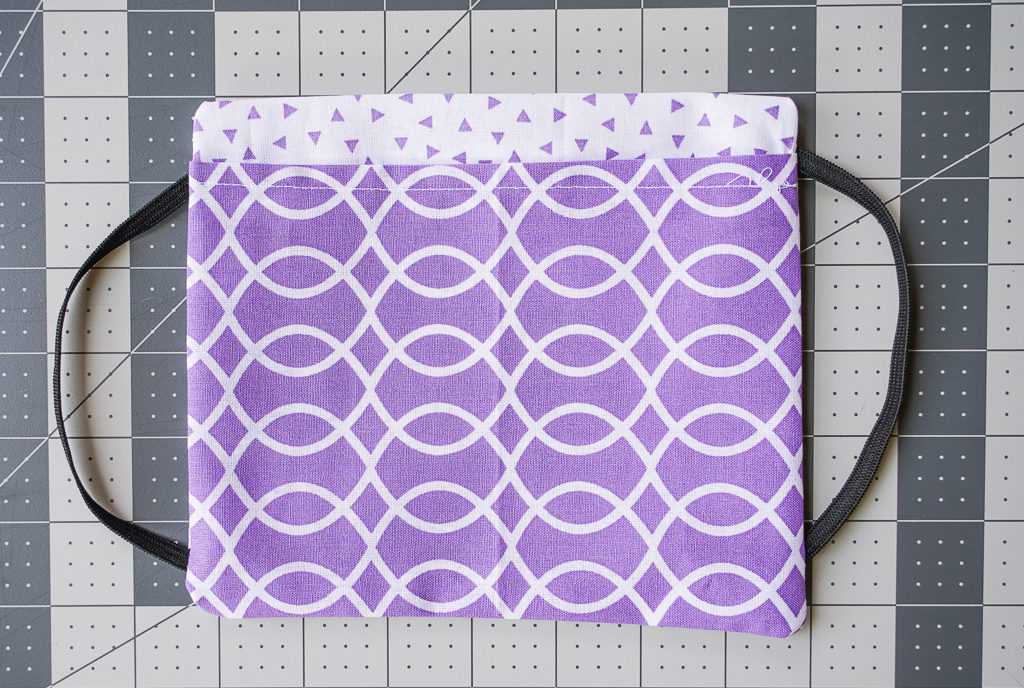
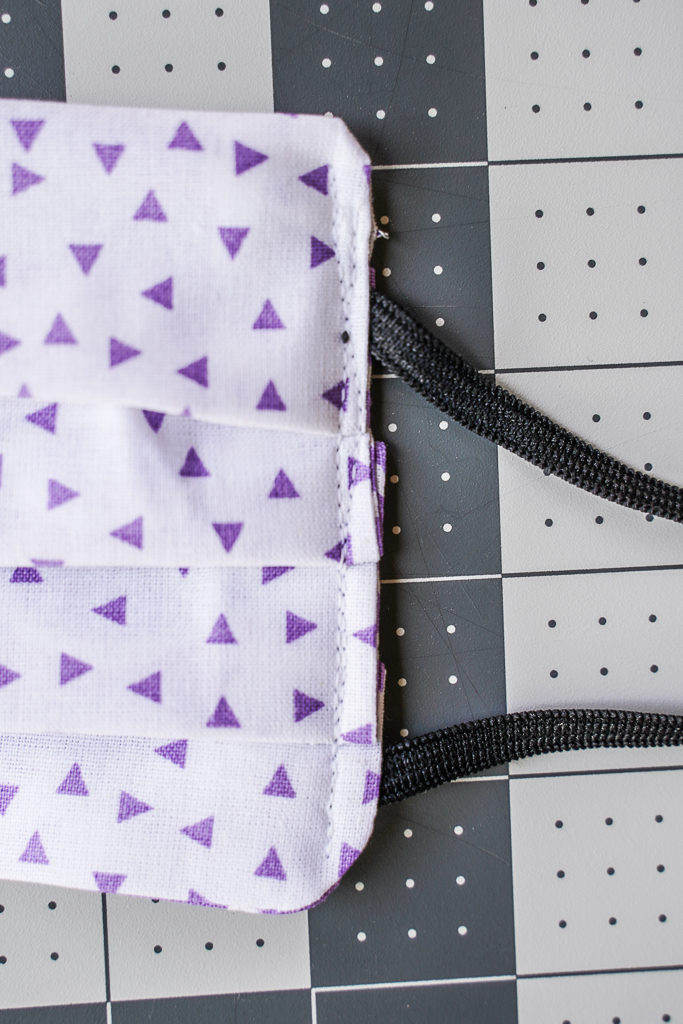
- Open up the fabric and pin the elastic to the edge of the right side of the large fabric, as shown below. The elastic should be curved inside the mask, below the iron seam you made in the previous step.
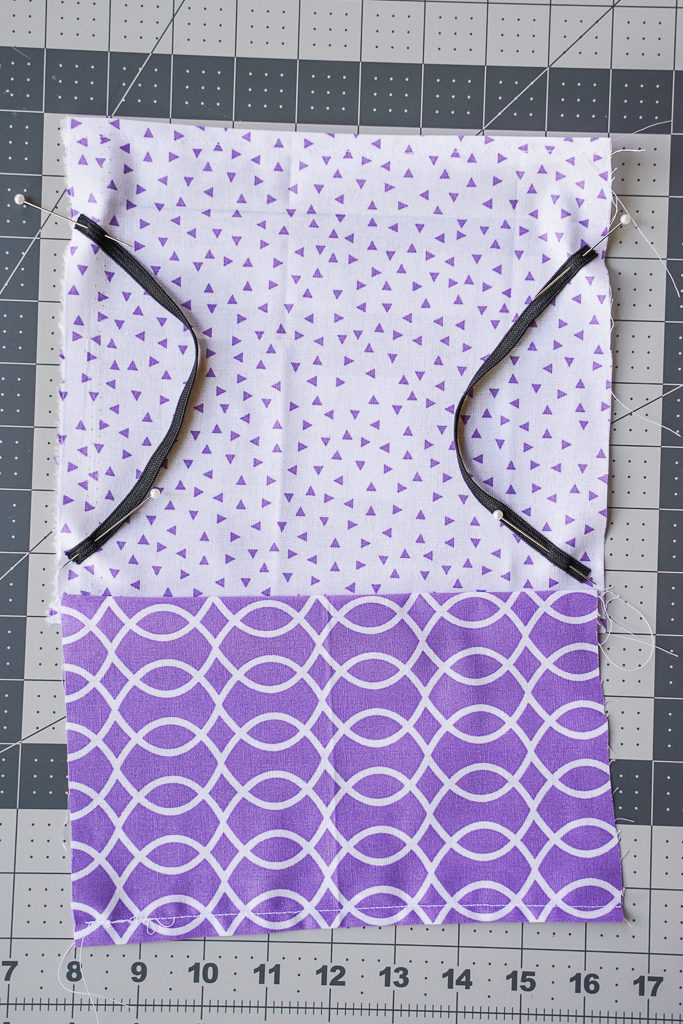
- Fold mask back, right sides together. The elastic should now be on the inside.

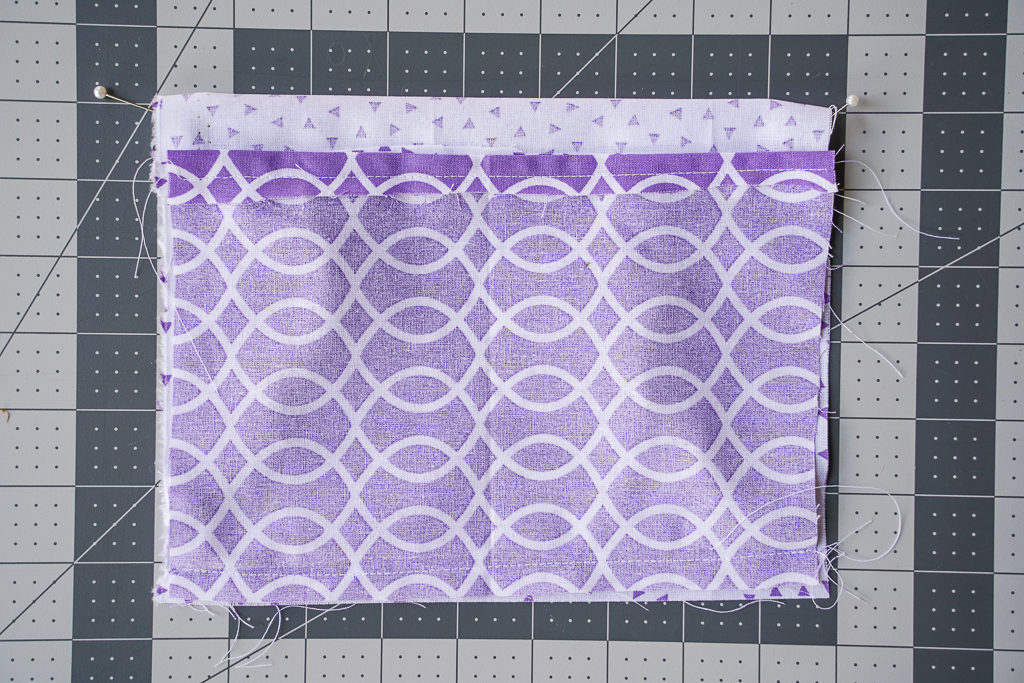
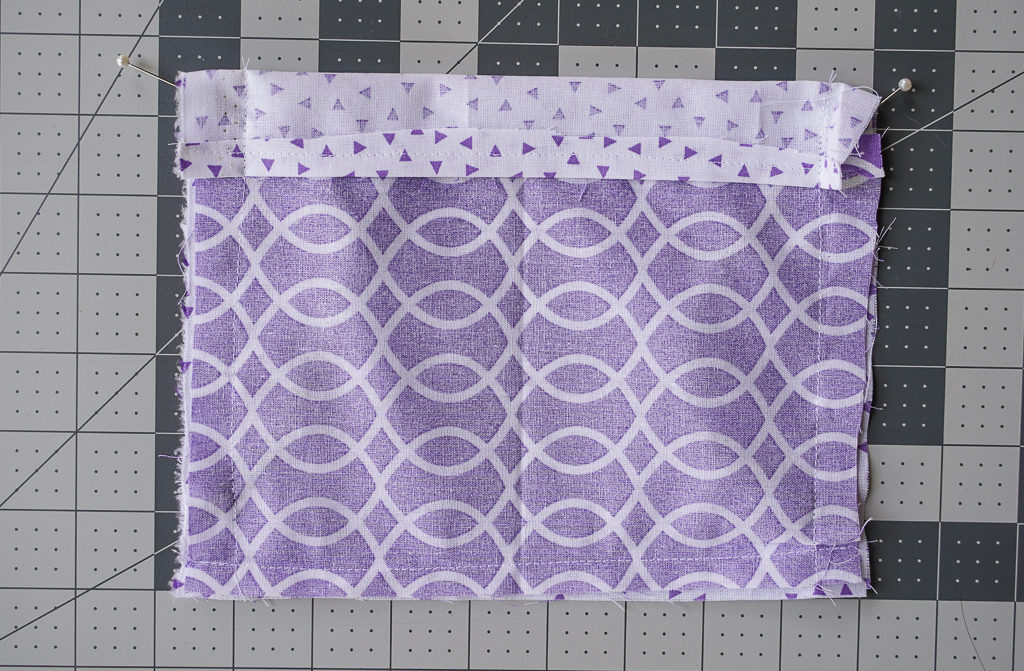
If preferred, you can invert which fabric is on top. If the short fabric is on top (as shown above), it will actually be under the top flap when turned right side out. This increases the likelihood that the pipe cleaner could fall out, but keeps the filter more secure. We opted to invert from the photo above, leaving the top/longer piece overlapping the smaller, so the top flap would be concealed when turned right side out (see below).
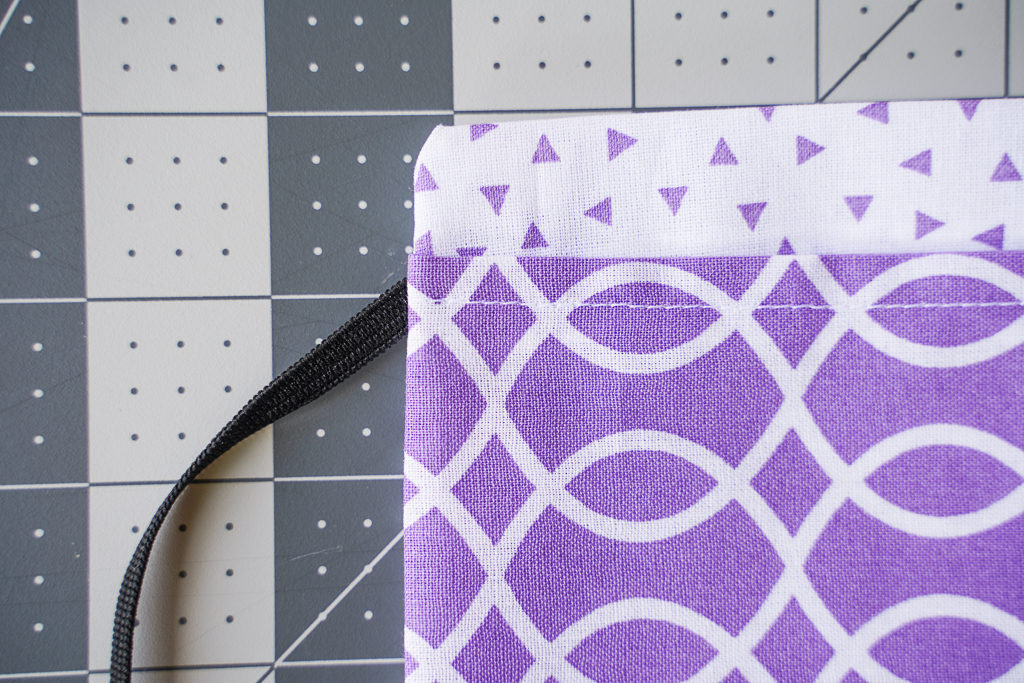
- Run a stitch up either side of the mask, before turning right side out. Don’t worry about locking in this stitch – you’ll run a second stitch when you add the pleats.
- Flip right side out and iron edges. If you had a large seam allowance, it may be easier to cut the inner corners before turning right side out.
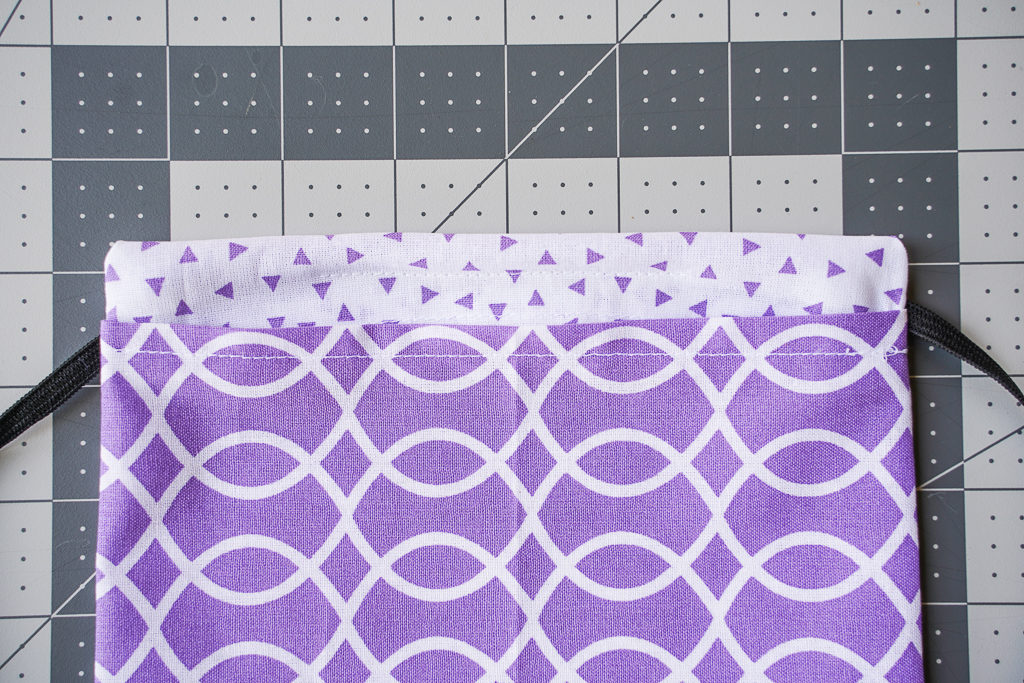
- Tuck the half pipe cleaner into the upper flap. If you want to strengthen the top of the mask, run a top stitch along the top of the mask prior to this step.
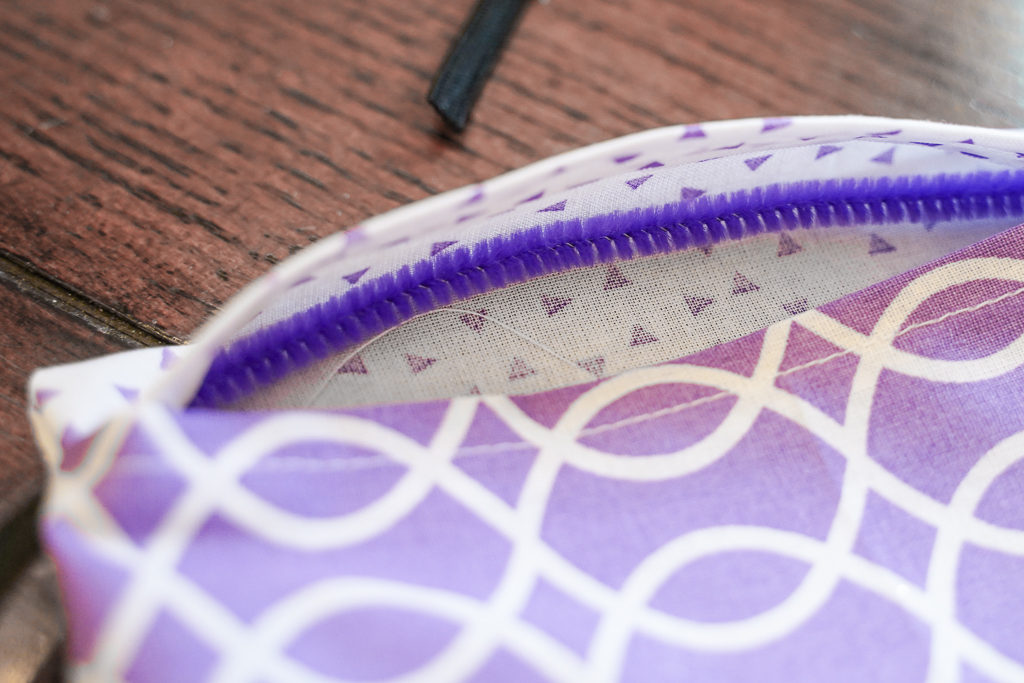
- Run a stitch along the center of the mask, just below the pipe cleaner to hold in place.
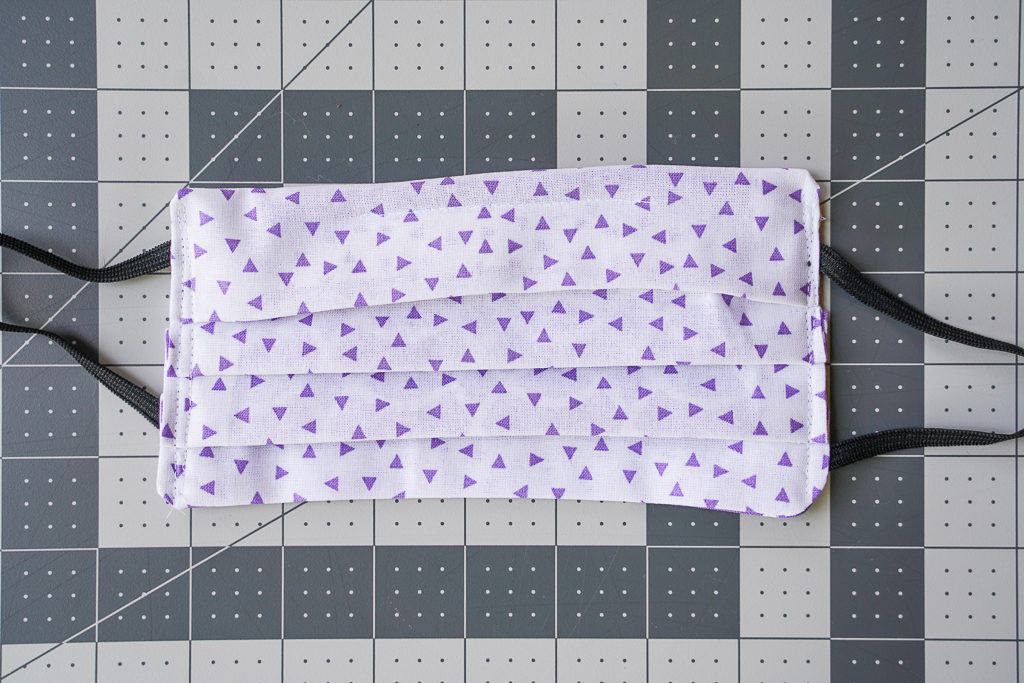
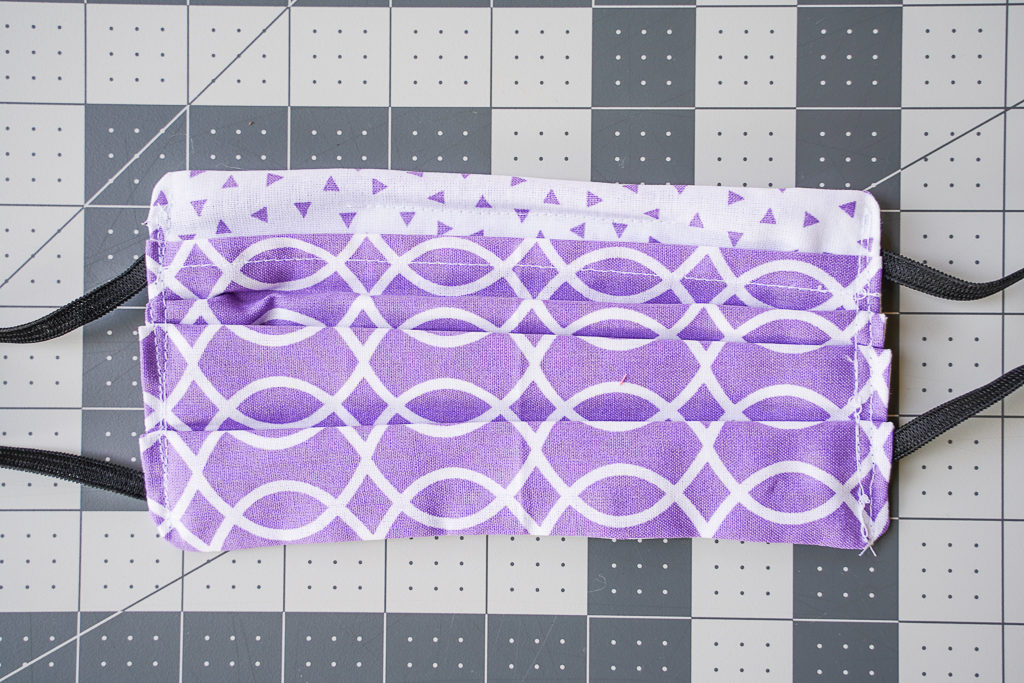
- Create three pleats in the mask, with the folds facing downwards from the front. Iron in place. Resulting mask should be 3 – 3.5″ high. Run a locked in stitch down each side to hold the pleats in place.
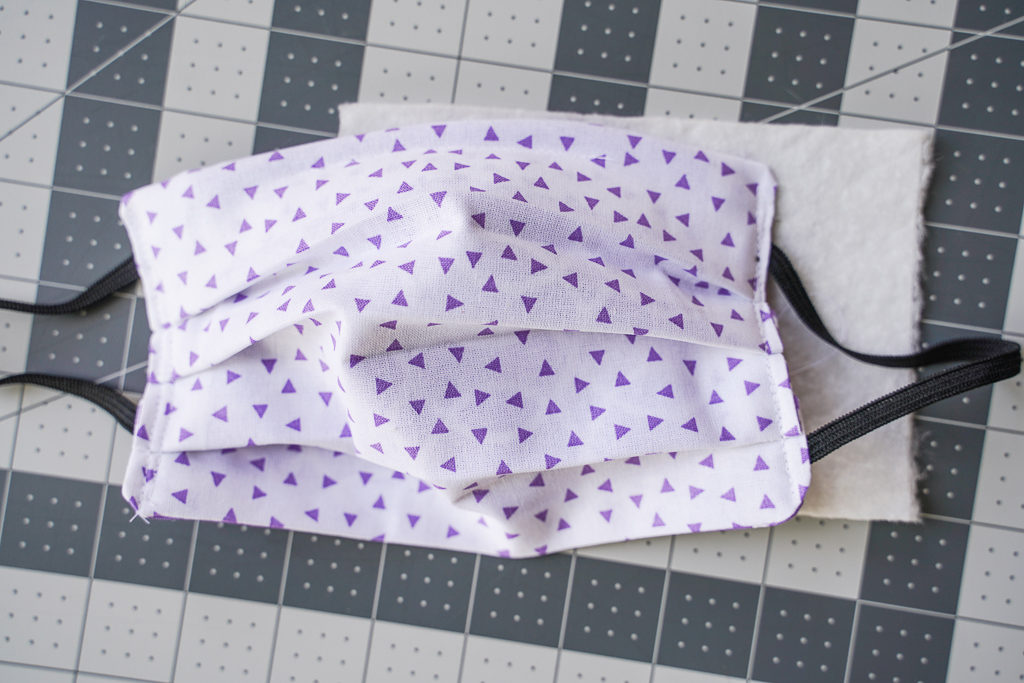
- Trim excess thread to complete. The front of your mask will be all one color, with the pipe cleaner at the top and downward pleats. The back will show two fabrics. If you’re concerned about identifying quickly which is the back, you can also add a “B” or other symbol on the back in permanent marker or using heat transfer vinyl.
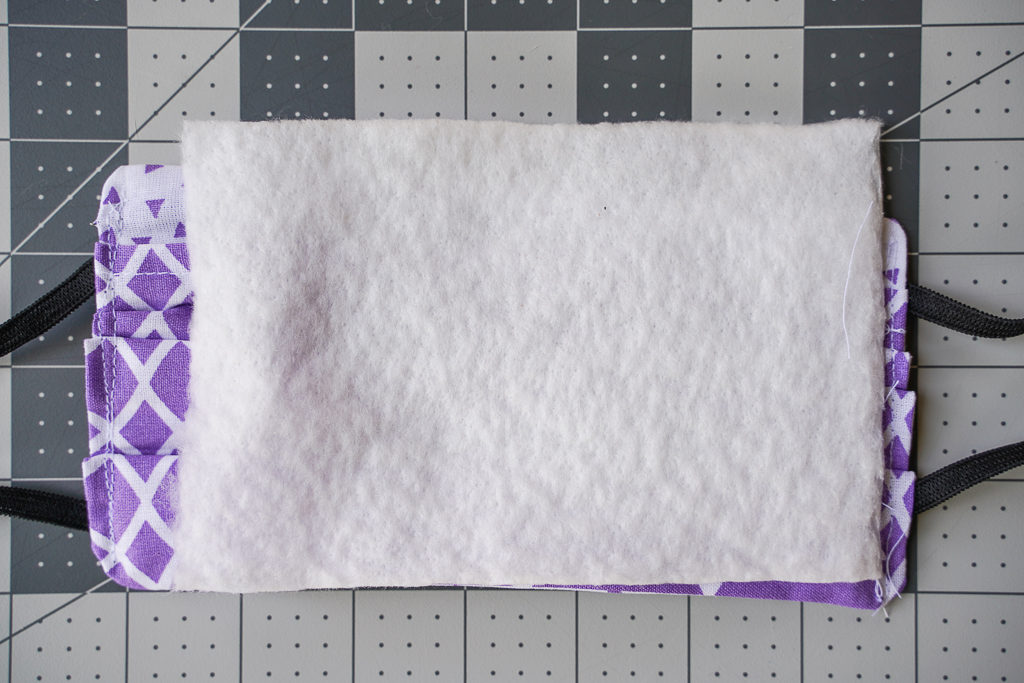
- Once washed and dried, add a 4×6 filter to the mask. The filter is designed to be slightly larger than the folded mask, so the filter covers the nose and mouth when the mask is expanded around the face.
WATCH THE VIDEO TUTORIAL
PIN THIS


do you have measurements for this one for children? Thank you!!!
No, it really varies based on the size of the child. Anyone over about 12 can likely use this size. For my toddler, we reduced the width by 1.5” and the height by 2” on each piece. Another option would be to cut as-is, then measure the child’s face as you start sewing and make larger seam allowances for smaller faces (cutting excess before flipping inside out). Always better to be too big than too small! You can then make more adjustments as you gather.