• Skip to primary navigation
  • Skip to content
  • Skip to primary sidebar

Life on Beacon

  • Food
  • Flight
    • Travel Guides
      • Africa
      • Europe
      • Texas
      • United States
    • Travel Tips
  • Fitness
    • Fit Pregnancy
    • DIY Competition Bikini
  • Family
  • At Home
    • DIY
    • Look for Less
  • About

DIY

Competition Suit DIY: Connectors

Competition Suit DIY: Connectors

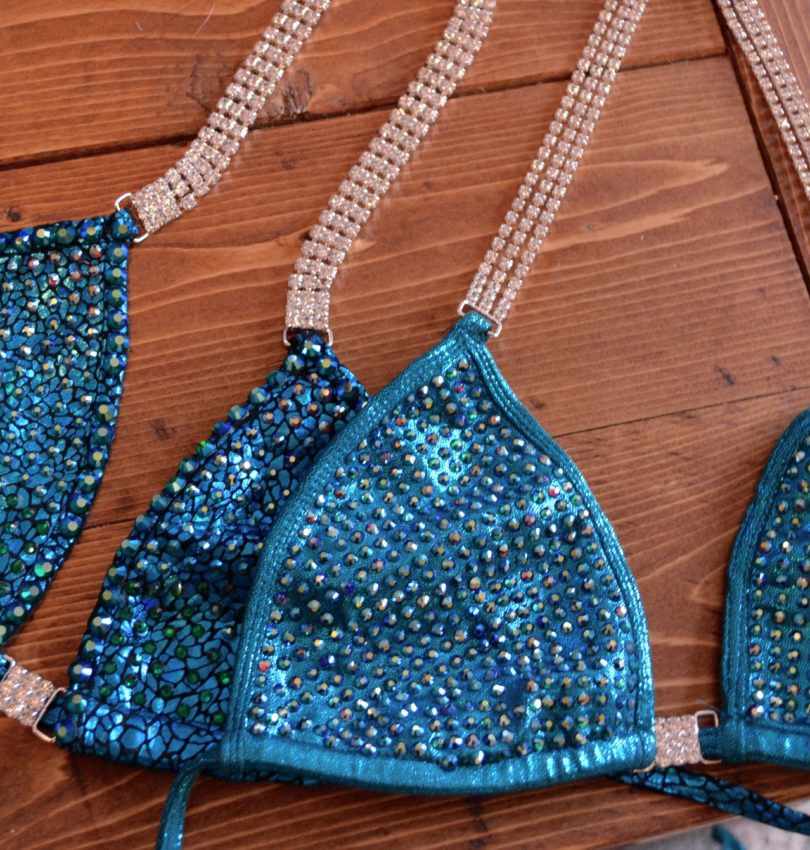
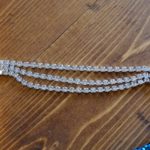
You’ll need a total of 6 connectors for your suit.  If you want to save a little more, you could skip the connectors, but they add a lot of sparkle on stage – always a good thing!  I buy my connectors from Mode Beads or Bead and Trim.  Bead and Trim is less per unit, but has a minimum order quantity per style of 4-10 – great if you’re splitting with other girls or making multiple suits, but leads to extra materials if you’re just buying for yourself.  The specific connectors I use are all linked below, or you can buy any extras I have from my Etsy shop.

First up, the center connector.  This is a small piece between the two triangles.  The size that will look best depends on how wide your chest is.  I have a fairly small frame, so I use a center connector that is a little under 1″ wide like this 3×3 crystal or this one with a larger center stone.  If you prefer more spacing in your top, you might prefer a 3×6 crystal connector like this one.

Buying the Fabric for Your Competition Bikini

Buying the Fabric for Your Competition Bikini

Whether buying or making your competition bikini, picking the right fabric is critical.  A few things to keep in mind when selecting your fabric:

Competition bikinis should always be made with 4 way stretch spandex.  Unlike 2 way stretch, which only moves in one direction, 4 way stretch spandex stretches both cross-wise and length-wise.  This enables the fabric to move with you and be pulled taught around a fixed object {like your top inserts} without the print “cracking”.  If you pull a 2 way stretch fabric in a direction it does not stretch, the ink used to print the fabric will appear to crack, losing its elasticity and showing white or black lines through the print.  

I source all of my fabrics from Spandex House.  They have tons of 4 way stretch spandex options in nearly every color imaginable, and at really reasonable prices.  I used their Avatar print in Turquoise and Black on my last suit, and have the same fabric in Black/Silver, Black/Purple, Black/Royal, and Black/Kelly as options for my next suit {I’m only a little indecisive…}.  I also picked up the Scattered Mini Dot fabric in Red/Black as an option for my next suit.  

Competition Suit DIY: Intro

Competition Suit DIY: Intro

Let’s be honest.  Bikini competitions are expensive!  There are entry fees, tanning appointments, travel to and from the show, hotels, supplements, gym memberships, and nutritionists.  Add a sequined competition suit, and you could be looking at $1,500 or more – for ONE show!

Competition bikinis from reputable companies are a minimum of $200 {for a basic suit, with no rhinestones} and can run as much as $700 for full rhinestoning.  Having grown up sewing with my mom, I decided to attempt my own {to be safe, I gave myself until 6 weeks prior to my show, at which point if I didn’t have the construction down, I was going to order one from someone else}.  

Hours of research and testing different patterns, three completed “practice” suits, and a few burns from the rhinestone applicator later, I had my suit done.  My first suit took about 4 weeks to construct; the second I completed in about 6 hours over the course of three days {yay efficiency!}.  

  • « Previous Page
  • Page 1
  • Page 2
  • Page 3

Primary Sidebar

Copyright © 2025 · Foodie Pro Theme by Shay Bocks · Built on the Genesis Framework · Powered by WordPress

We use cookies to ensure that we give you the best experience on our website. By clicking "Accept", you agree to our use of cookies and other similar technologies. AcceptNo