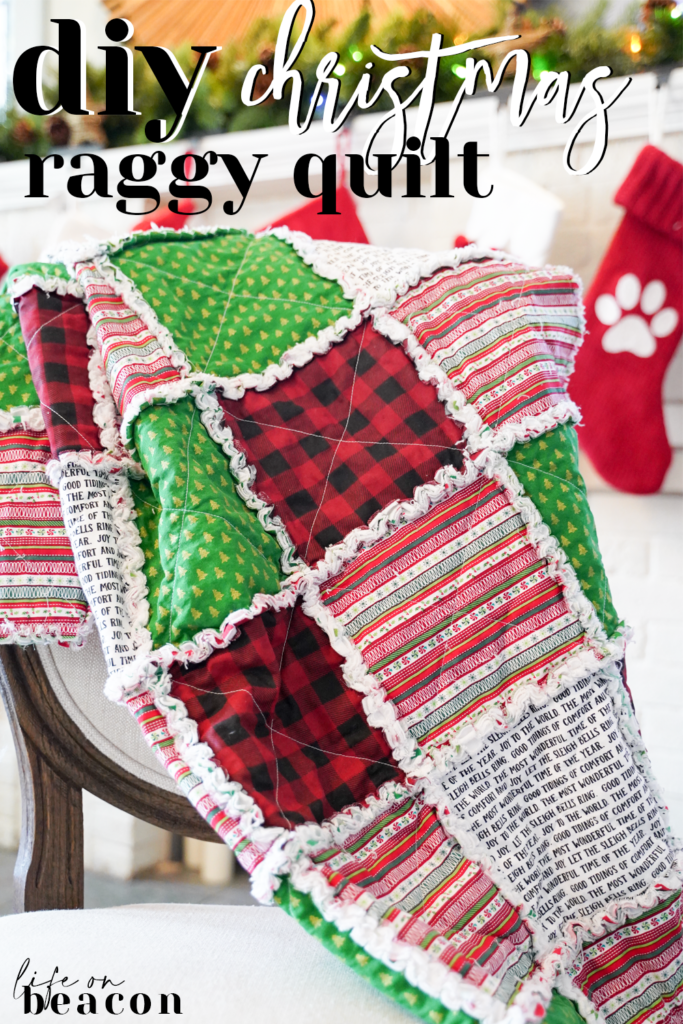
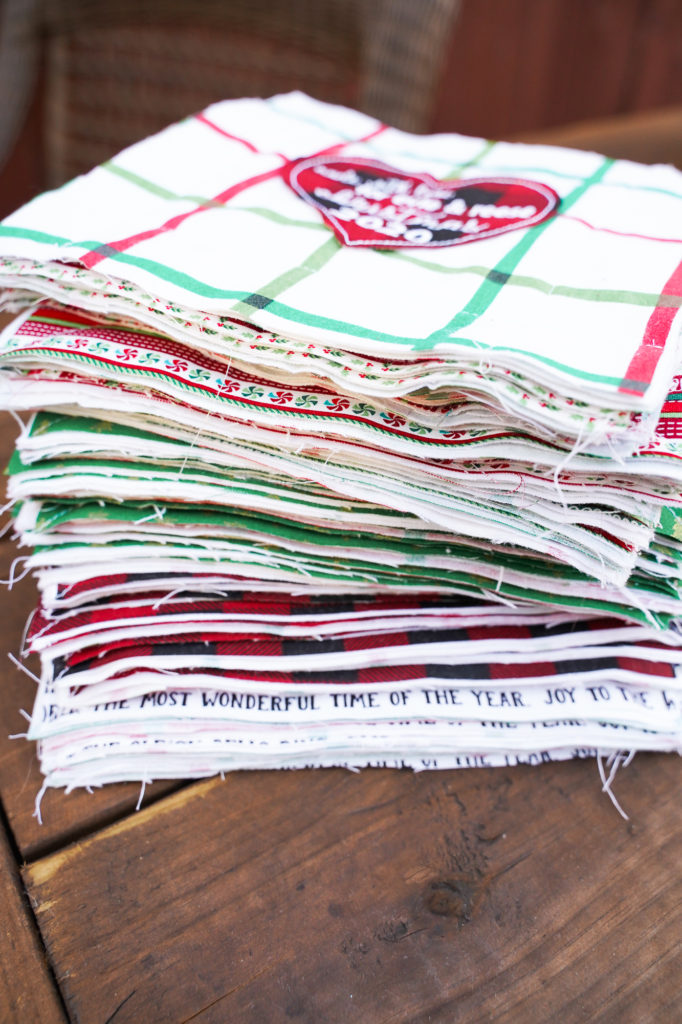
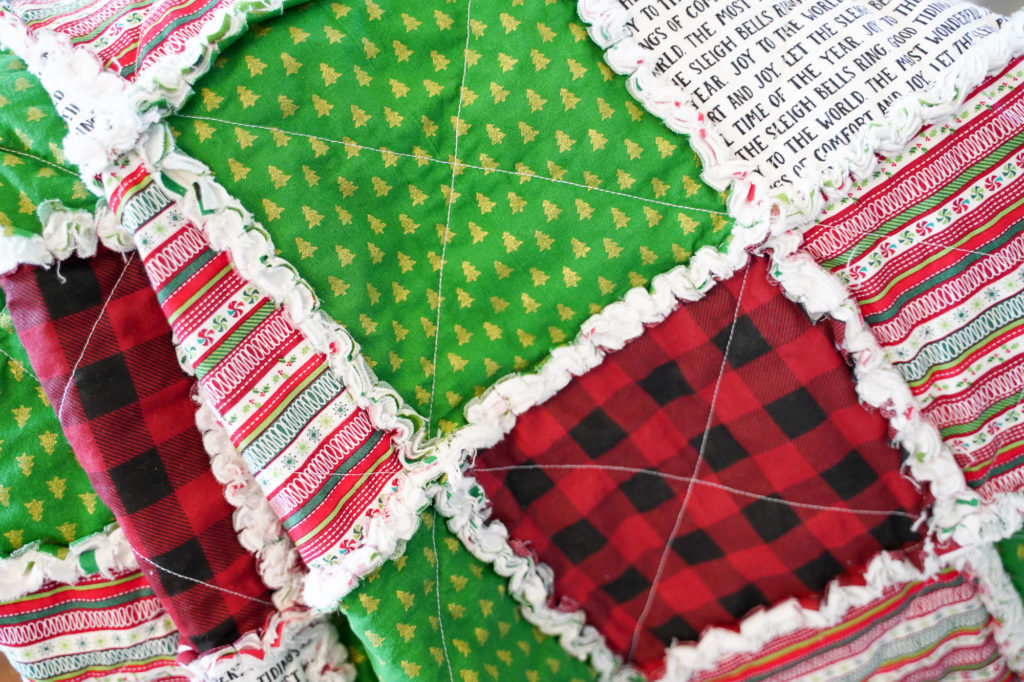
I’ve always loved the cozy, comfy look of a good raggy quilt and what’s a better time to make one than as an addition to your Christmas decor! Fun prints, soft flannel, and frayed edges make this raggy Christmas quilt the perfect project to add to your holiday plans.
Raggy quilts have exposed edges that fray the first time you wash them for that “lived in” look. They have the added advantage of being oh-so-easy to sew (no precise cuts or intricate sewing required!) and because the quilting is done as you build the squares, they also can be made in a couple of hours instead of days!
MATERIALS
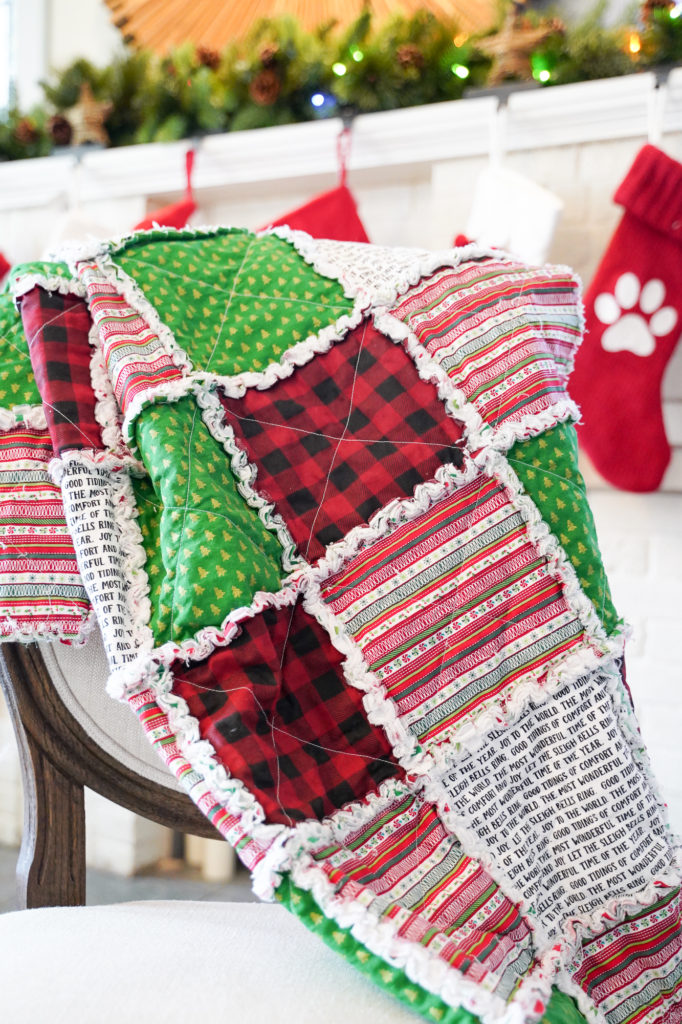
This tutorial produces a large throw quilt, perfect to add to your sofa and snuggle up with a holiday movie. The quilt is made of three layers:
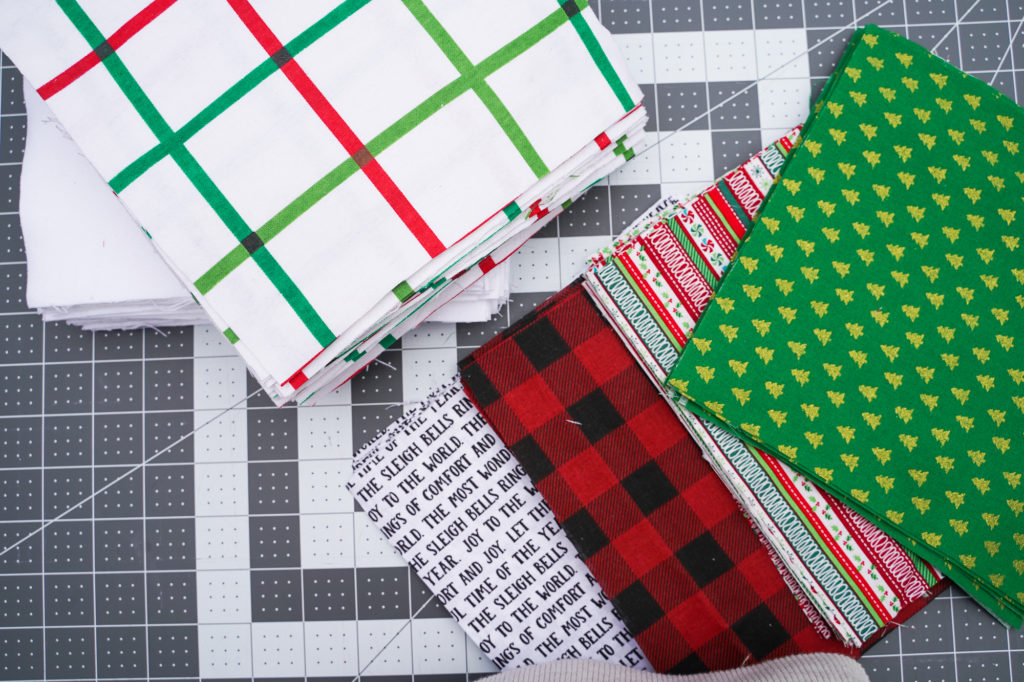
- A top layer made of a mix of cotton print (3+ yards total; 1 yard of each of 3 prints and 1/2 yard of a 4th print for the quilt pictured)
- A middle layer of basic flannel (3 yards)
- A backing layer of cozy holiday flannel (3 yards)
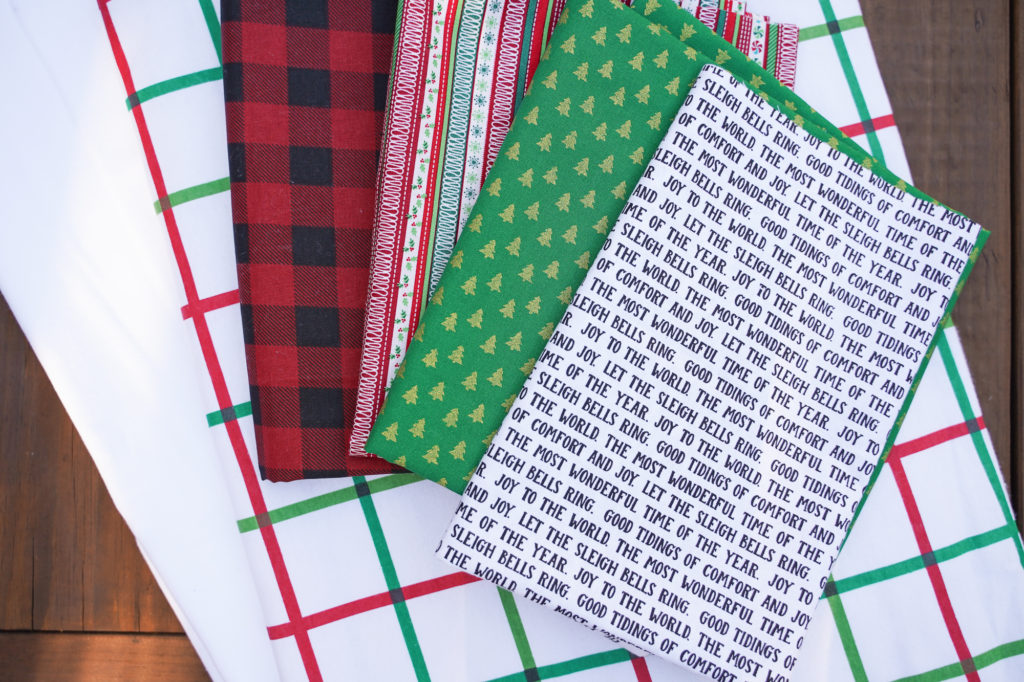
The fabrics we selected are all from Joann’s, purchased on sale + with a coupon for major savings (linked below).
SHOP TOP FABRICS: GREEN TREES // RED BUFFALO CHECK // HOLIDAY STRIPE // WHITE TEXT
SHOP MIDDLE FABRIC: SOLID WHITE FLANNEL
SHOP BACKER FABRIC: CHRISTMAS WINDOWPANE FLANNEL
INSTRUCTIONS
1 // Cut all fabric into 8″ squares.
For a seven square by nine square blanket (roughly # x # finished size), you will need:
- 63 squares of backer fabric. 42″ wide flannel should produce 5 squares (selvedge to selvedge) x 13 rows (104″ total), with a little excess on one end.
- 63 squares of middle fabric, cut like the backer above (5 squares per row, 13 rows).
- 18 squares of top fabric A, 18 squares of top fabric B, 18 squares of top fabric C, and 9 squares of top fabric D. Most cotton fabric is 45″ wide, which should produce 5 squares (selvedge to selvedge) x 4 rows (32″ total per fabric for A-C). Fabric D will be cut as 5 squares from selvedge to selvedge x 2 rows (16″ total).
Note: It can be time consuming to cut this many squares of the same size. If you haven’t invested in a quilting ruler, now may be the time – it saves so much time when you’re making square cuts. Just line up the fabric with the ruled lines within the square and run a rotary cutter along the edges.
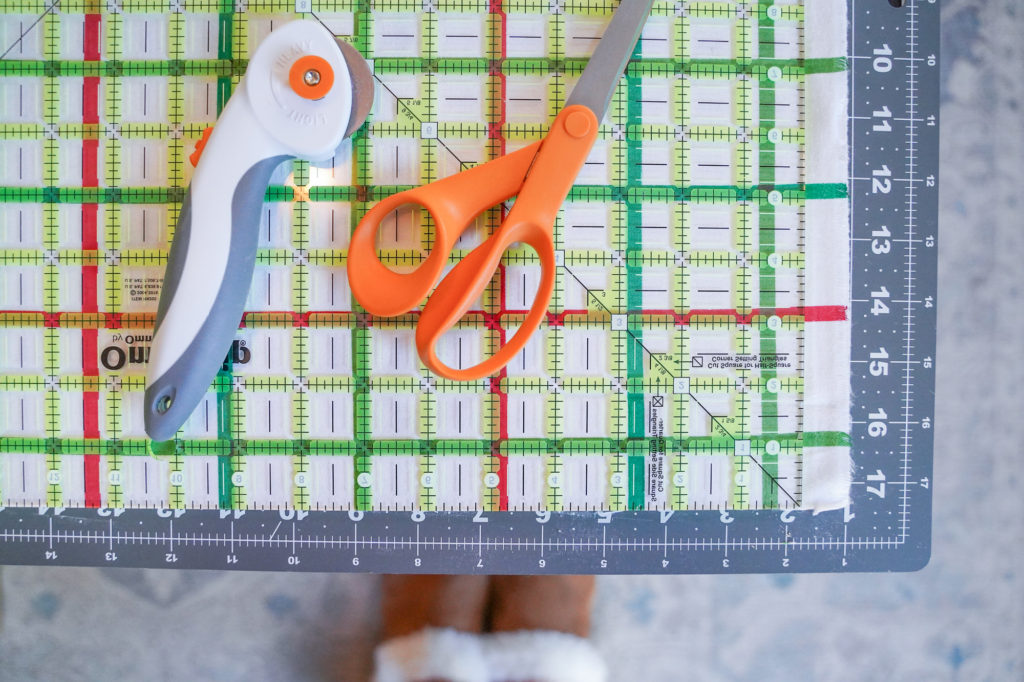
SHOP // Quilting Ruler // Rotary Cutter //
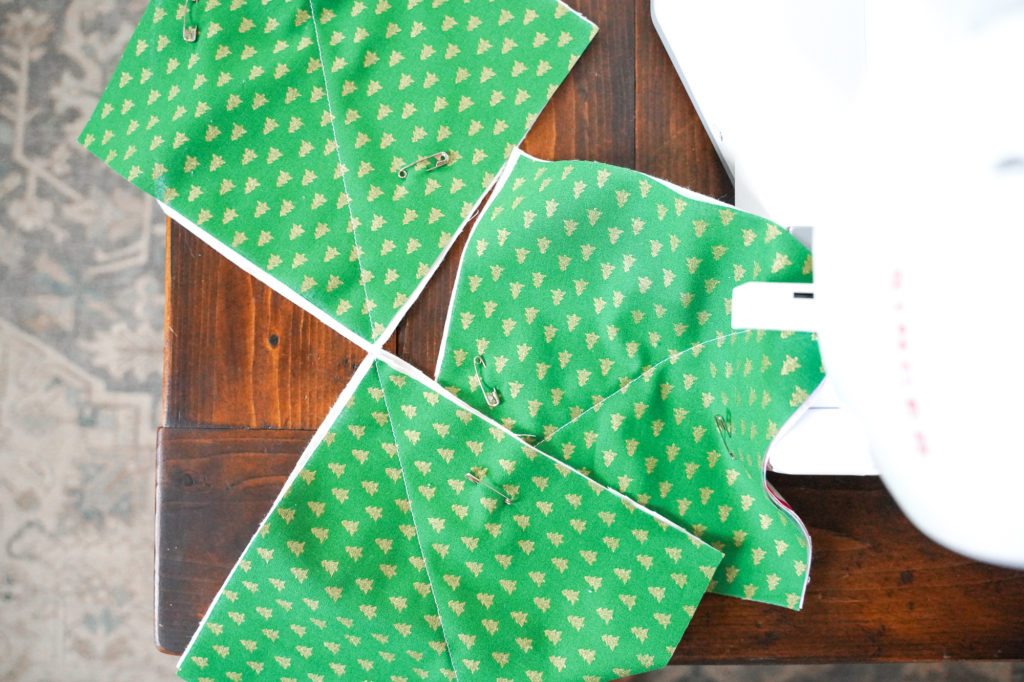
2 // Create quilt sandwiches.
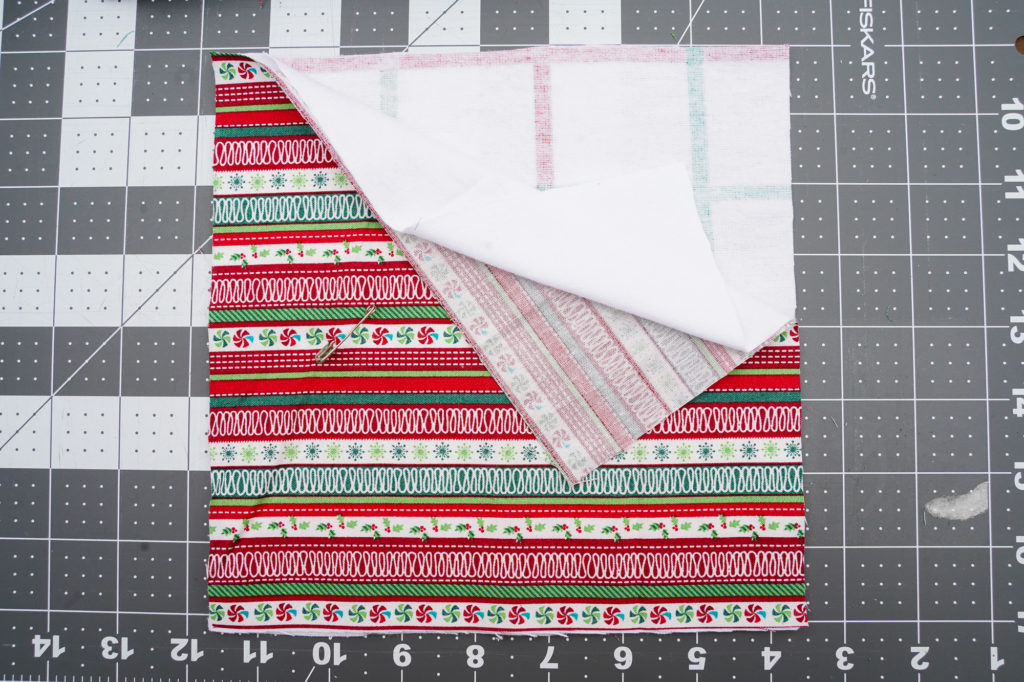
Lay the backer, right side down, onto your work surface. Place the middle layer on top (doesn’t matter which direction – it won’t show and if you’re using a solid flannel, there’s no “right” side). Lay the top layer, right side up.
If desired, you can use pins or spray basting adhesive to baste each layer together. I moved right to sewing and skipped this step.
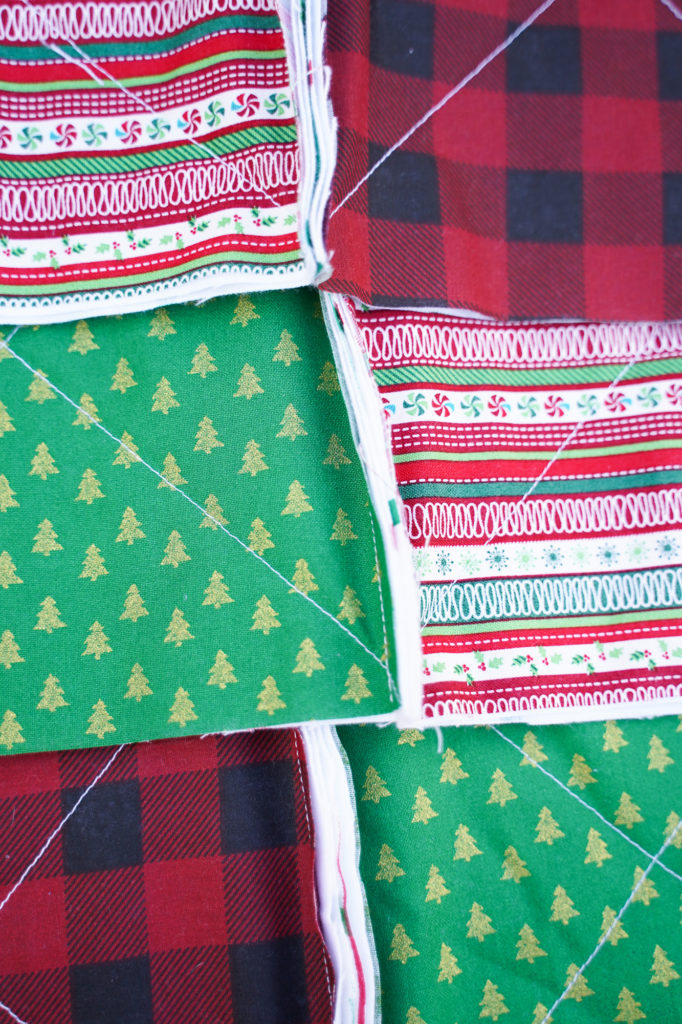
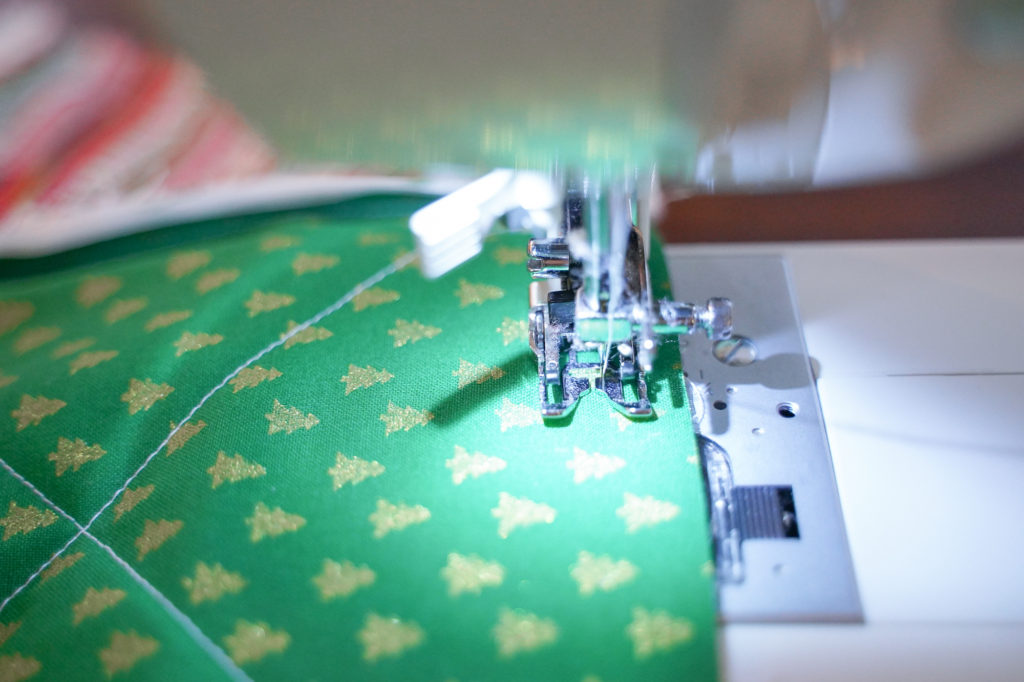
3 // Quilt the blocks.
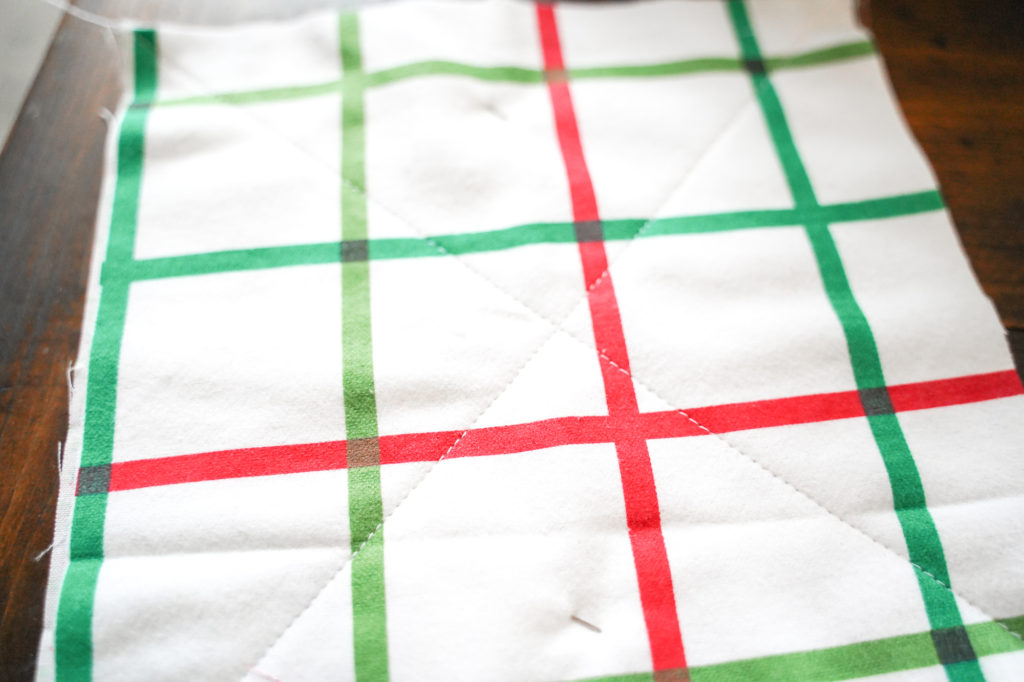
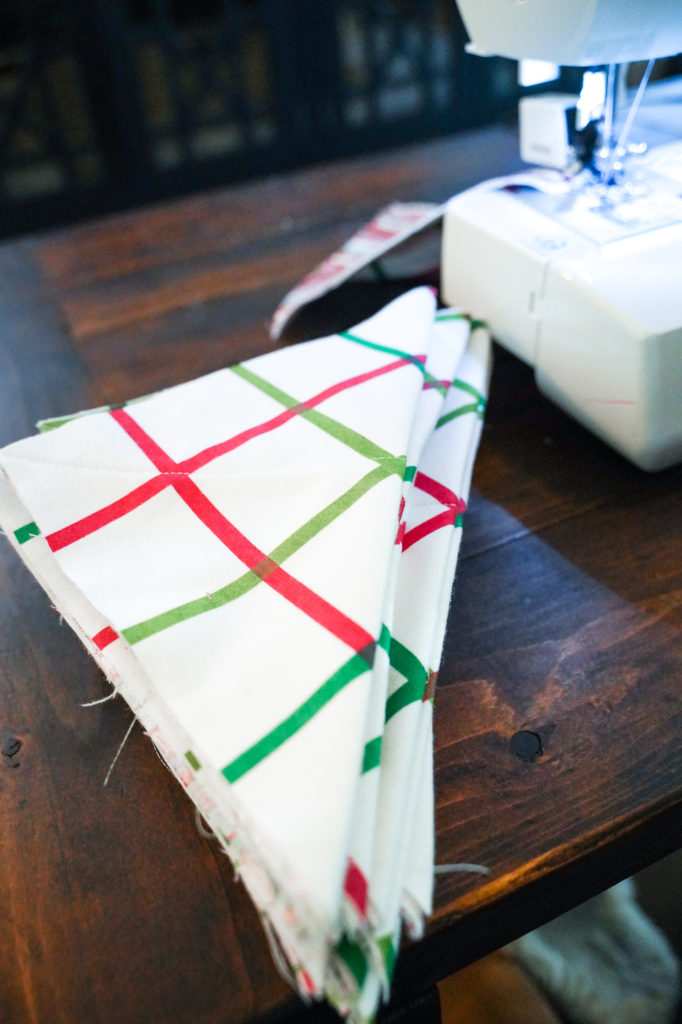

Mark corner to corner using a fabric marker or chalk, or by pressing the fabric into triangles using an iron. Use this as your guide line for the corner-to-corner quilting stitch. The resulting design should make an “X” on each block.
Tip: I chain-pieced the squares while sewing one diagonal, cut them all apart, ironed along the opposite diagonal for a guideline, and then chain-pieced in that direction to complete the “X”. I found this to be a lot more efficient than sewing the two diagonals on each piece before moving onto the next. There’s a great explanation of chain piecing here.
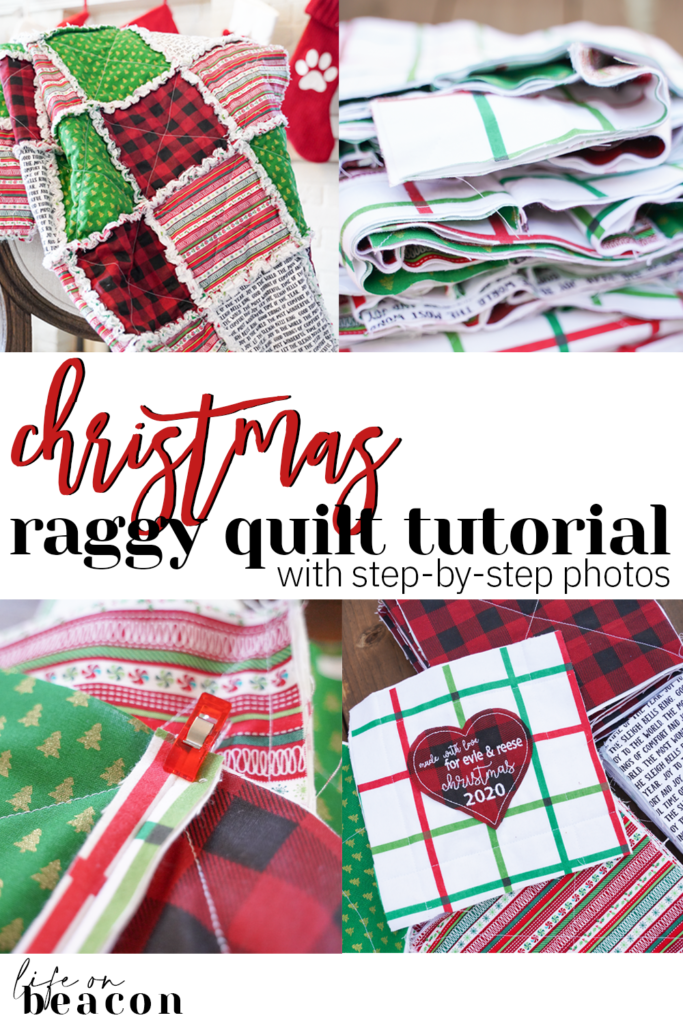
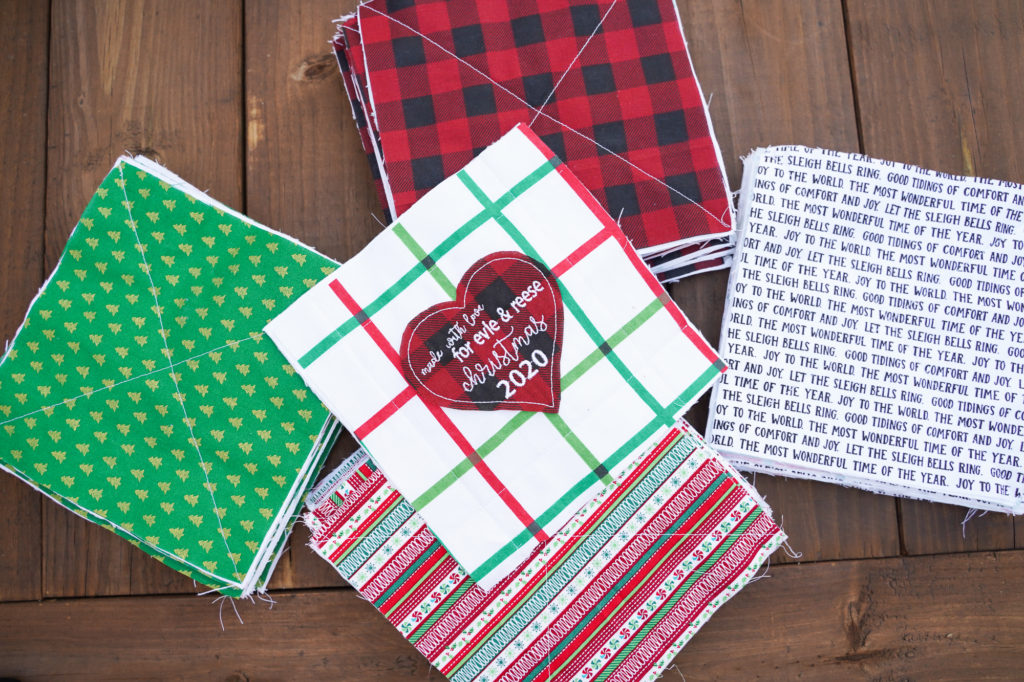
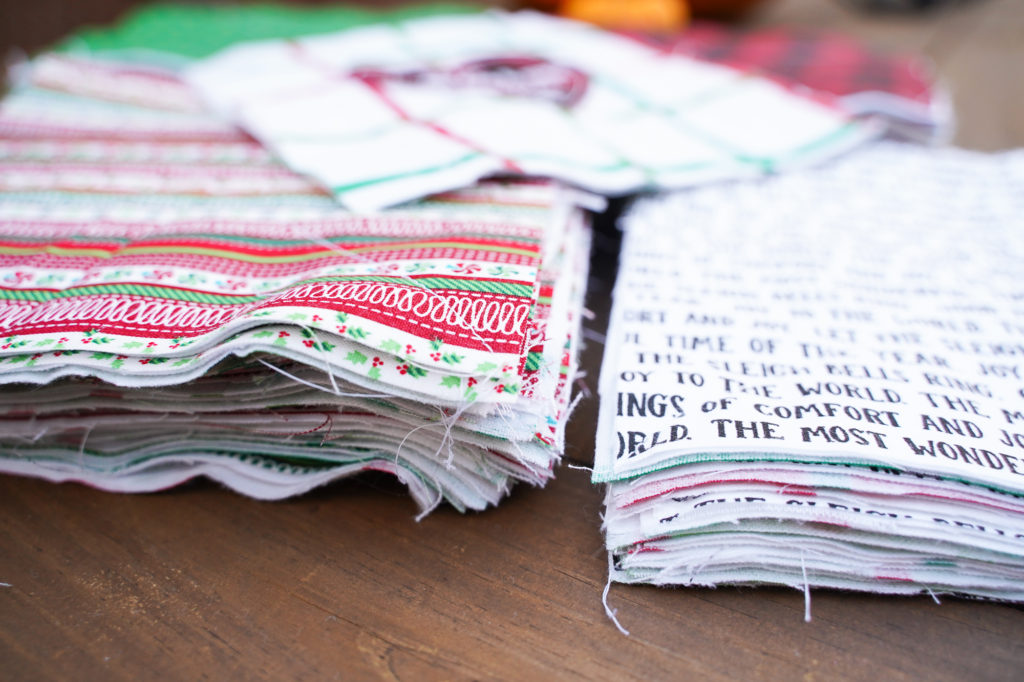
You should then have 63 quilted blocks ready for assembly (shown below).

4 // Plan out your quilt design.
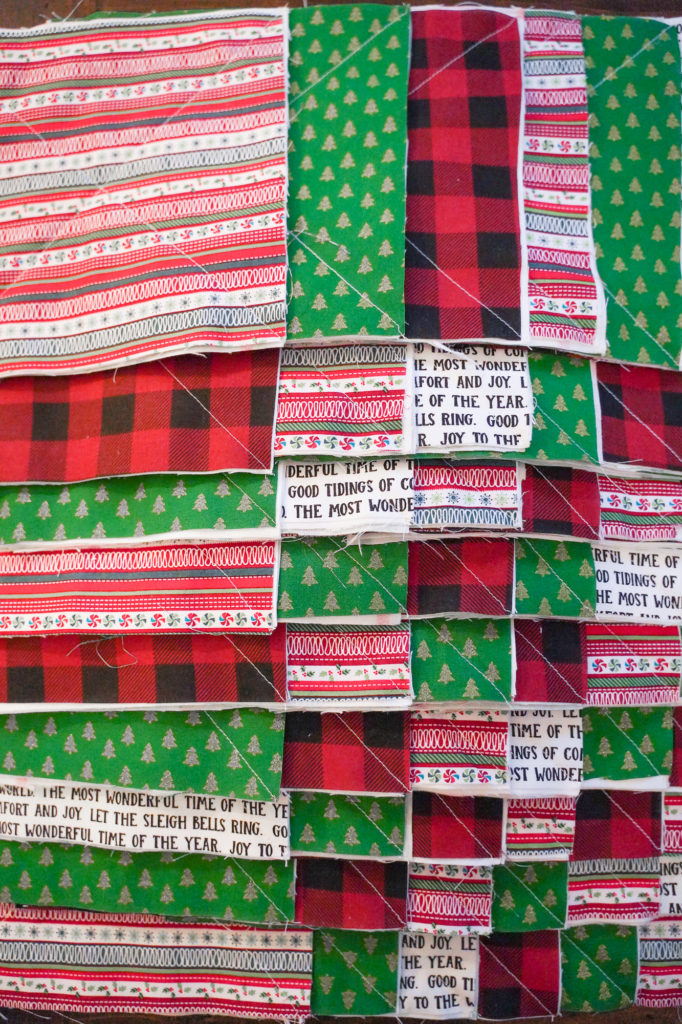
The quilt will be 7 x 9 blocks. Arrange the blocks in the way you want them on a flat surface and take a photo, then stack each row in the same order so you know how to sew them.
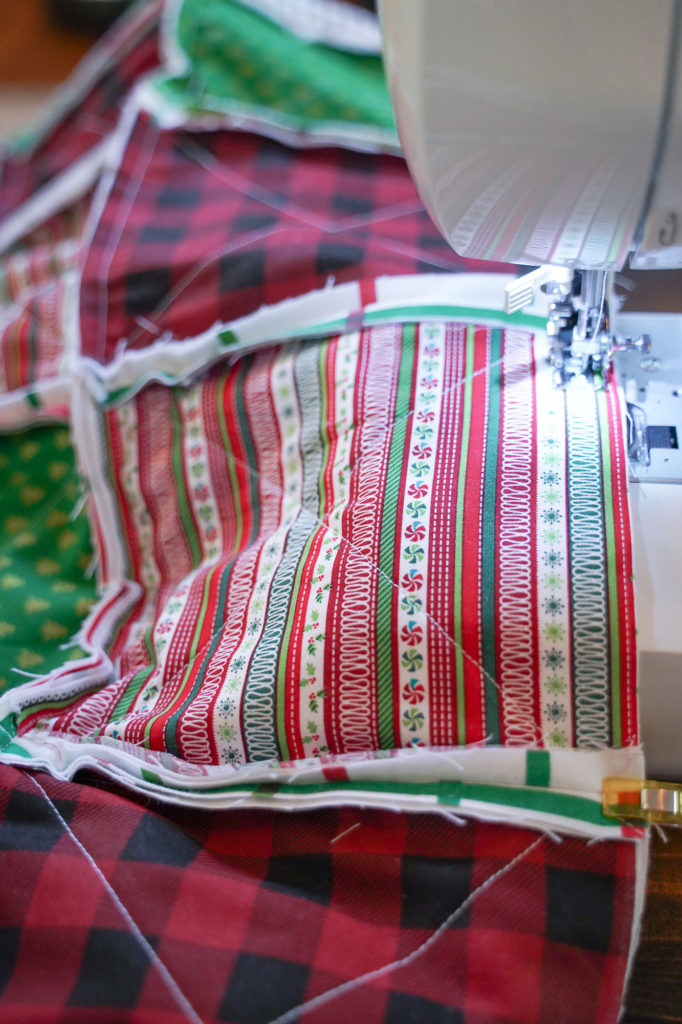
5 // Assemble the rows.
Sew the quilt blocks for each row together, wrong sides together, with a 1/2″ seam allowance. The exposed seam is what will give you the “raggy” look after the quilt is washed. You should have 9 rows of 7 blocks.
Tip: I positioned my needle all the way to the right before sewing, to ensure the seam allowance caught under the walking foot of my machine
6 // Connect the rows.
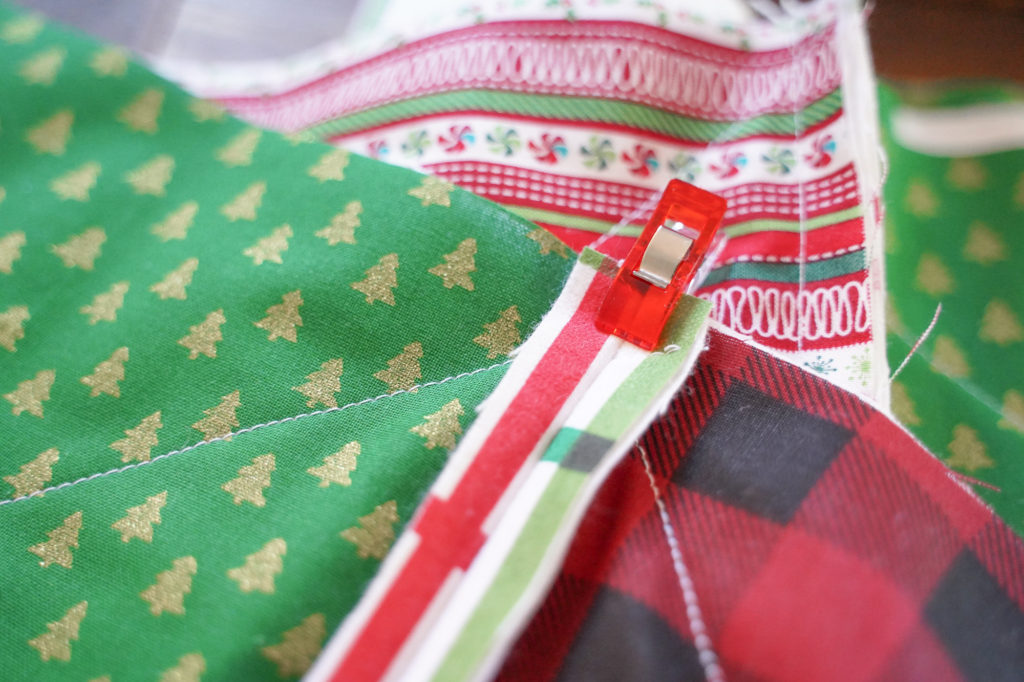
Attach your first row to the second, wrong sides together. Press the seams of the rows you sewed in step 5 open and pin or clip in place so they lay flat as you sew the rows together. Sew rows together with a 1/2″ seam allowance, just like you did the blocks to make each row.
7 // Stitch the edges.
With your raggy Christmas quilt fully assembled, sew around the edges with a 1/2″ seam allowance. Press open the seams between the rows as you go. Pin in place so they lay flat as you sew.
8 // Clip the seams.
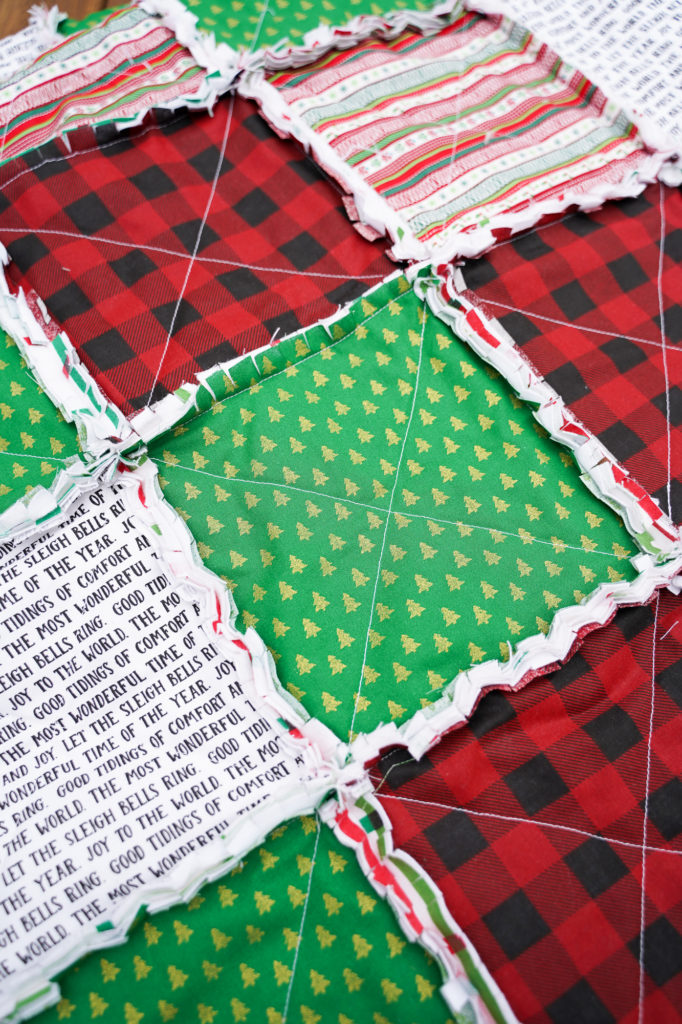

To get the raggy look, you need to clip every ~1/2″ along all of the seam lines (including the outside edge), being careful not to cut your stitches. A spring-loaded pair of scissors are a life saver for this step!
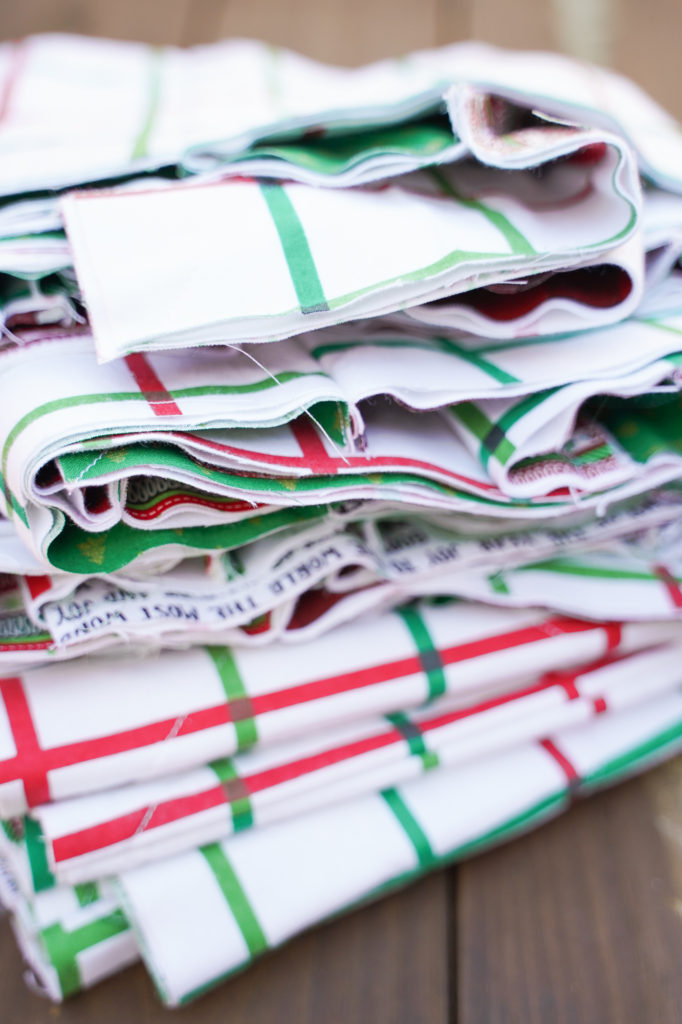
9 // Wash to get the raggy look.
Wash your quilt on a normal, color safe cycle in the washer with a few towels to get the raggy look. The more you wash it, and the closer your snips in step 8, the more frayed it will appear. Snip any long threads (I had some at the corners, where 4 blocks meet).
The whole project took a couple hours a night for a few nights. So worth it for a gorgeous holiday throw!
SHOP ALL OF THE PROJECT ESSENTIALS

PIN THIS