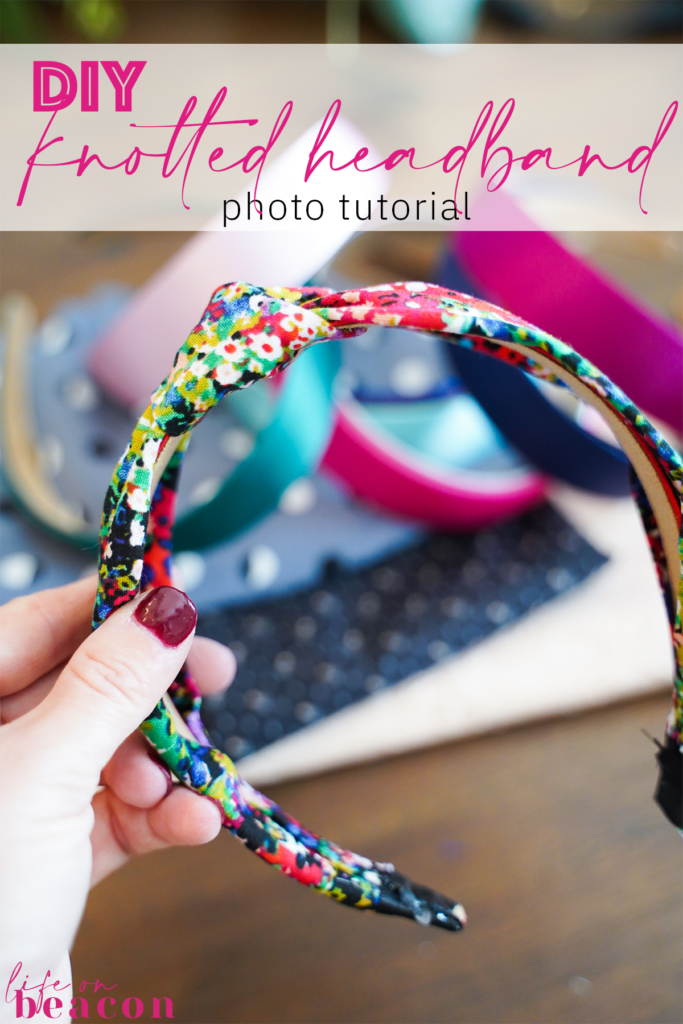
So admittedly I’m behind on the trend but where have knotted headbands been my entire life?!? I’ve been wearing this inexpensive pack off Amazon nearly every day since they arrived while I try to convince myself not to spend $30+ on the much more stylish Anthropologie options. Then it hit me – why not make my own?
I quickly grabbed the green headband from my Amazon pack and dismantled it to make a pattern.
Introducing, the easiest DIY knotted headband tutorial ever! I’m sewing mine on my trusty little Singer hobby machine for a more finished look – but if you don’t have access to a sewing machine, fabric glue will work just fine!
MATERIALS
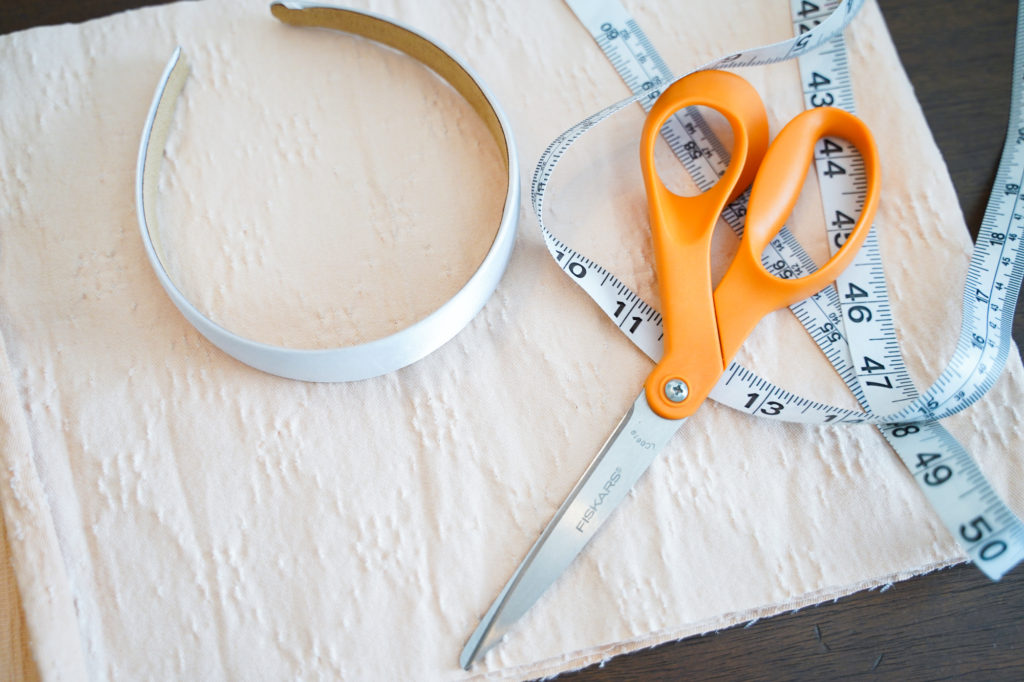
- Pack of satin and cork headbands. These are going to be much more comfortable than the plastic kinds and are already fabric covered so you can skip that step! I opted for the mixed pack so I could pair them with different fabrics, but the all black would work well too – especially if you plan to use dark fabrics.
- ⅛ yard of fabric
- Optional: Small strip of fusible medium-weight interfacing, if your fabric is not medium or heavyweight (e.g., velvet, suede, denim)
- Optional: Grosgrain ribbon
- Measuring tape or ruler
- A sewing machine or thread (alternative: fabric glue or needle and thread)
- Iron and ironing board
- Hot glue gun (I love this mini dual temp glue gun)
INSTRUCTIONS
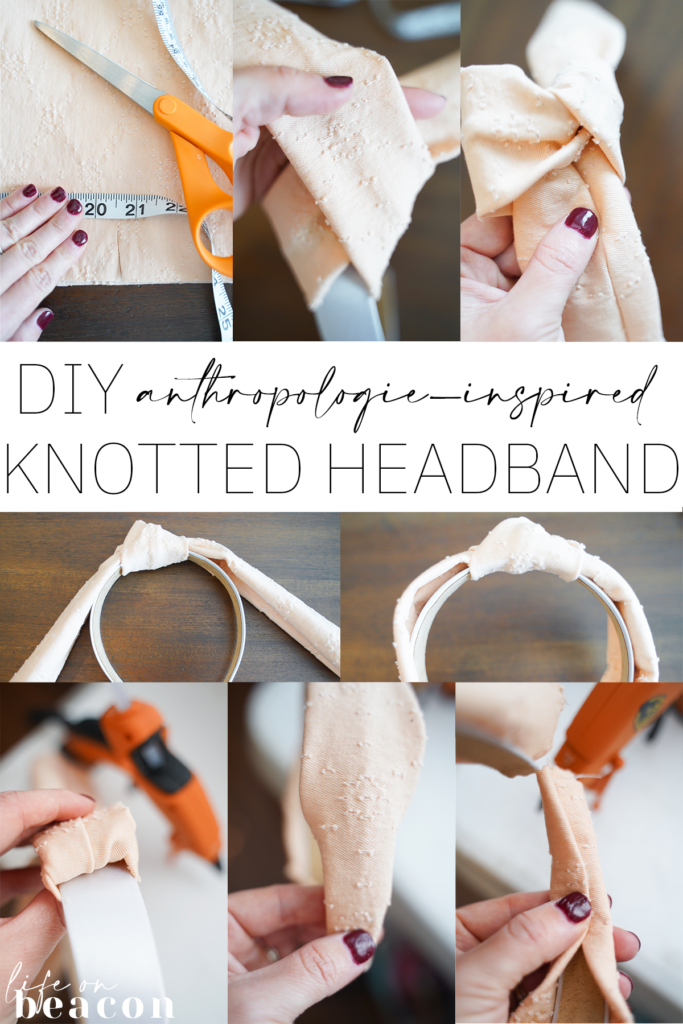
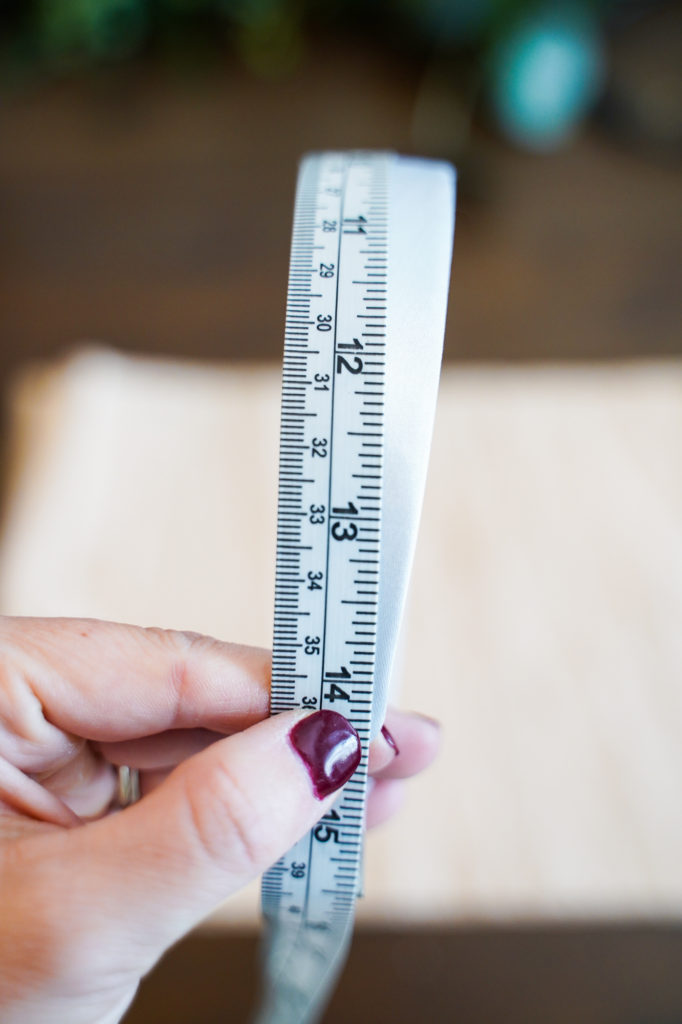
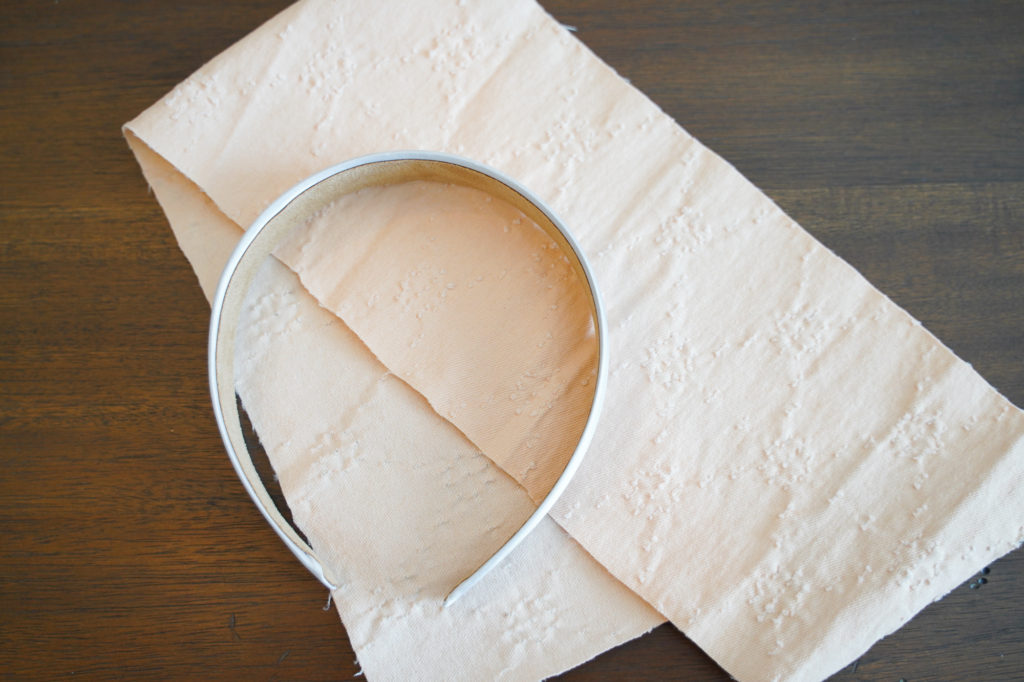
1. Measure your headband.
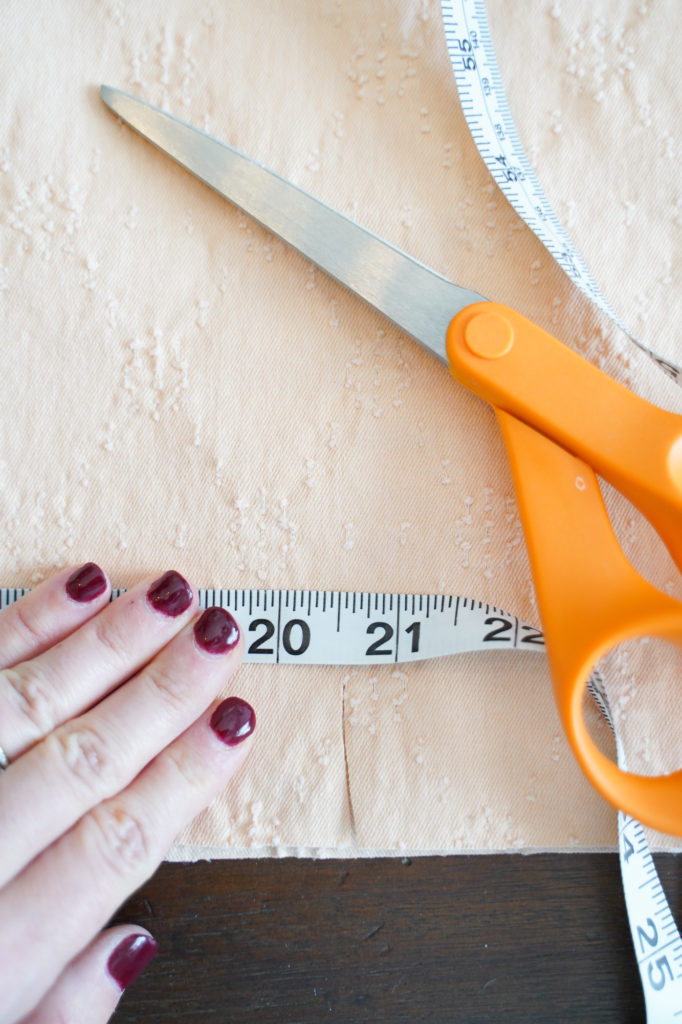
2. Cut a strip of fabric that’s 5” x 20.5″ (length of headband +6”).
Optional: Cut a 1 x length of headband strip of interfacing. I am using slightly heavier fabrics so it’s not needed.
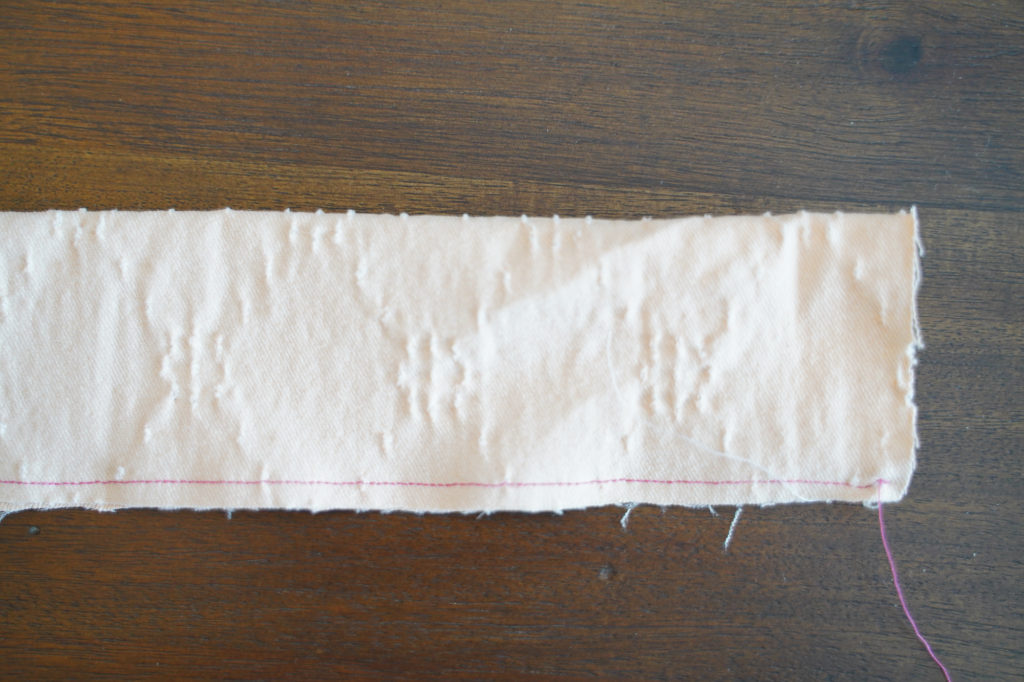
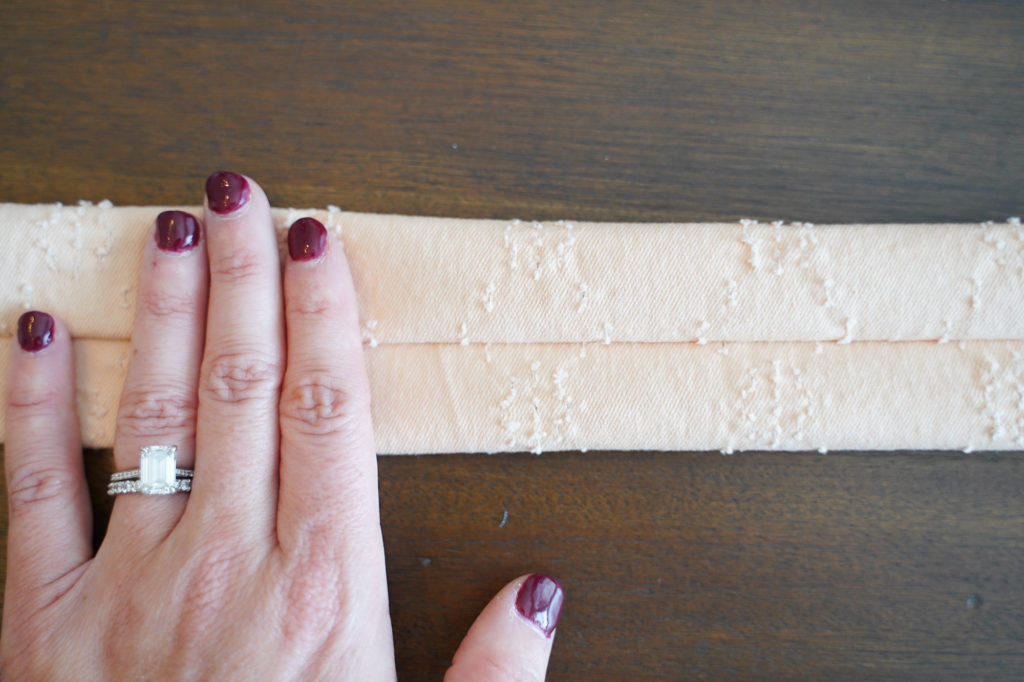
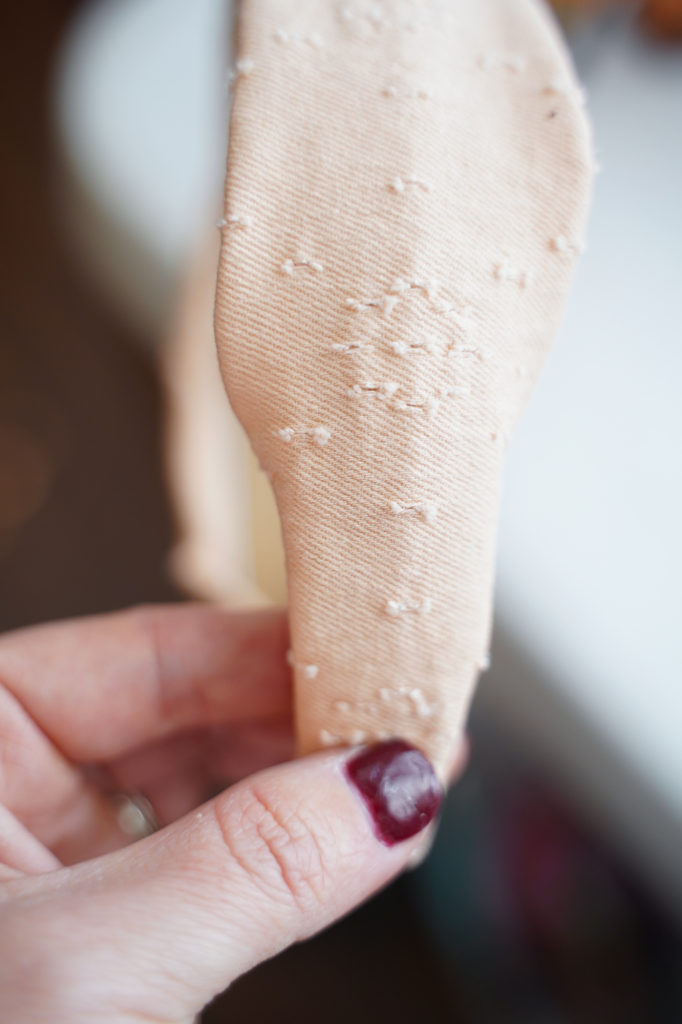
3. Fold your fabric lengthwise, right sides together.
4. Sew along the long edge with a ½” seam allowance. (Use fabric glue as an alternative. Let dry before moving on.)
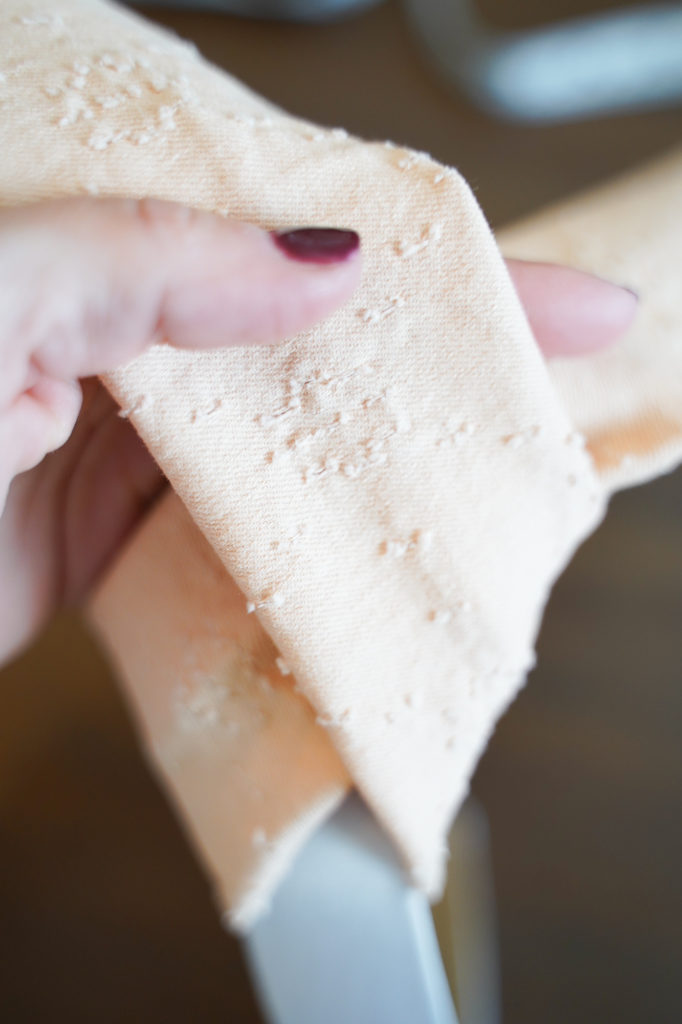
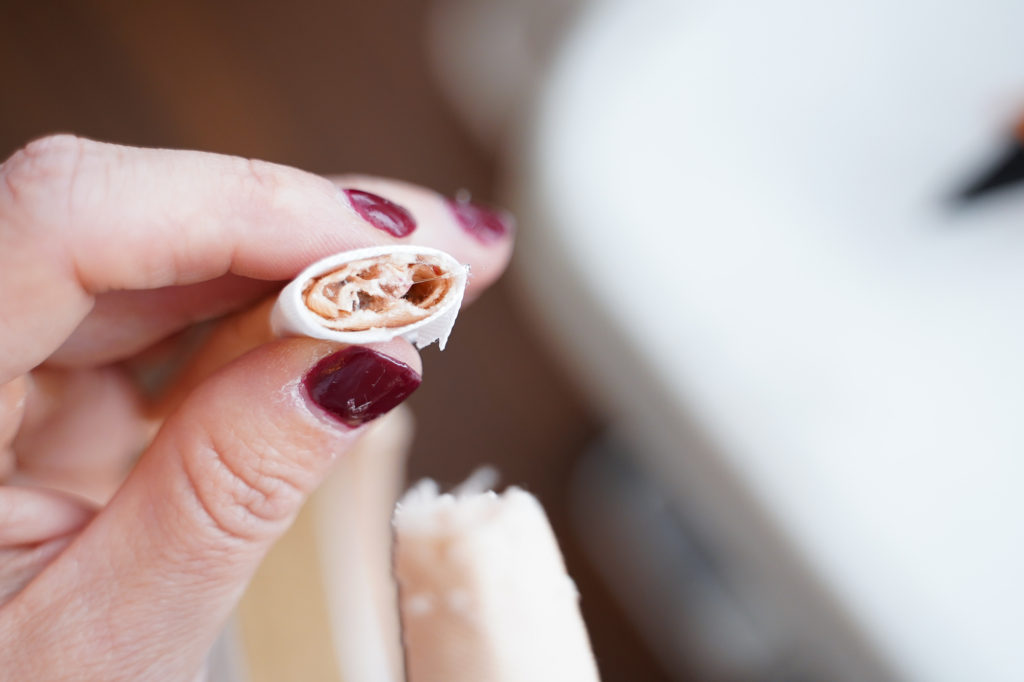
5. If using interfacing, rotate the seam to the center. Iron open the seam allowance and iron on the strip of fusible interfacing over the seam.
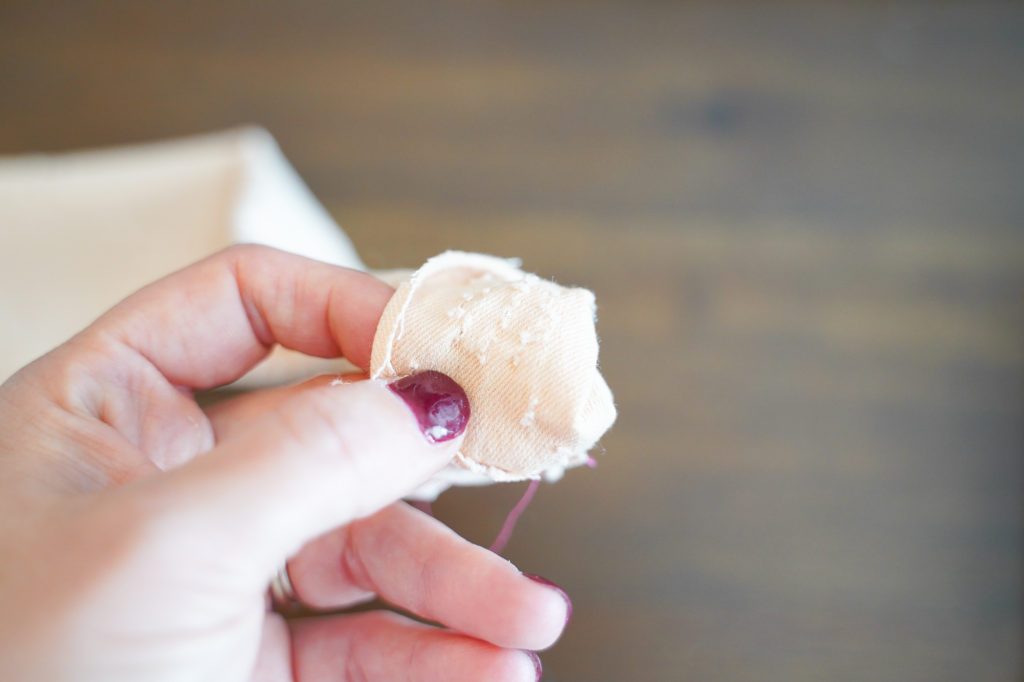
If not using, flip fabric tube right-side out and rotate the seam to the center.
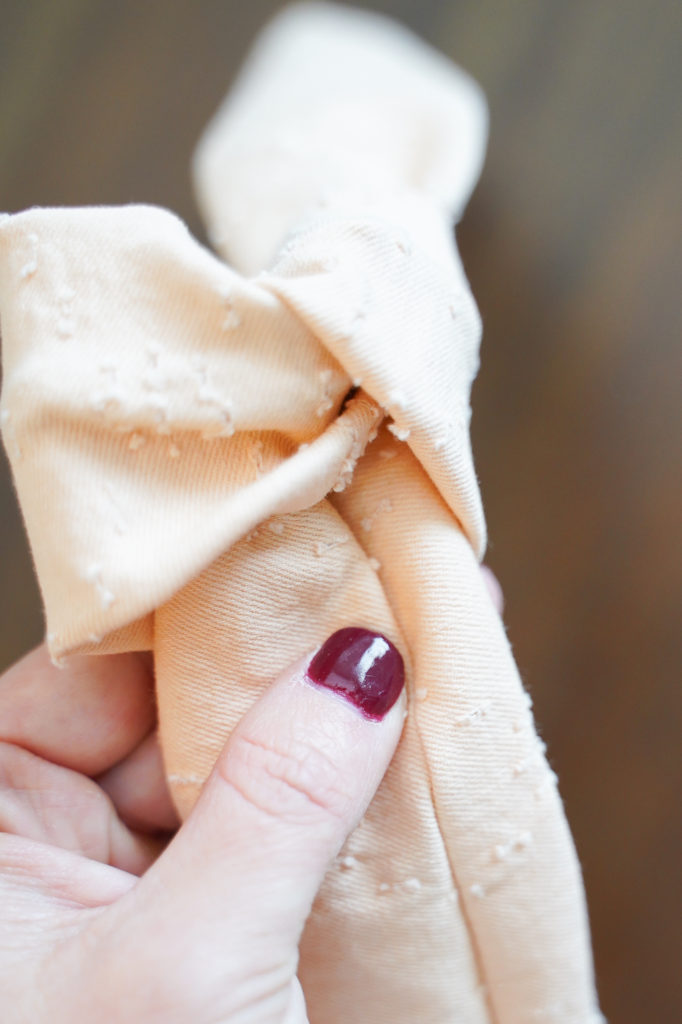
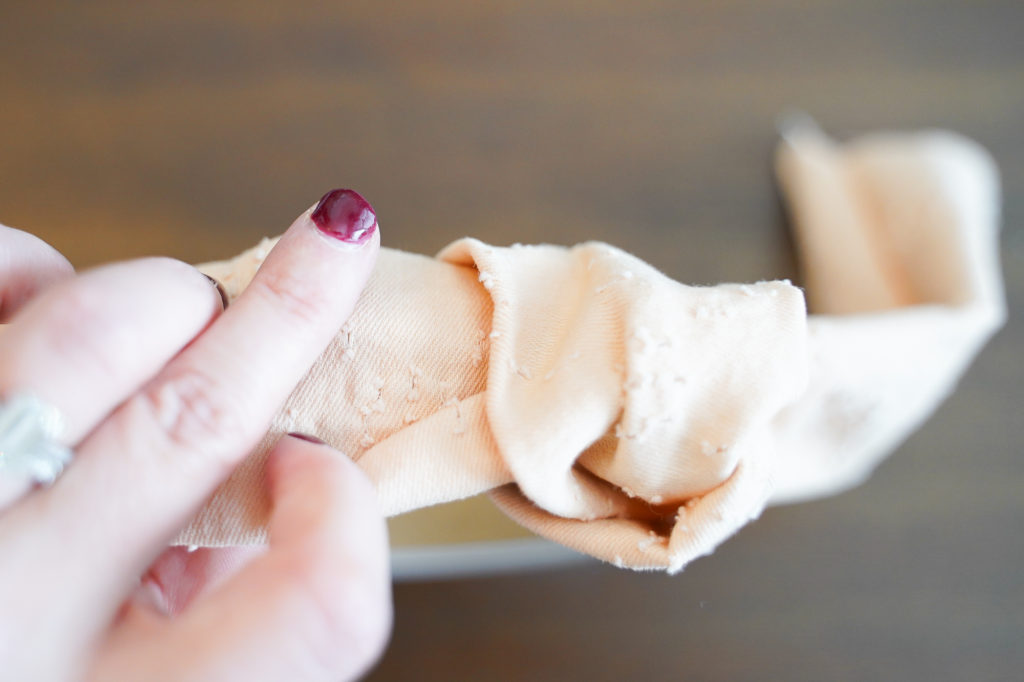
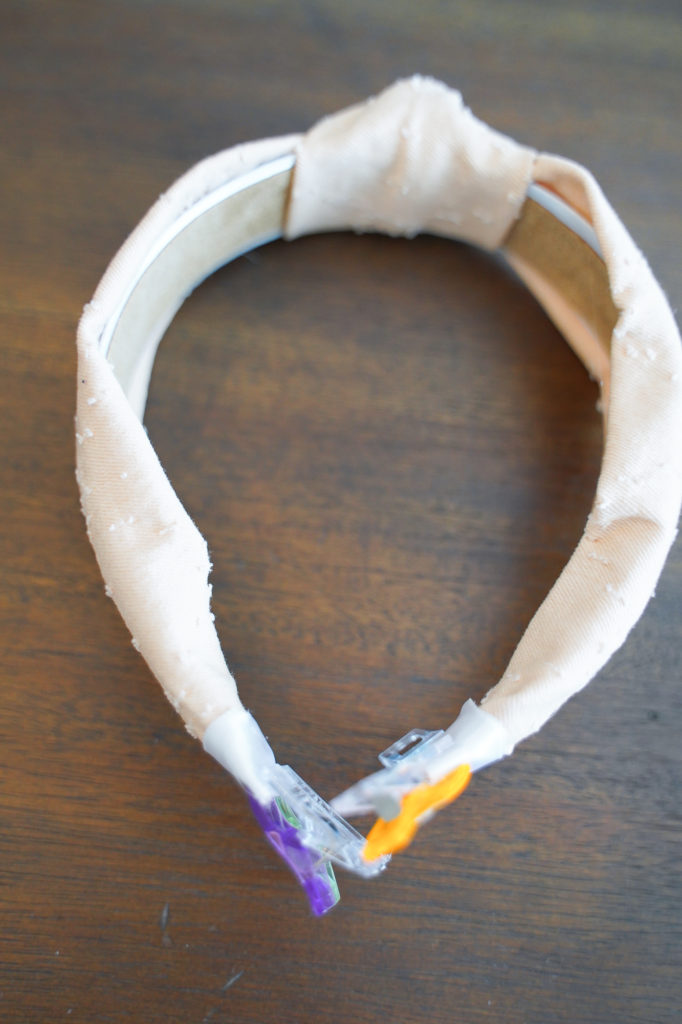
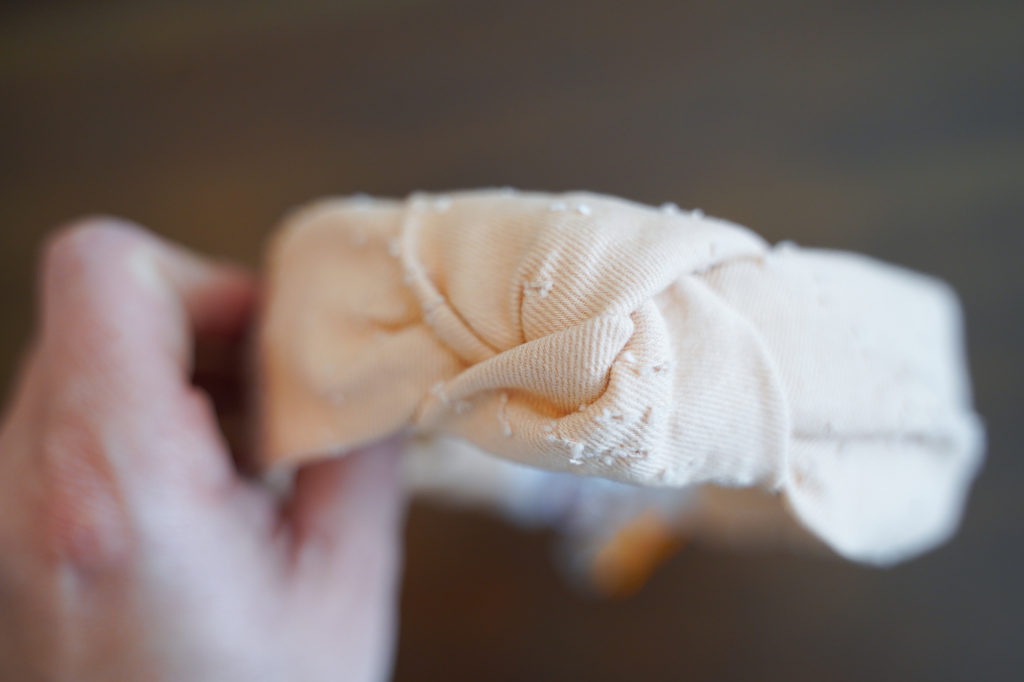
6. Tie a knot over the center top of the headband, keeping the seam side concealed under the knot. Adjust the tube coming out of each side so it is also seam side down (see video below).
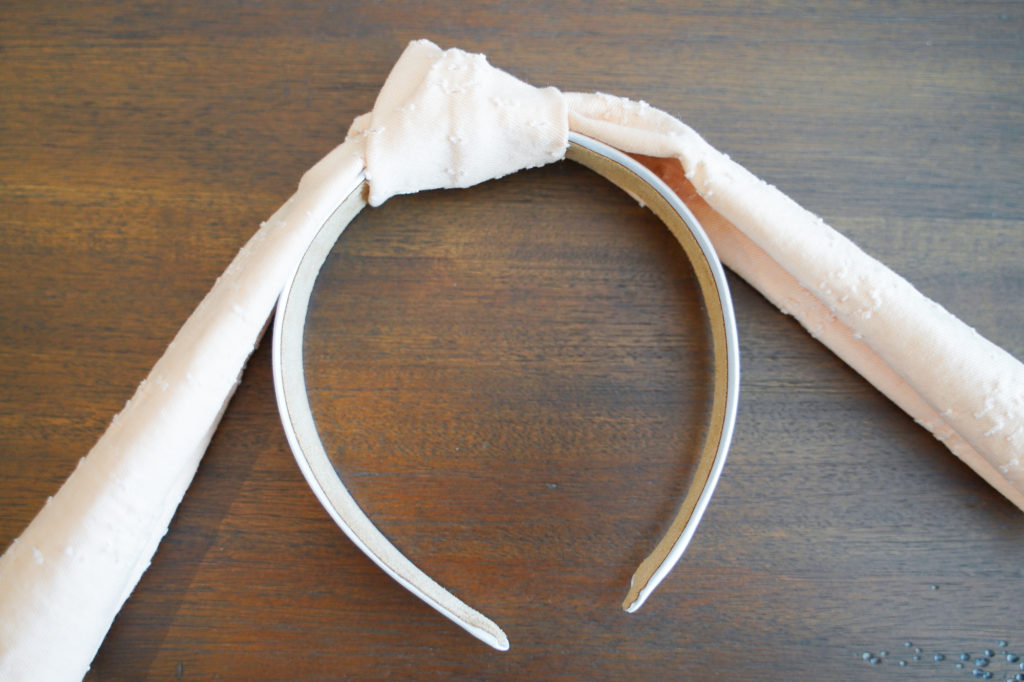
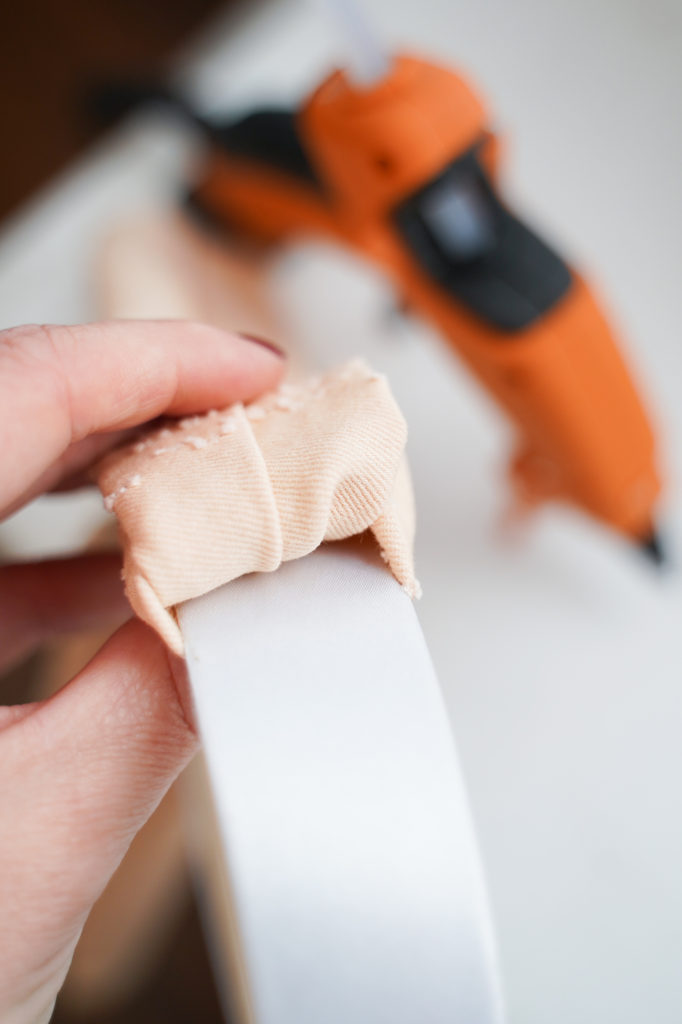
7. Secure under the knot with hot glue.
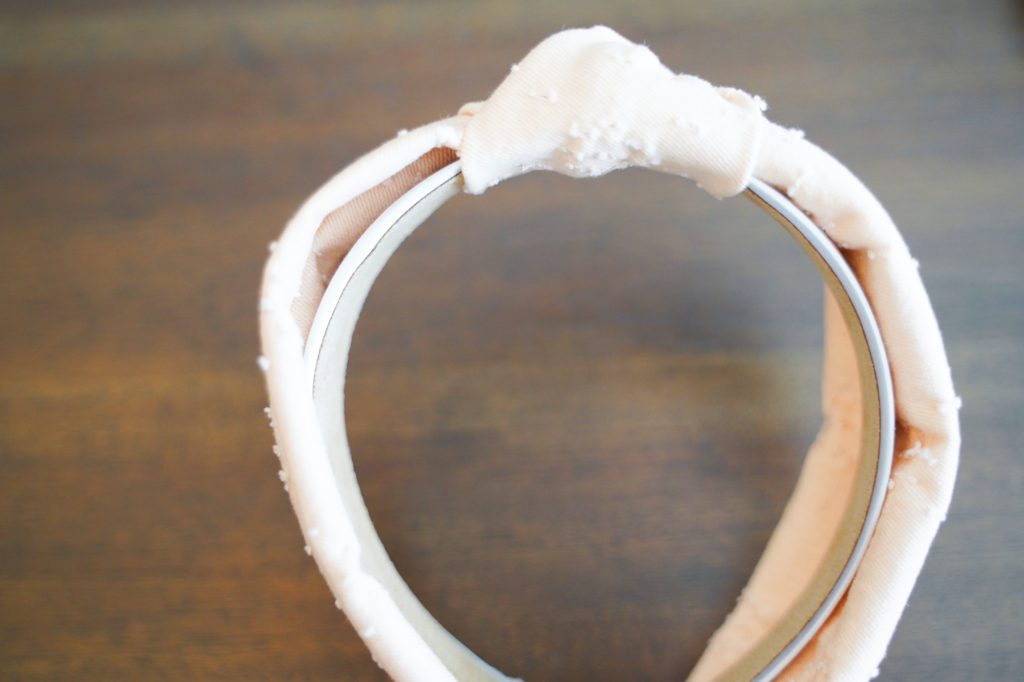
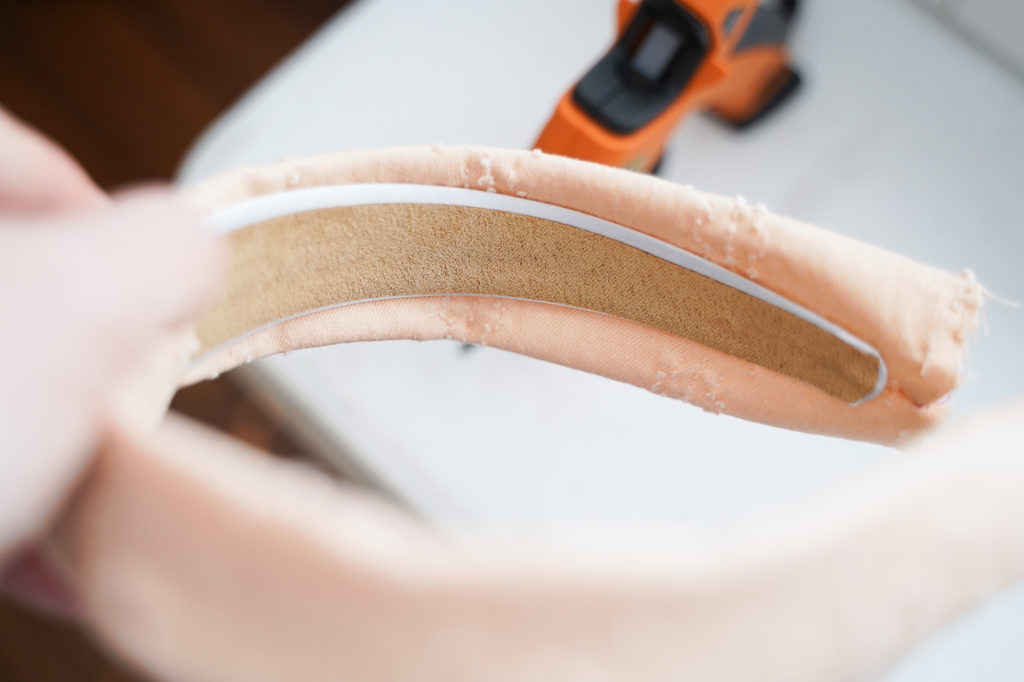
8. Adjust the strips as desired down the side of each headband so the edges roll over the sides of your DIY knotted headband.
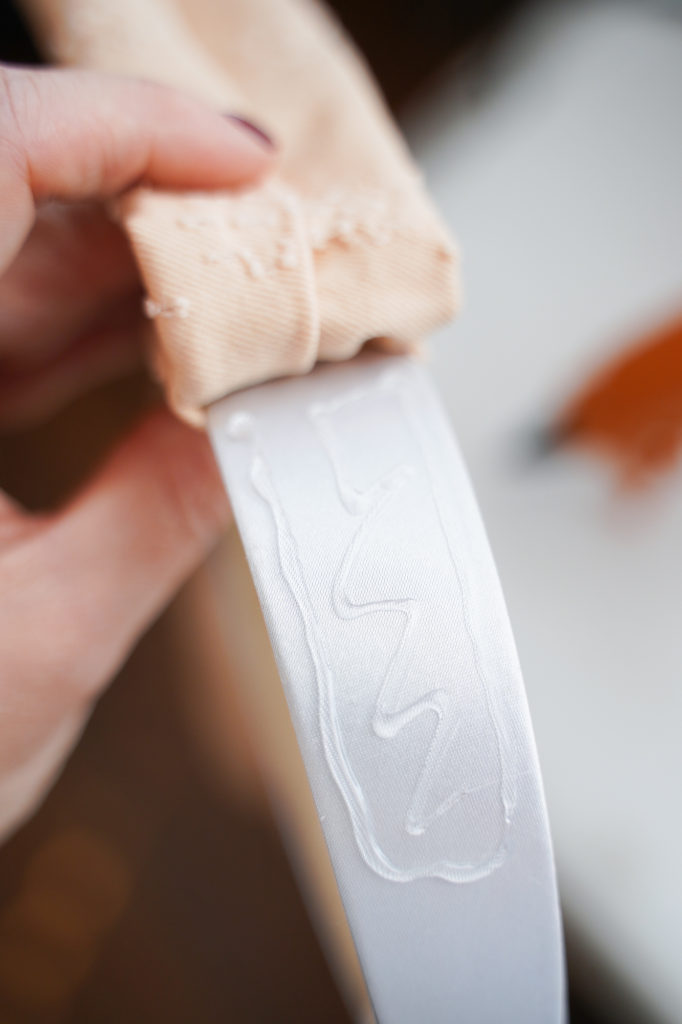
9. Add a thin line of hot glue along each side, careful not to let it raise too high or the glue lines may show through. Press fabric in place.
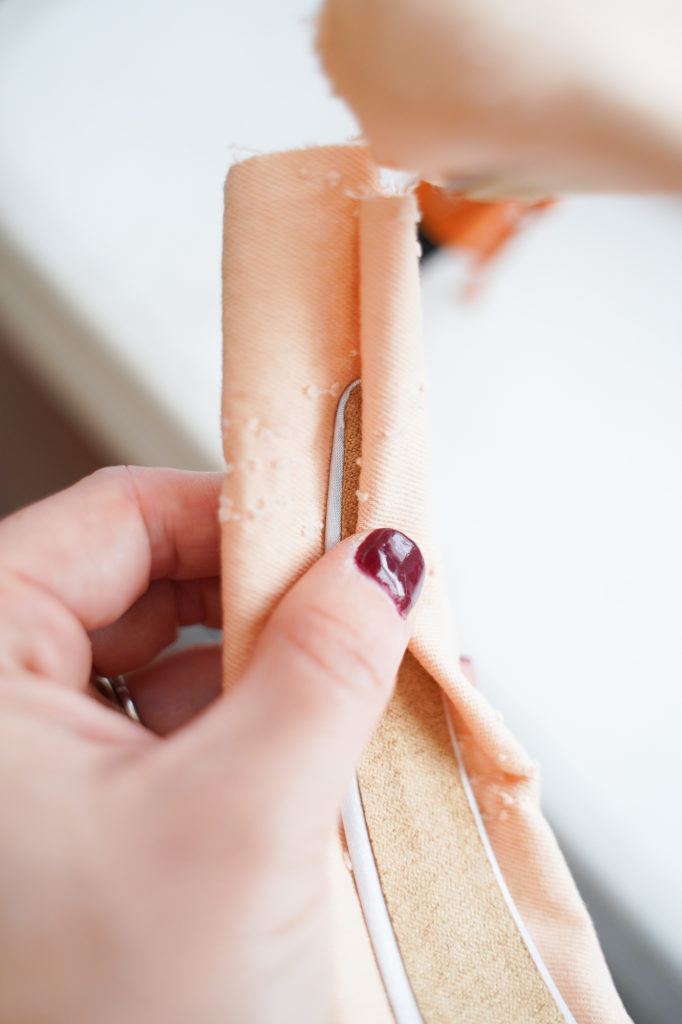
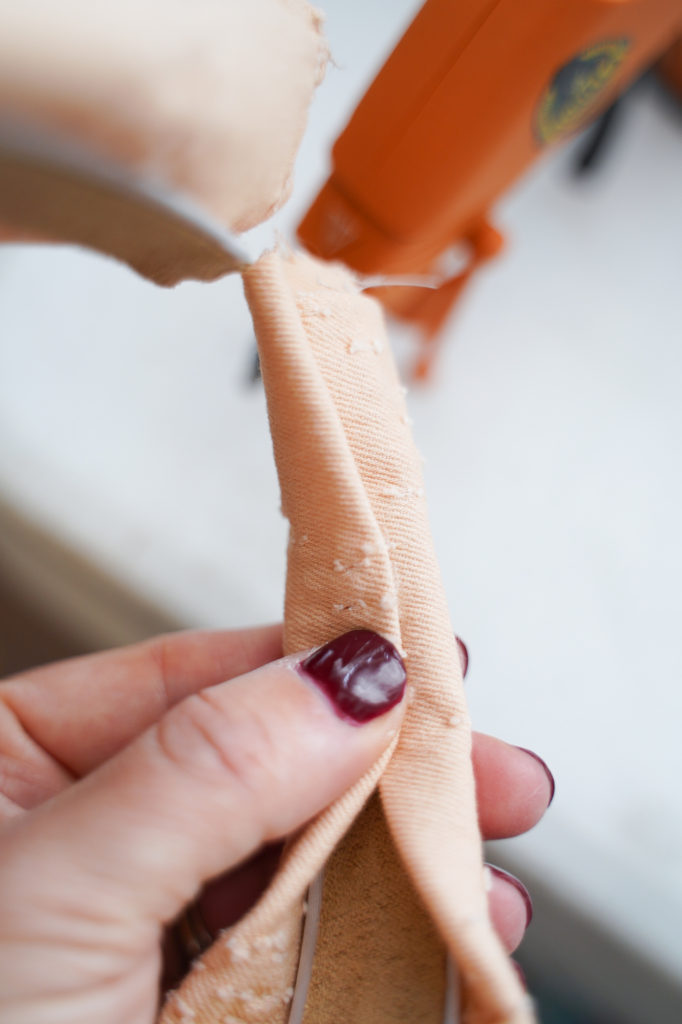
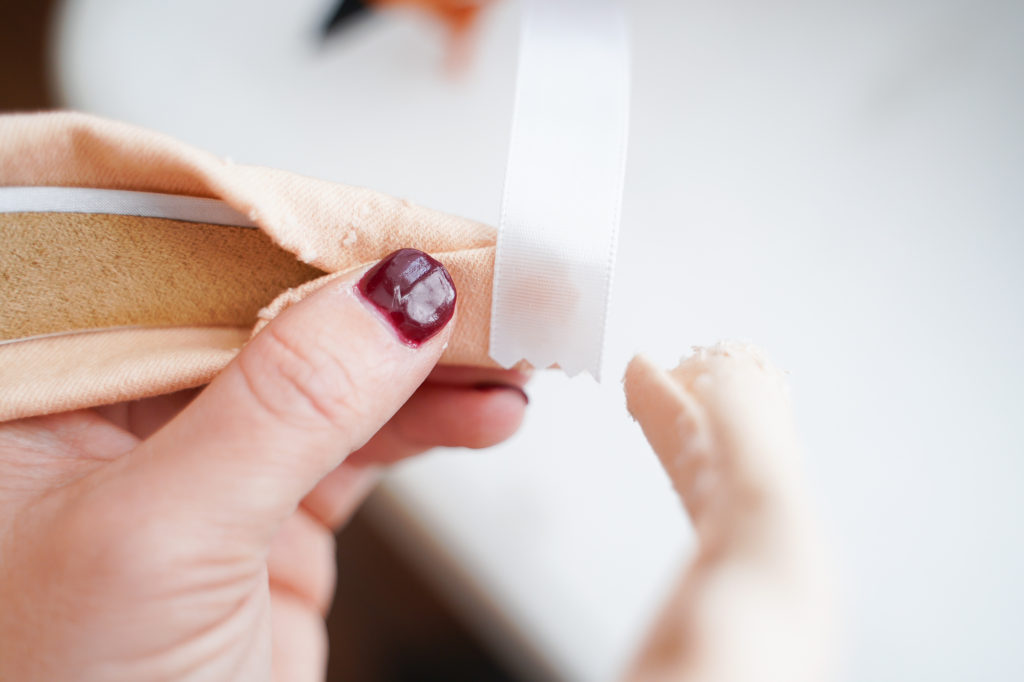
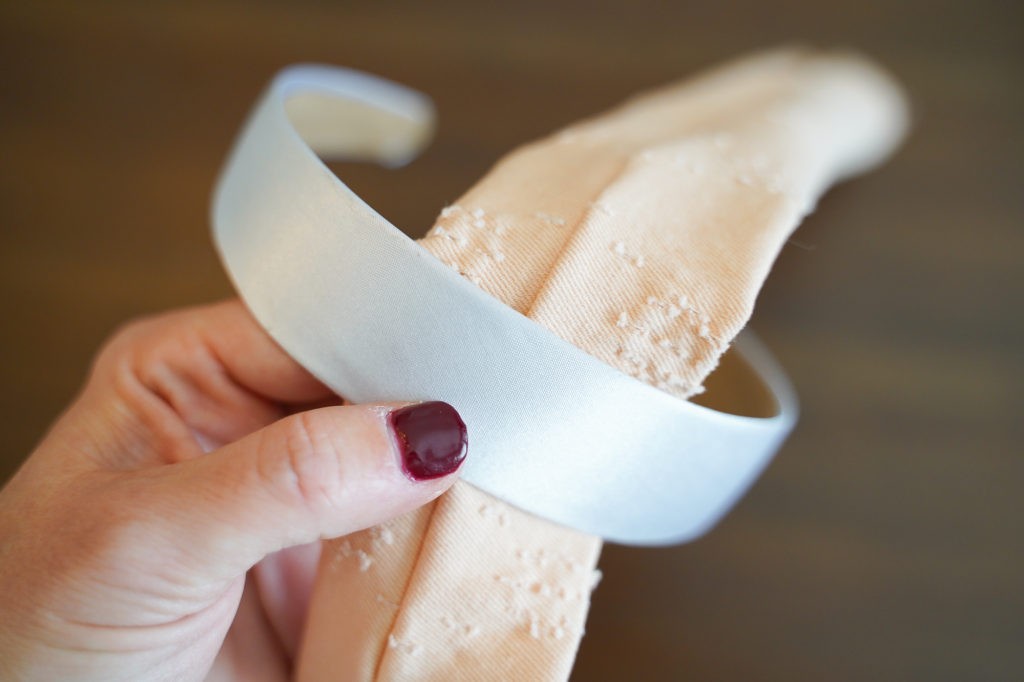
10. Fold under and use hot glue to secure in place. If using grosgrain ribbon, wrap around the bottoms and tuck under raw edges. Glue in place.
WATCH THE VIDEO
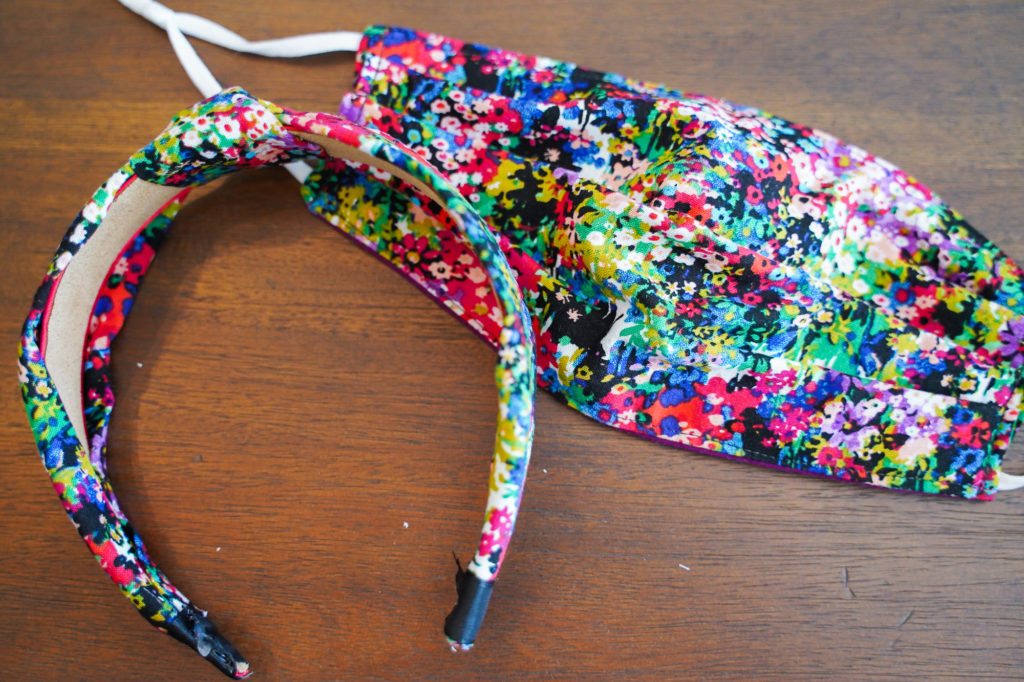
The options are endless, and at a cost of only a few dollars each (mainly for the fabric), you can create an entire collection of DIY knotted headbands. My personal favorite – this matching mask / headband set!
PIN THIS