I was going to wait until we had our entire patio setup complete before sharing the outcome of this weekend DIY, but it seems as though outfitting the rest of the patio is actually taking longer than the table build!
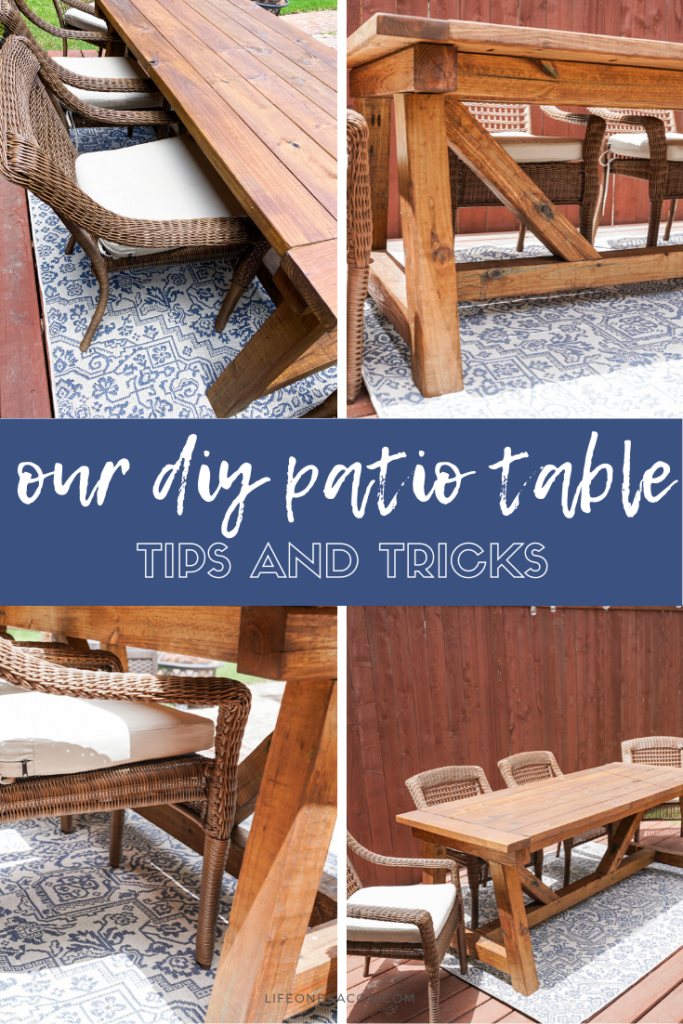
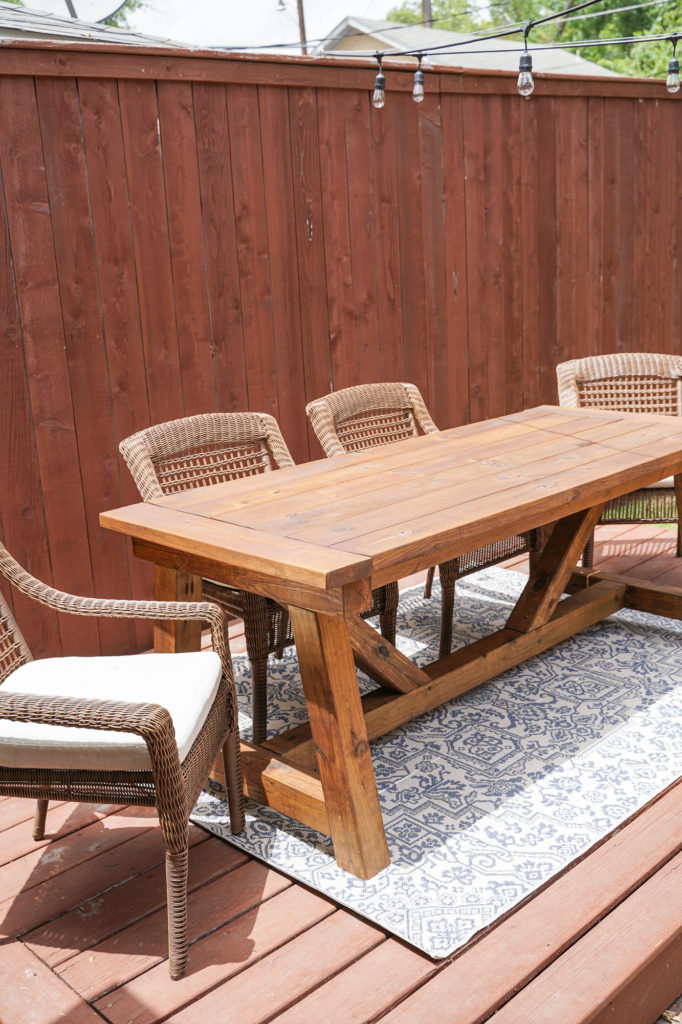
I’ve dreamed of a larger patio table that is built to fit our awkward patio space. The only way to accomplish that was with a DIY. Thankfully, my husband was on-board with the project (at least, he was on-board after he saw how cheaply we could build our own!).
SHOP OUR OUTDOOR RUG (under $70!)
THE TABLE
I found several patio table DIYs that I loved (check out my top 5 here). In the end, we opted for an indoor table design that, with a few building modifications, works well outdoors, too.
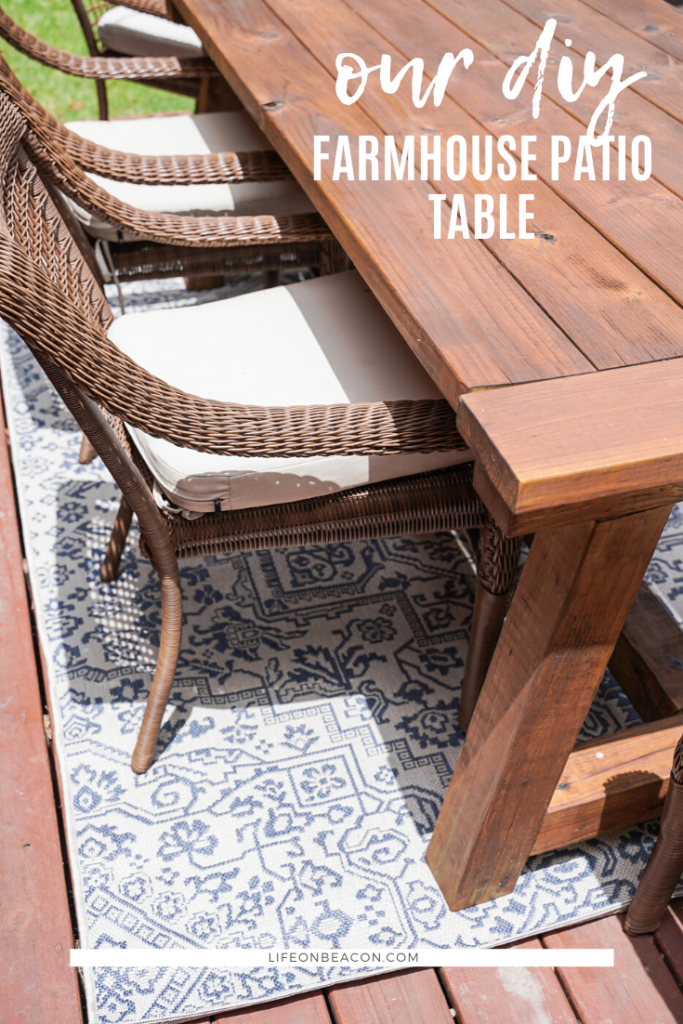
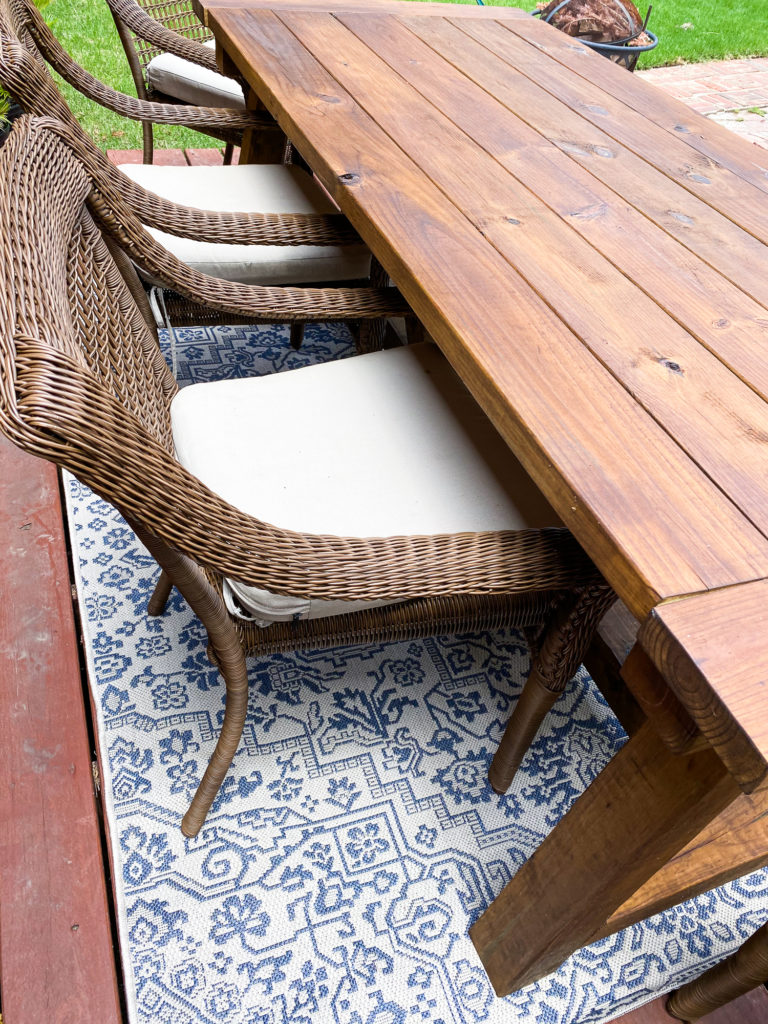
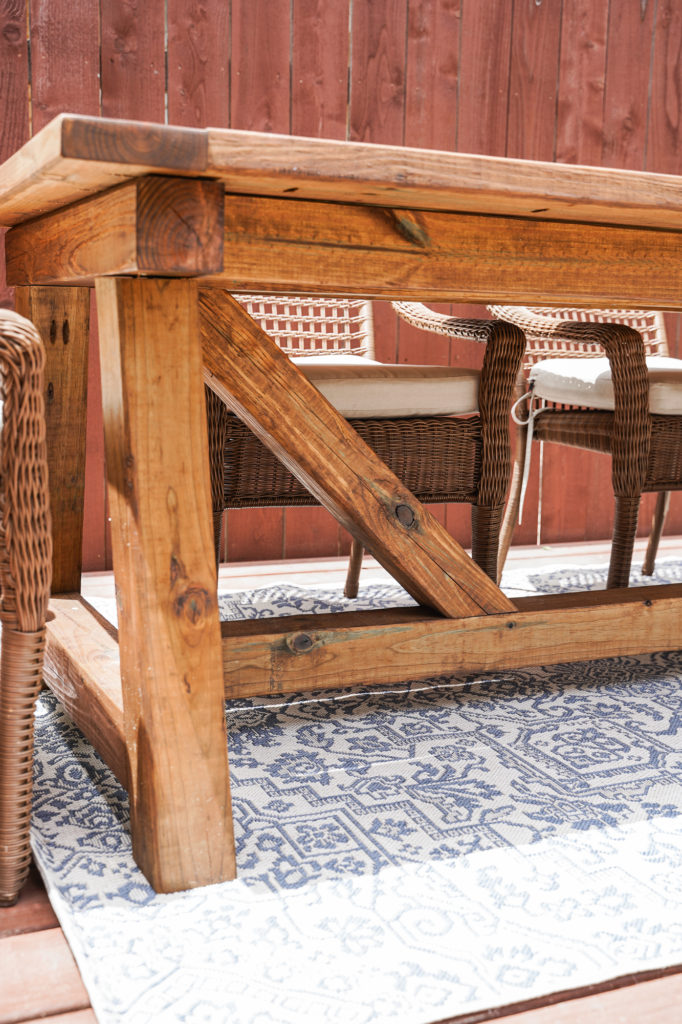
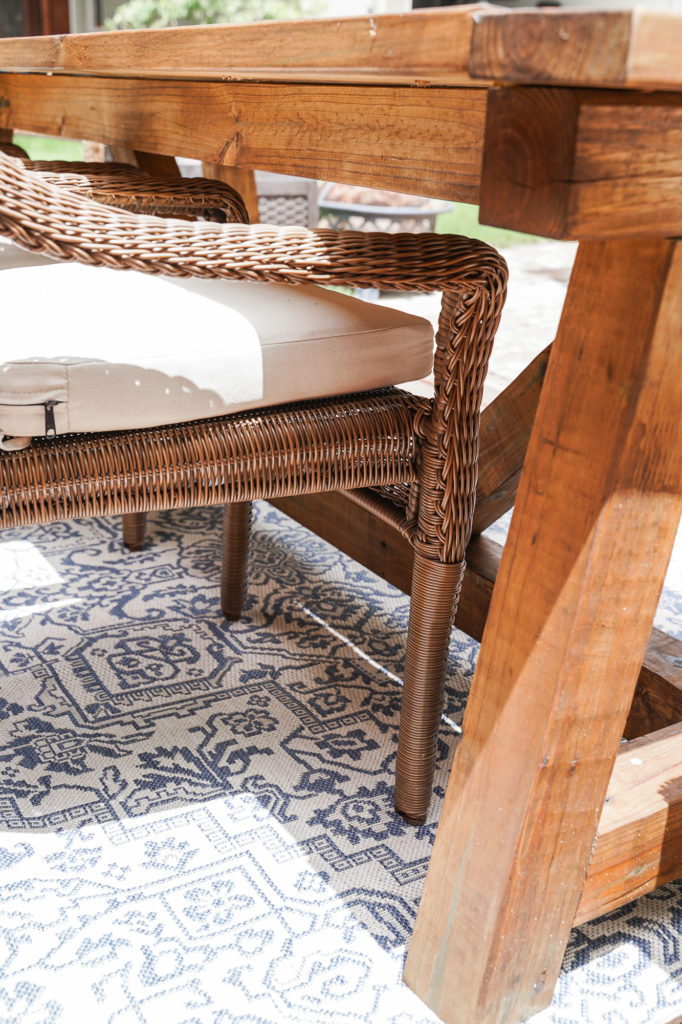
We loved the weight of the 4×4 construction of this truss beam table – a must for bad Texas weather – and the relatively straightforward design. Plus, you can’t beat Ana White’s plans when you’re taking on a big furniture build!
SHOP AFFORDABLE PATIO CHAIRS TO PAIR WITH YOUR TABLE

OUR MODIFICATIONS
Part of what drew us to DIY was the ability to modify the dimensions of a table to fit our exact space – long and narrow. The original was 3’W x 7’L. The raised portion of our deck is only 7’W x 9’L and best practice says you should have 30 – 36″ for a chair to push back and have sufficient walking space, so we knew the original size wouldn’t work.
We swapped from using 2×10’s on the top to using 2×6’s, which enabled us to use 5 across our table. Remember, boards are actually a little smaller than the listed sizes – in this case, a 6″ board is actually 5.5″W. This brought our width to about 30″ (assuming some spaces between boards) and we cut the length to 6′.
With the top measurements in hand, we then reduced down other parts of the table that were dictated by the overall table size, including the center beams and top supports for the legs.
ESSENTIAL TOOLS
This project underscored the need to have the right tools at your disposal to get the job done right, the first time. Here are a few pieces of equipment we couldn’t have done this project without:
- Saw. We used a compound miter saw, however this could be cut by hand if needed.
- Power drill. We purchased this Ryobi cordless tool combo set a few years back and get so much use from it!
- Optional, but highly recommended: Kreg pocket hole jig system, clamp, and pocket hole screws. You’ll end up with a much cleaner looking table and save a ton of time and headache. Bonus: One “kit”, while about $70, will last you years of projects! The system comes with complete instructions for how to adjust to different size boards which makes this whole project so simple (even for a pocket hole novice like me!)
SHOP OUR RECOMMENDED TOOLS
WEATHERPROOF WOOD
Our patio has no coverage so finding a way to weatherproof the indoor table plans was a must. Instead of standard pine, we opted for pressure-treated pine, commonly used to build decks.
Lesson learned: Let pressure-treated pine dry out for at least a week before using. We started assembly a day after purchasing and while we thought the wood had dried out, ended up with some warping we’re now combatting because we built while they still had some water in them.

SHOP OUR OUTDOOR RUG (under $70!)
STAIN + SEALER
We did a ton of research on what to stain the wood with, which led us to Ready Seal. Ready Seal is a stain and sealer in one. You just brush it on, let it dry, and apply a second coat. It truly is “goof proof” as advertised – there’s no wipe on/wipe off, no drips, and no sticky. We ended up loving it so much we even restained our front door with it!
A one gallon can ($35 – 40) was enough for both projects, with plenty left over. I highly recommend ordering online for in-store pickup so you don’t have to go searching for the right color on the shelf.
We used the color Dark Walnut, which is the deepest brown Ready Seal comes in. As a note, it is still a little more orange than I’d like, however after adding a third coat to the top and letting it weather a little, I’m really happy.
Want more backyard DIY ideas?
Check out the 5 DIY patio table plans we love, our DIY sand and sensory table and our playhouse makeover ideas for kids.
PIN THIS