I’ll be sharing a full post on our “Somebunny is One” celebration, but thought it might be fun to preview some of our favorite DIY projects that made up E’s first birthday celebration.
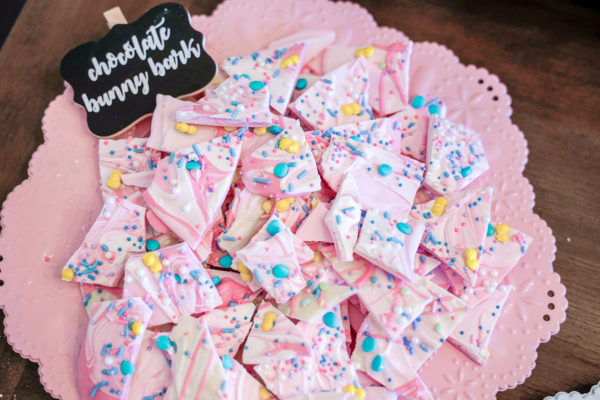
First up, this decadent white chocolate bark.
As we were planning the party, I was trying to find ways to balance all of the amazing partyscapes on Pinterest with the real time constraints of a full-time job, lots of travel, and keeping up with an almost-one year old.
Enter this white chocolate bark. It’s BEYOND easy and looks (and tastes) amazing. Plus, it’s completely customizable for any theme!
I fell in love with this marbled chocolate bark from A Kailo Chic Life when I came across the images on Pinterest and decided to adapt it for E’s birthday theme.
I opted for pink and white melting chocolates for the marbling, mixing some together to get 3 different shades of pink. The first batch I made used a base bark of Ghirardelli White Chocolate, which has much better flavor (in my opinion) than candy melts. I just didn’t love the ivory color among our pink and white theme, so the second batch I used all candy melts.
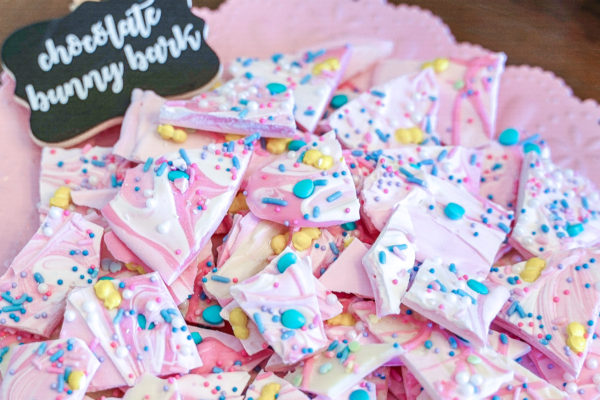
Before the chocolate hardened, I topped it with a fun Wilton spring sprinkle mix and white sugar pearls for some added crunch and that “wow” factor. The sprinkles don’t fit perfectly with the blush color palette for E’s party but they just looked so fun – I couldn’t resist. No one will judge me for my non-pastel chocolate bark, right!
PS. If you’re thinking of making your own, pick one of these GORGEOUS sprinkle mixes off Amazon.
Once you’ve poured on the chocolate and topped with sprinkles, all you have to do is let the chocolate harden in the fridge, then break it into pieces. It keeps well in an airtight container in the fridge, too. I made mine a week before.
Note: Acetate paper is a must for this. You can use parchment paper but you’ll lose the shine from the melting candy. Acetate is cheap and reusable, though, so we keep a few sheets on hand. We also used it for our super easy DIY cookie stencils.
SHOPPING LIST
How To
- In a microwave safe bowl, heat one color of melting chocolates (or a mix, if you’re blending colors like we did with dark pink and white to make light pink) in 30 second increments at 50% power. Stir together after each interval. Use separate bowls for each color/shade.
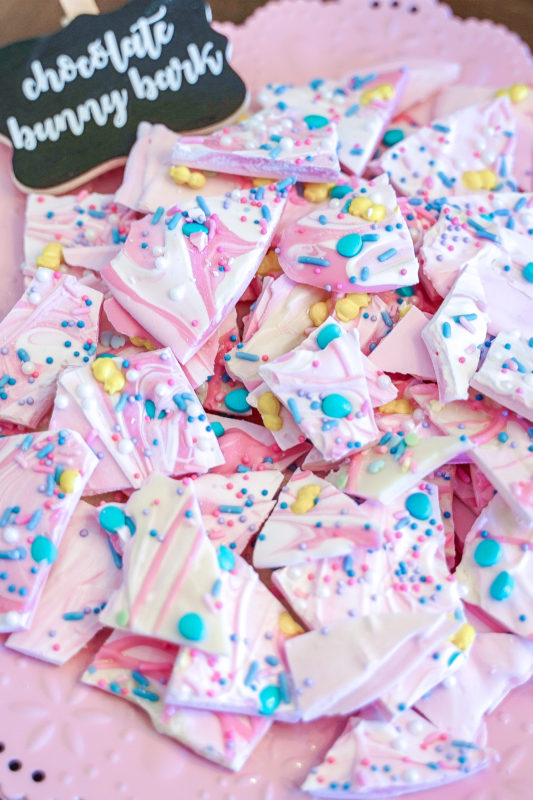
- Using a spatula or the back of a knife, spread the melted chocolate over the acetate paper. If layering, wait 3-5 minutes between layers for the color below to harden slightly. Layer until 1/4 – 1/2 inch thick, swirling the colors together with a knife or toothpick.
- Before the chocolate hardens, add sprinkles. Pop in the fridge for 10-15 minutes if you live in a humid climate, or leave on the counter until set and solid.
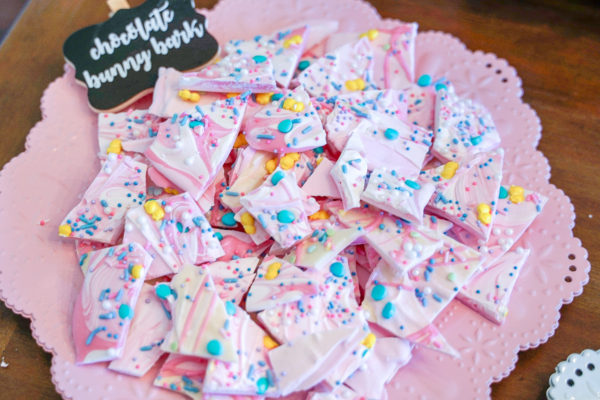
- Break apart and serve.
This is definitely one of those DIY party foods that I’ll keep coming back to. I can already picture all the fun combinations – patriotic swipes of color with bright sprinkles for 4th of July, rich purple and orange marbling for Halloween, reds and greens with candied trees or peppermint chunks at Christmas, or repeating these pinks with heart candies at Valentine’s.
What combinations are you planning?